
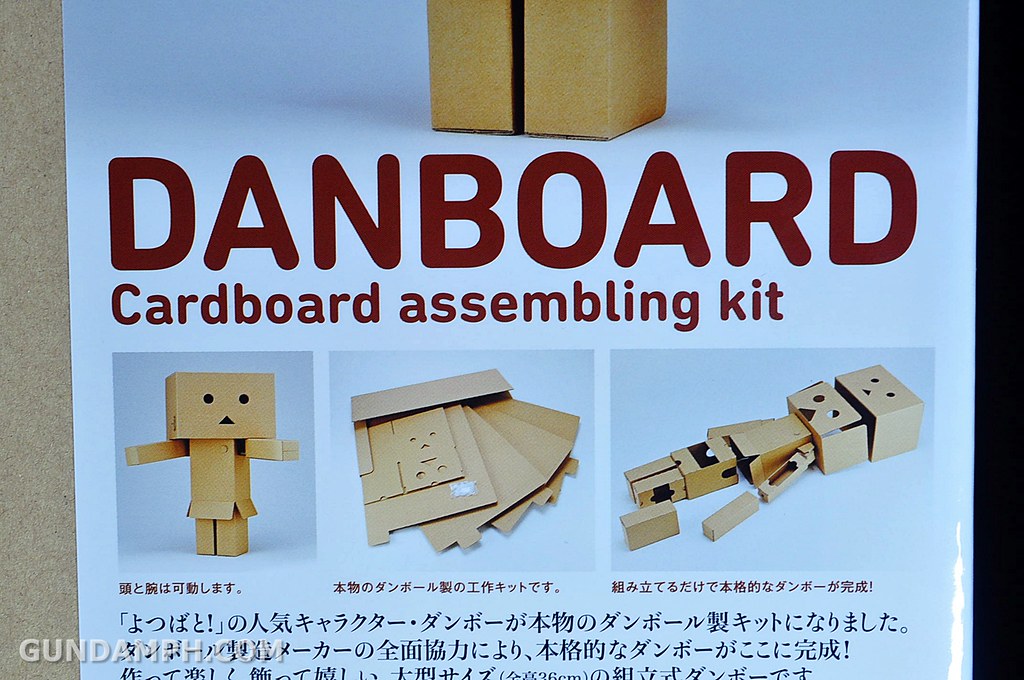
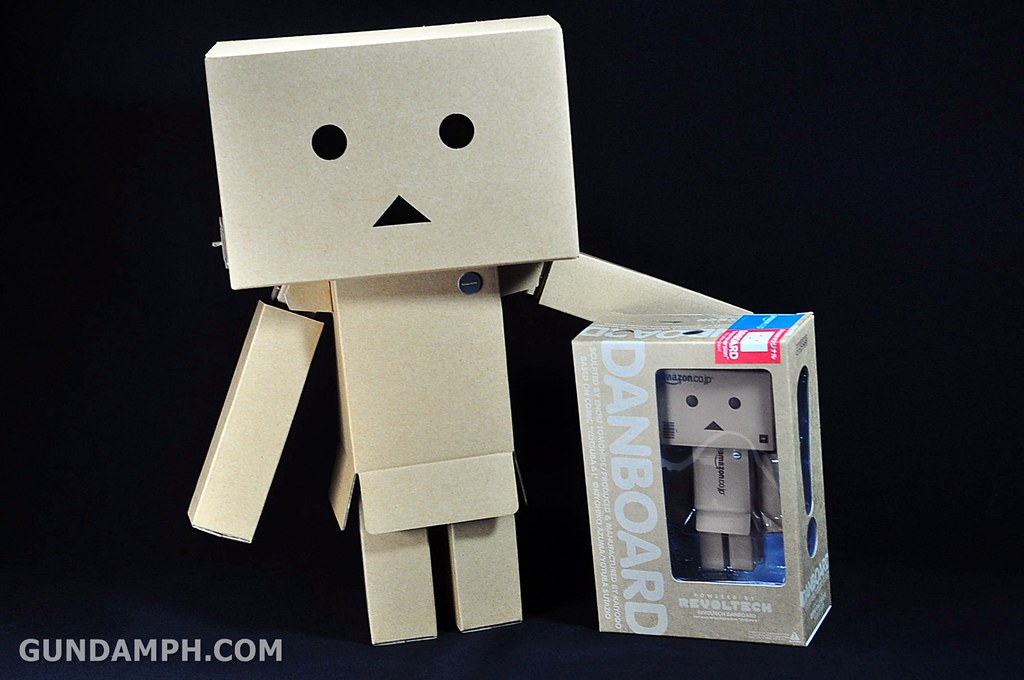
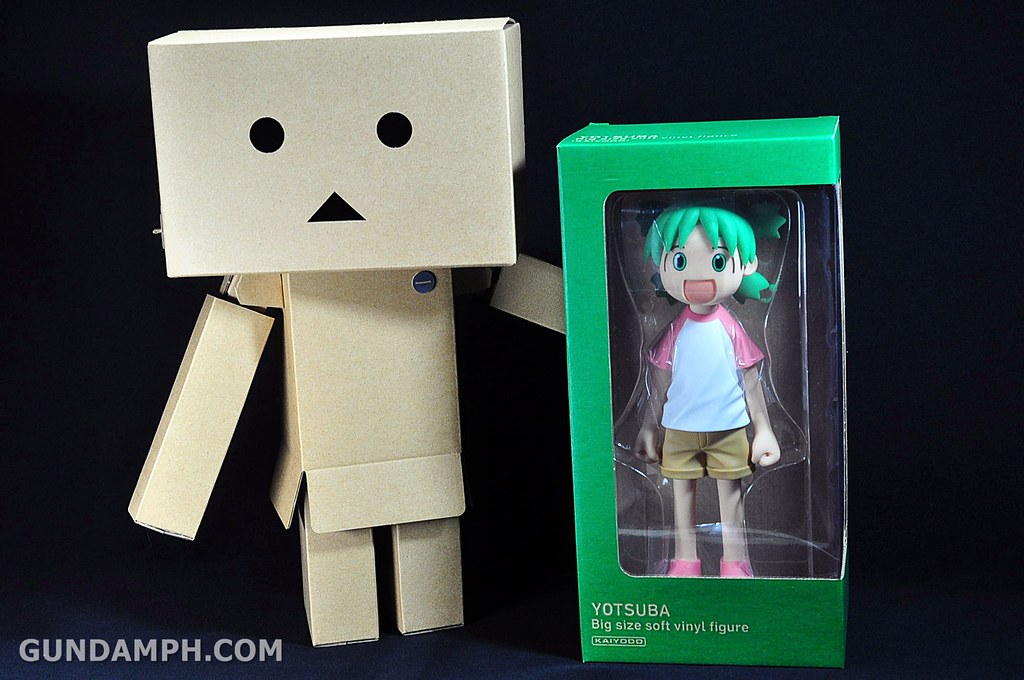
Everybody loves Danboard. We are no exception to that. That is why we are happy to present this assembly review of Kaiyodo’s Big Scale Danboard. This version is the biggest build-it-yourself Danboard around. However, even though it is big, it is made out only of cardboard material held together by crafty folding and some plastic screws. Some glue or adhesive is required! It is about 14.5 inches high and roughly more than 12 inches wide. It was not as easy to build as it looks. There were some parts that need some thought processing. Anyway, this is a must have for Yotsuba fans. This is best partnered with the Big Scale Yotsuba. So I advise to get them both! Special thanks to Hubbyte Toy Store for the special discount we got for this cutie!

***********
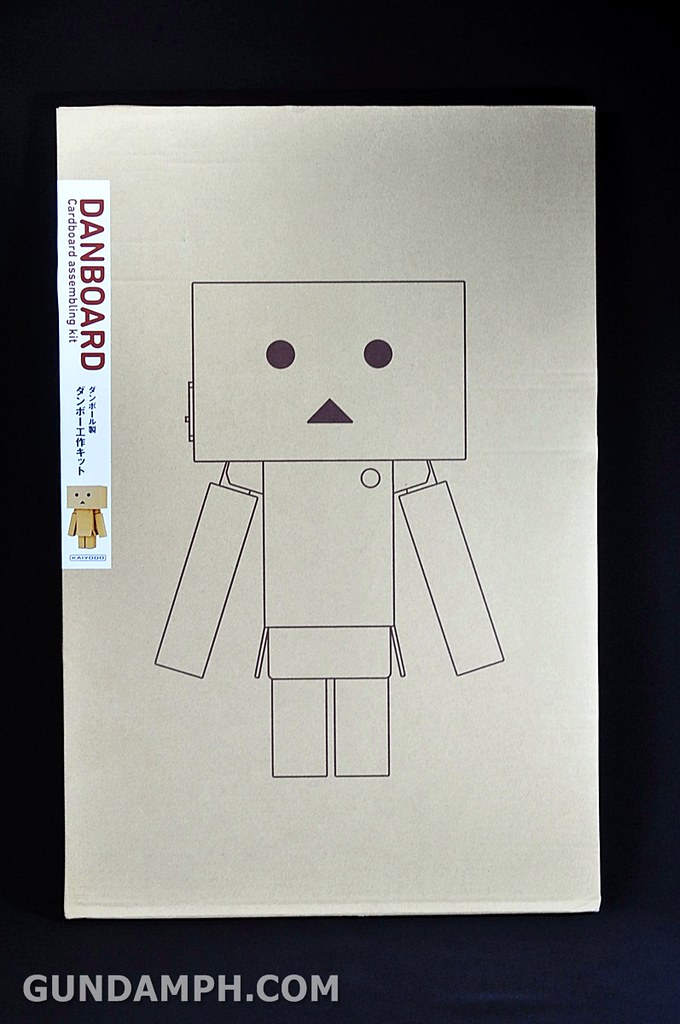
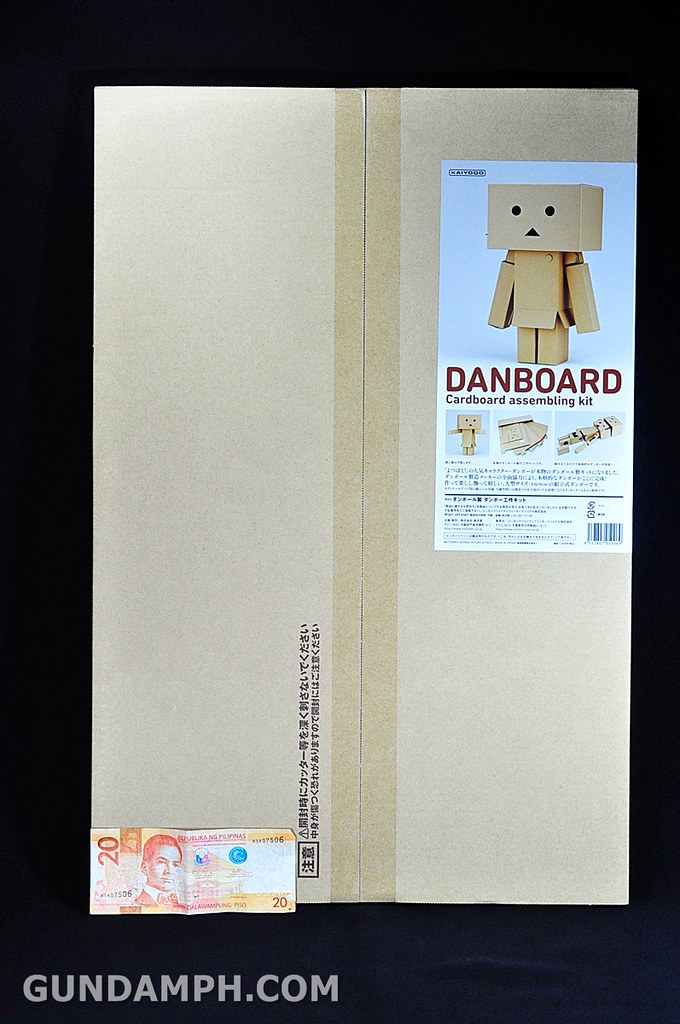
BOX
– box is very thin, about 1 inch thin.
– it has the same cardboard material as the main kit uses.
– pretty big box, 25 x 17 inches.

as compared with a 20 peso bill

**************
UNBOXING
– the only way to open the box is to cut the tape in the middle
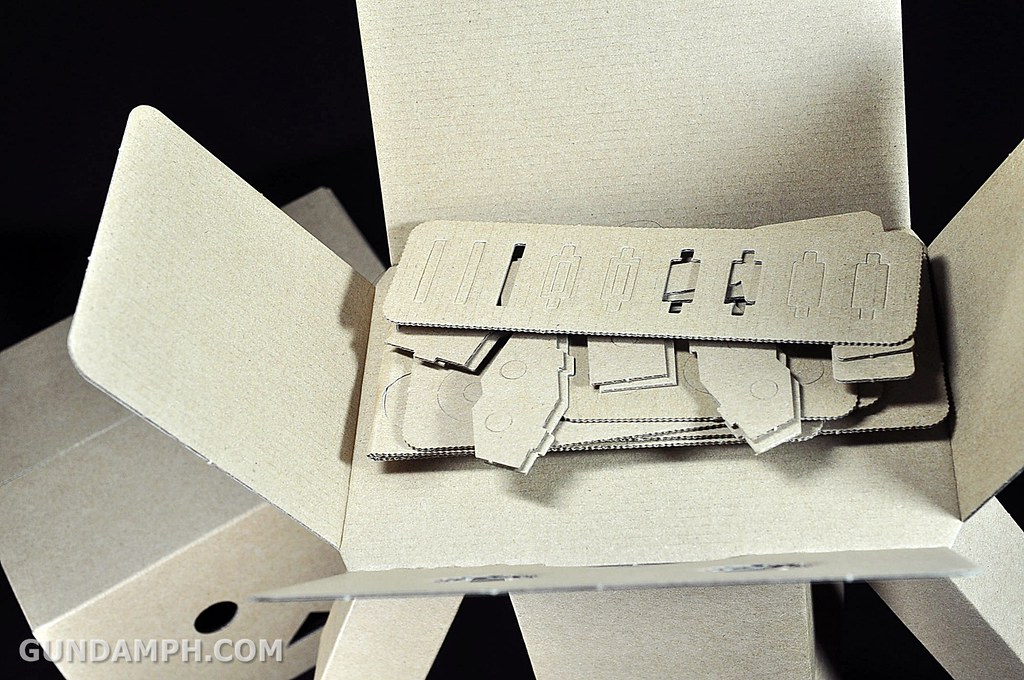
– you will immediately see everything once opened
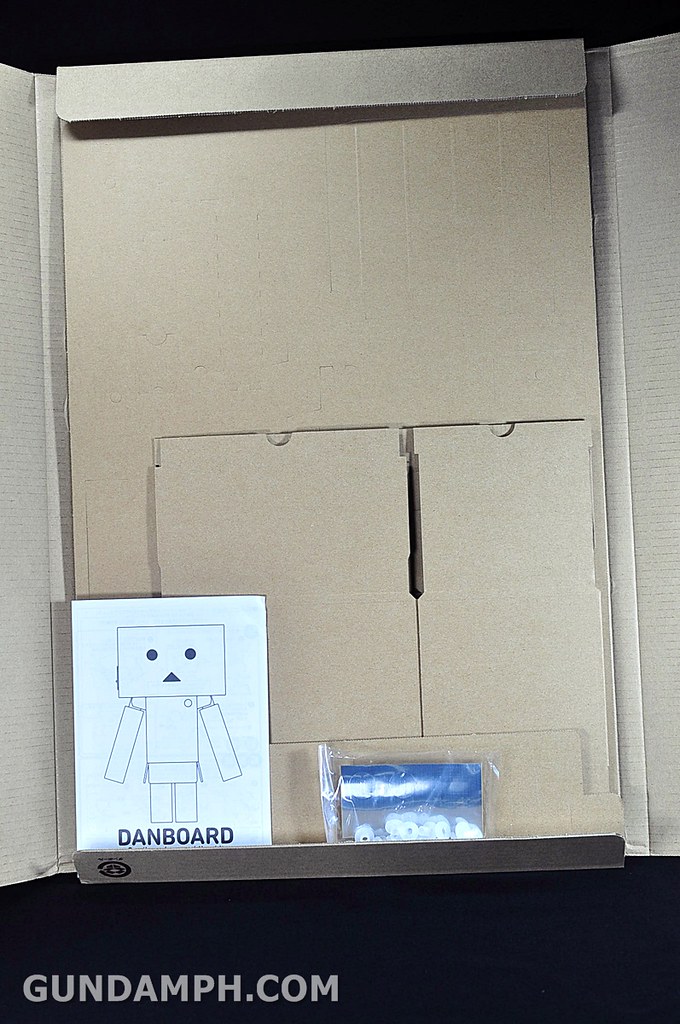
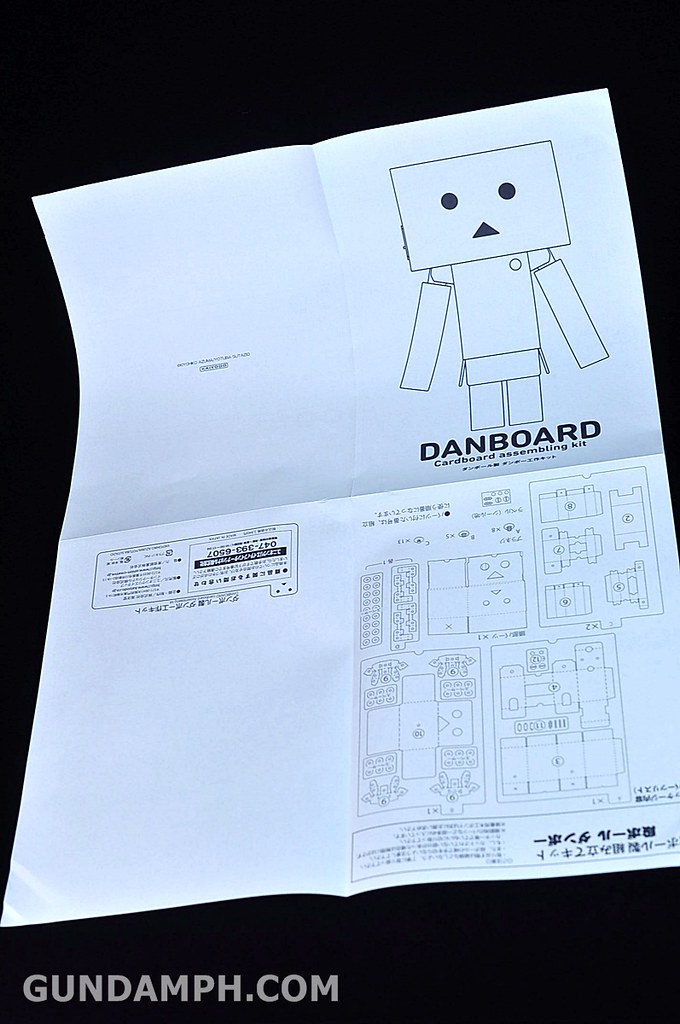
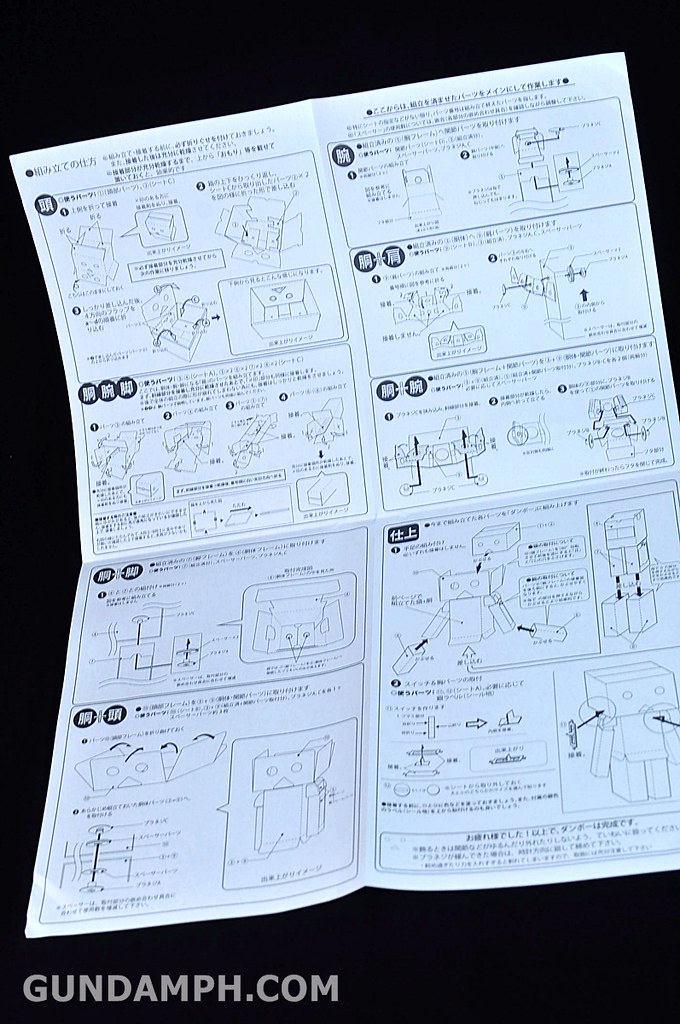
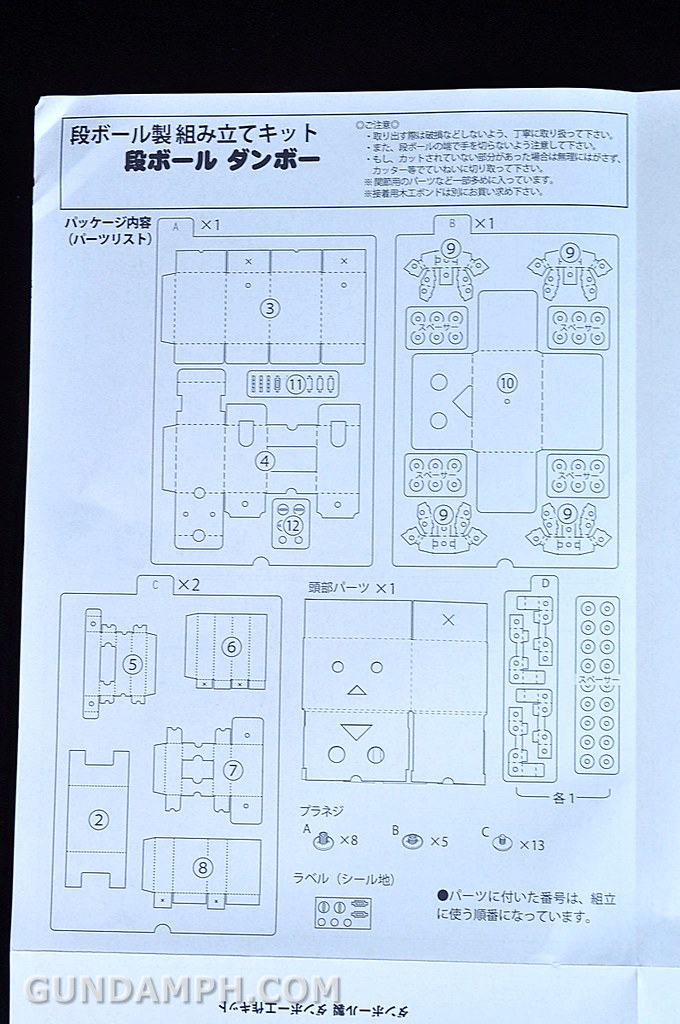
Manual
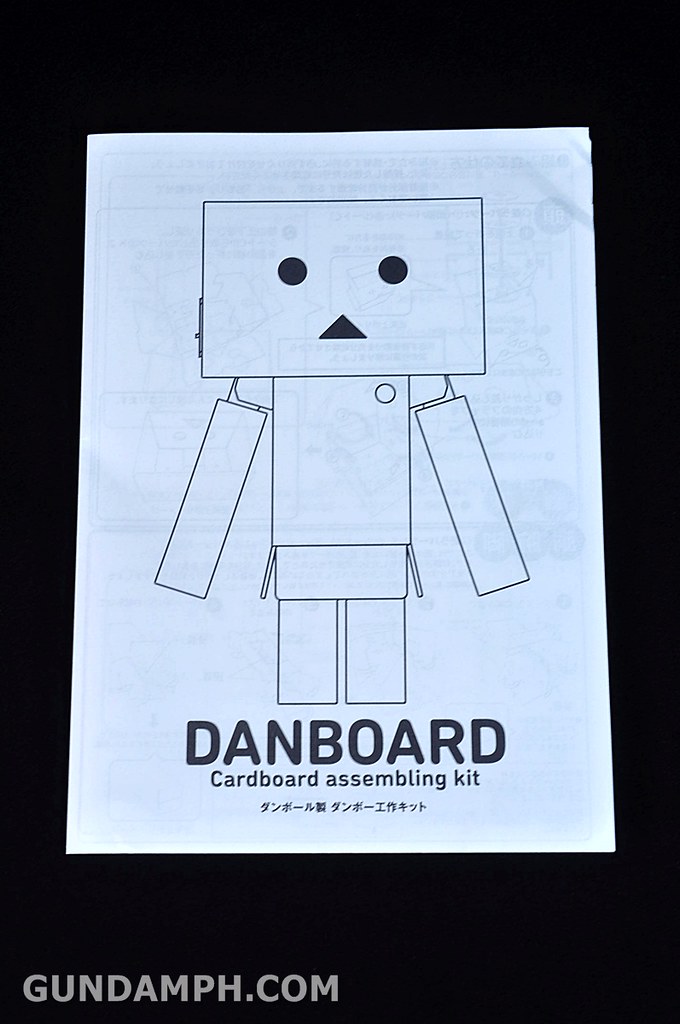
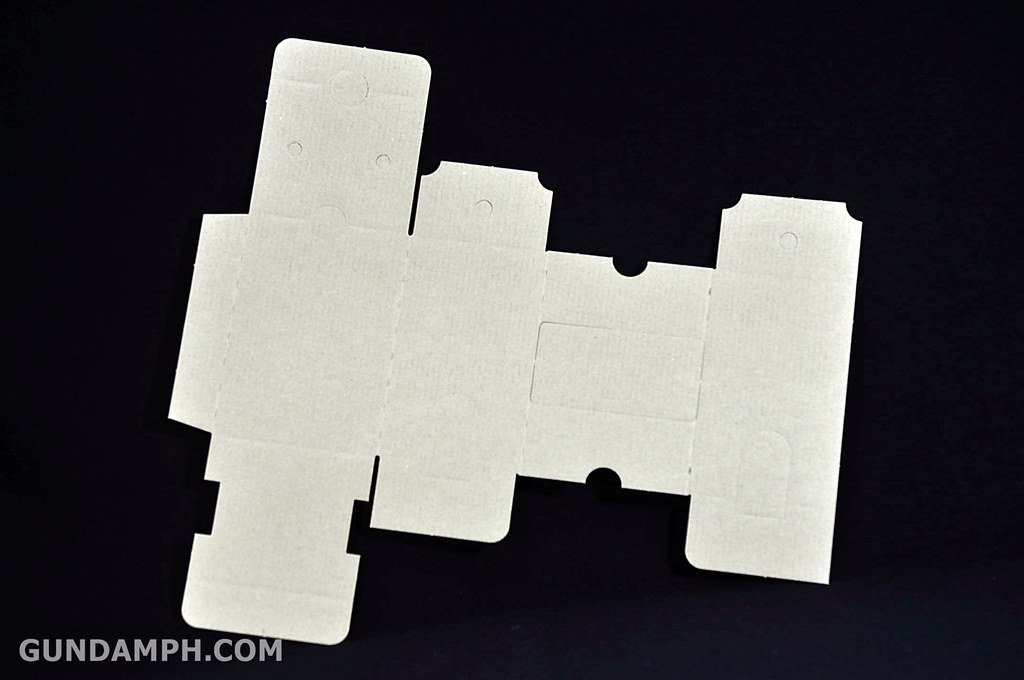
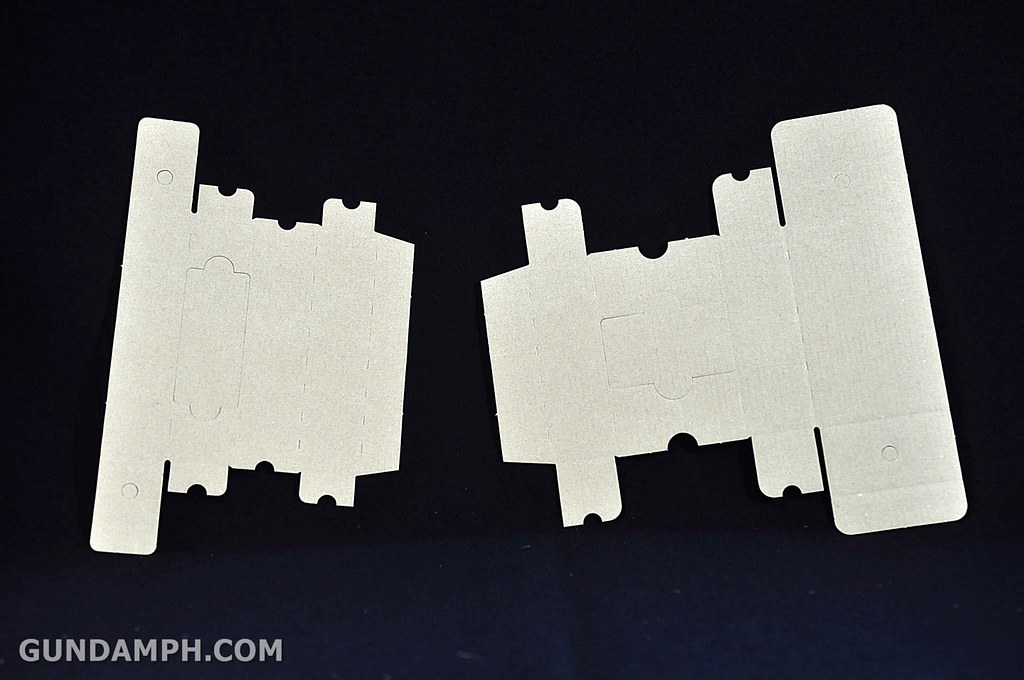
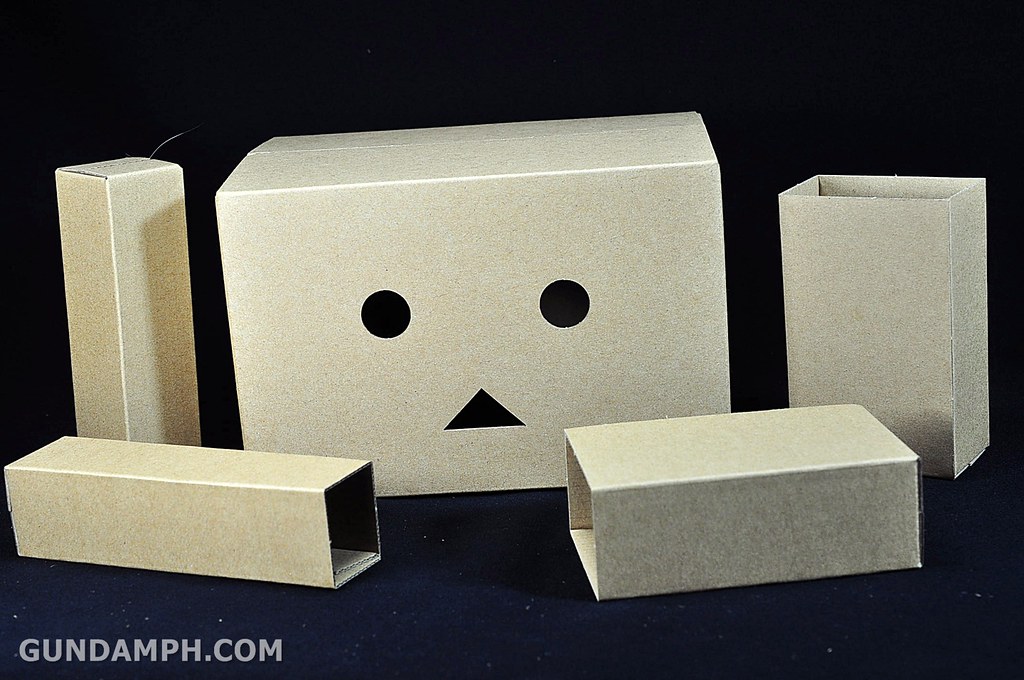
7 big pieces in total
This is one of the reasons I had a hard time figuring out what to do. There was no English text of any sort.

*********
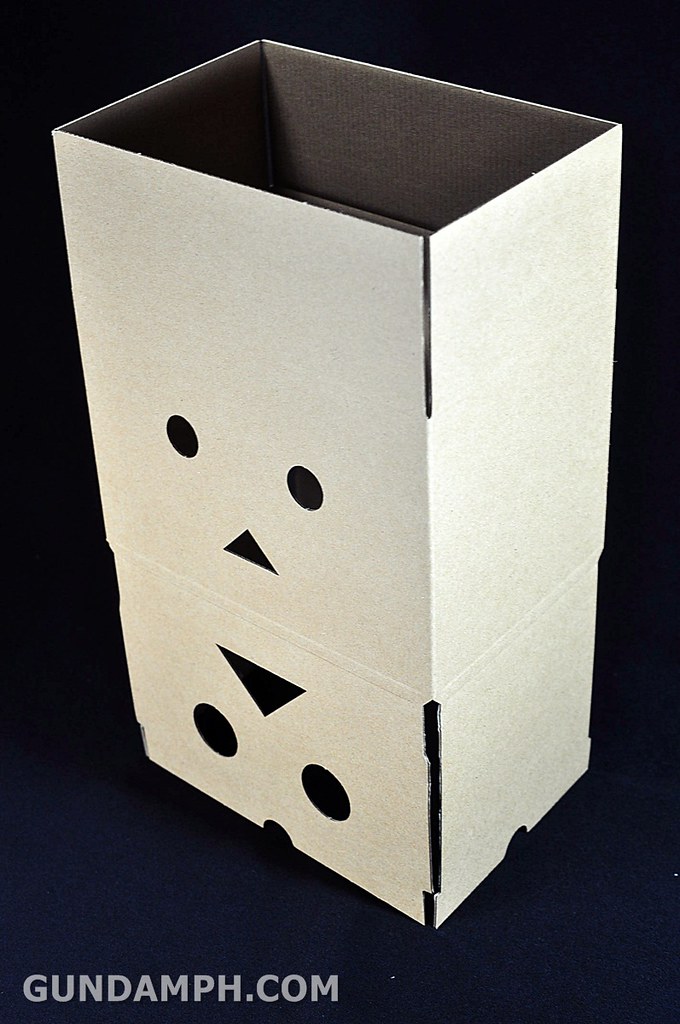
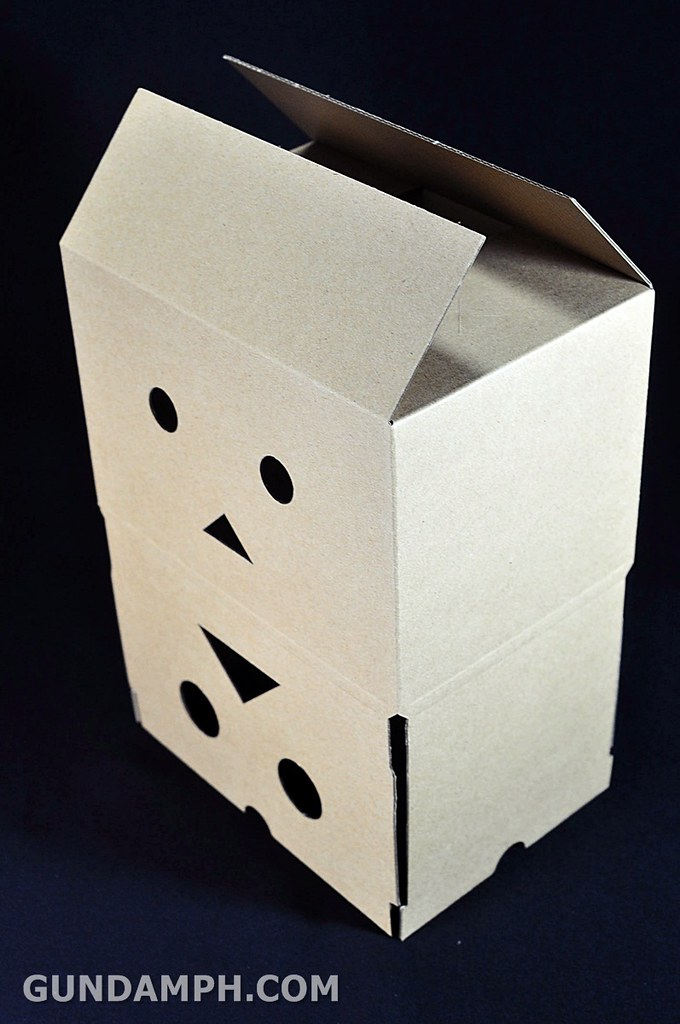
BUILDING THE CARDBOARD FIGURE
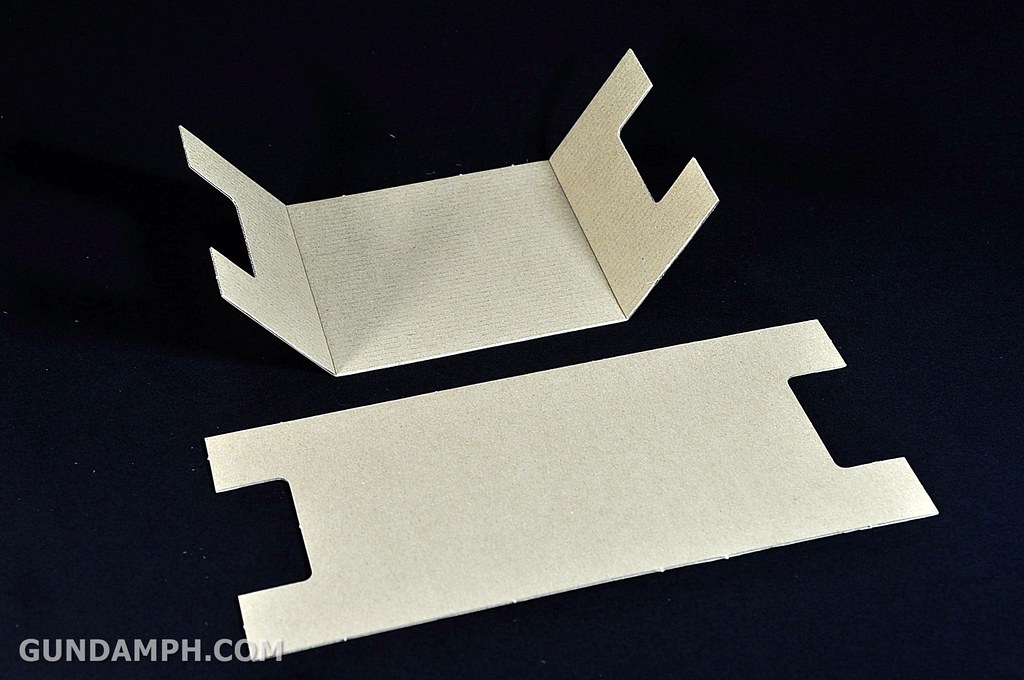
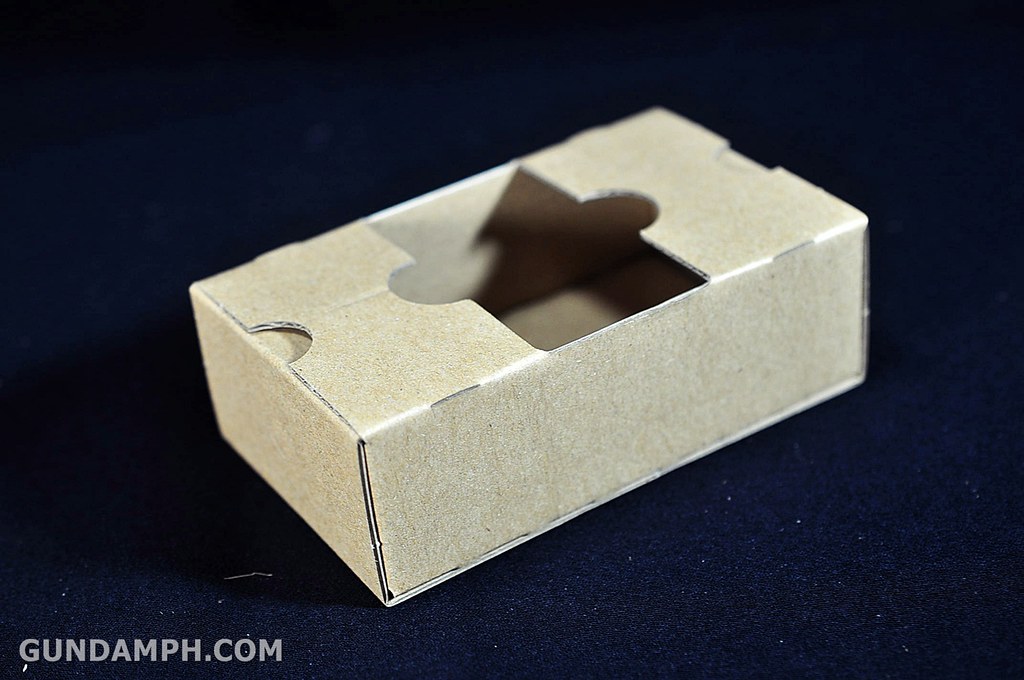
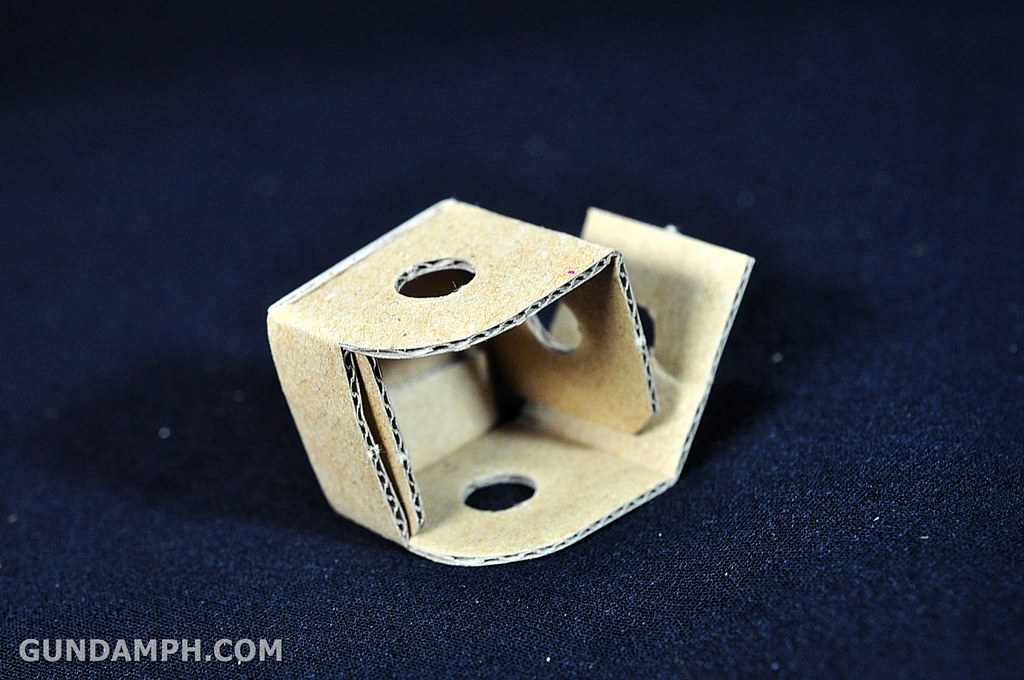
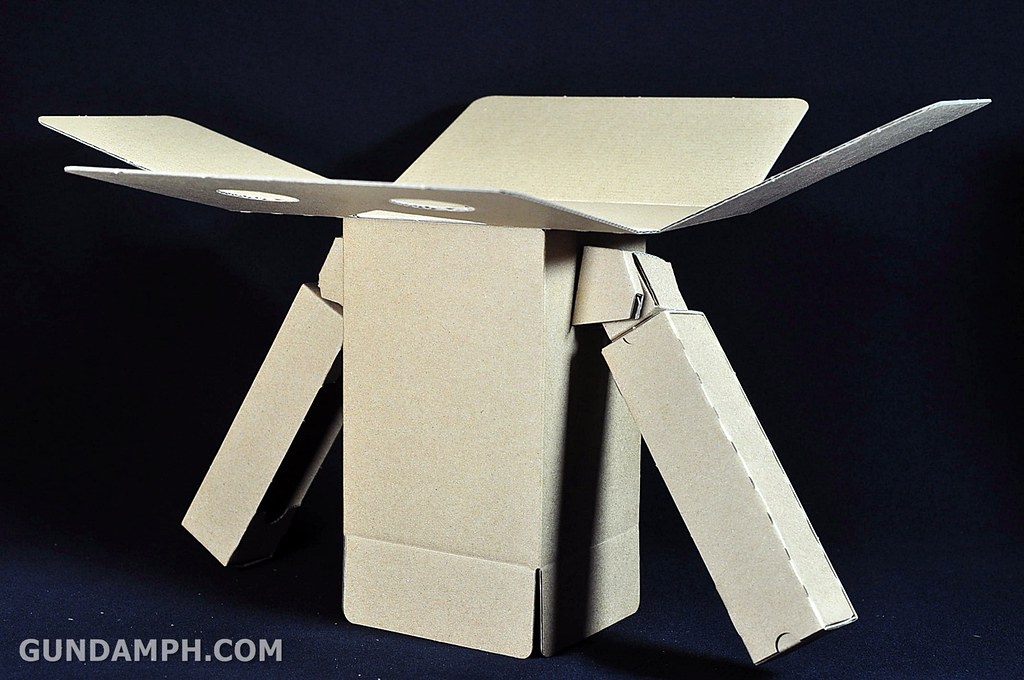
The thing about this cardboard figure is that it consists of inner frame like set of boxes.
Well, like an inner frame should be, it helps support the whole figure or kit itself.


I tried using masking tape to hold some of the parts… But it looked ugly. So I switched to 3M double adhesive tape after that.

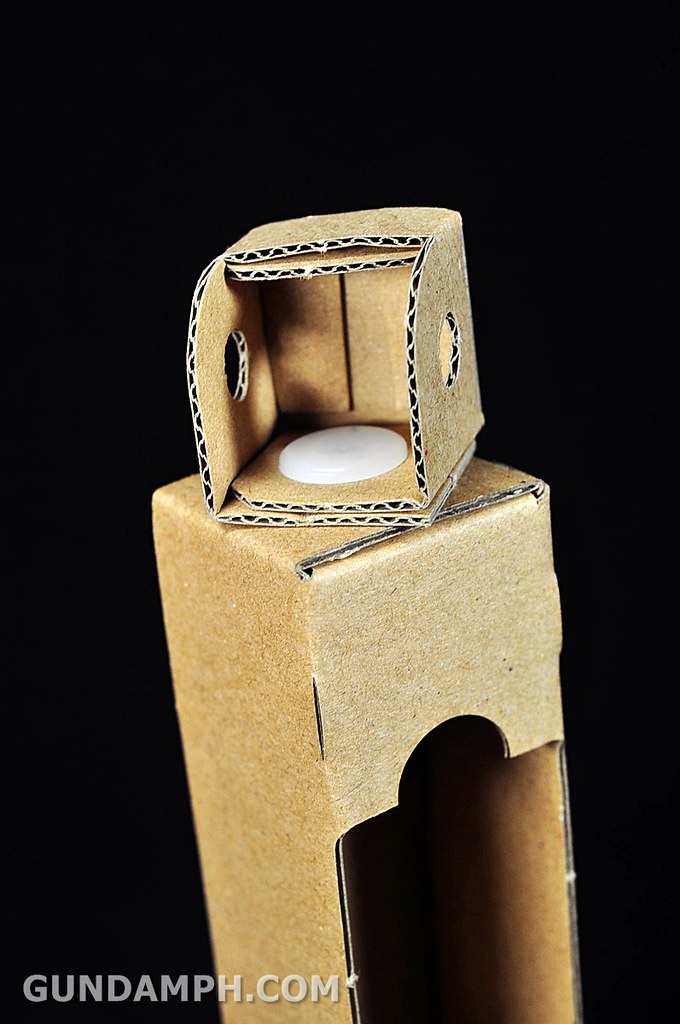
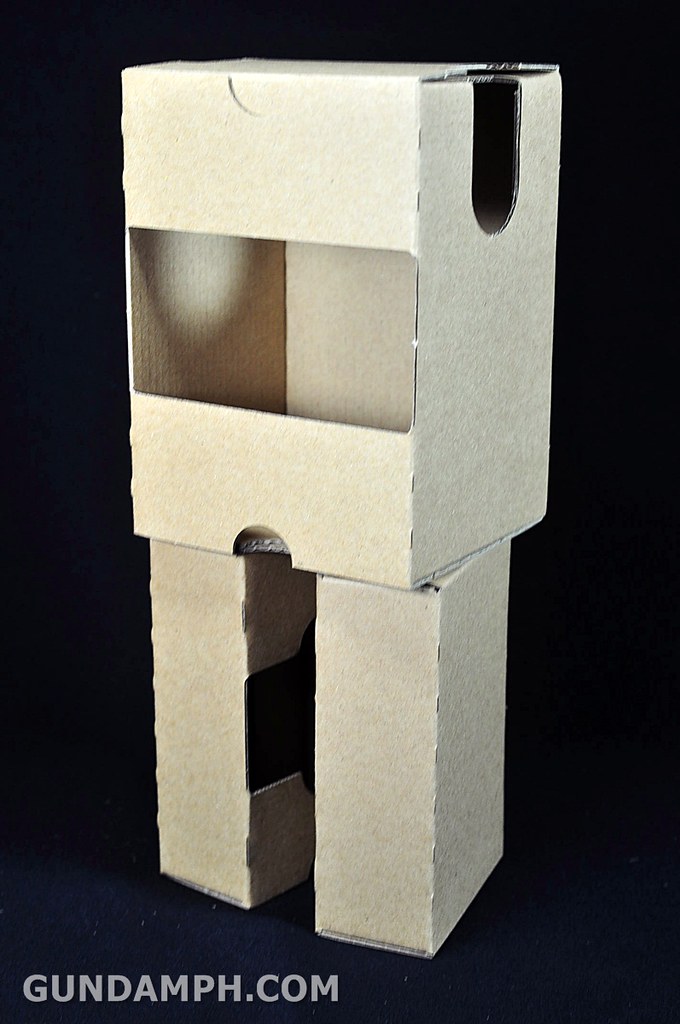
here is the completed head section.

This section is the TORSO.
(From this point onward I used the 3M double adhesive tape)


and this one here is the inner frame of the torso

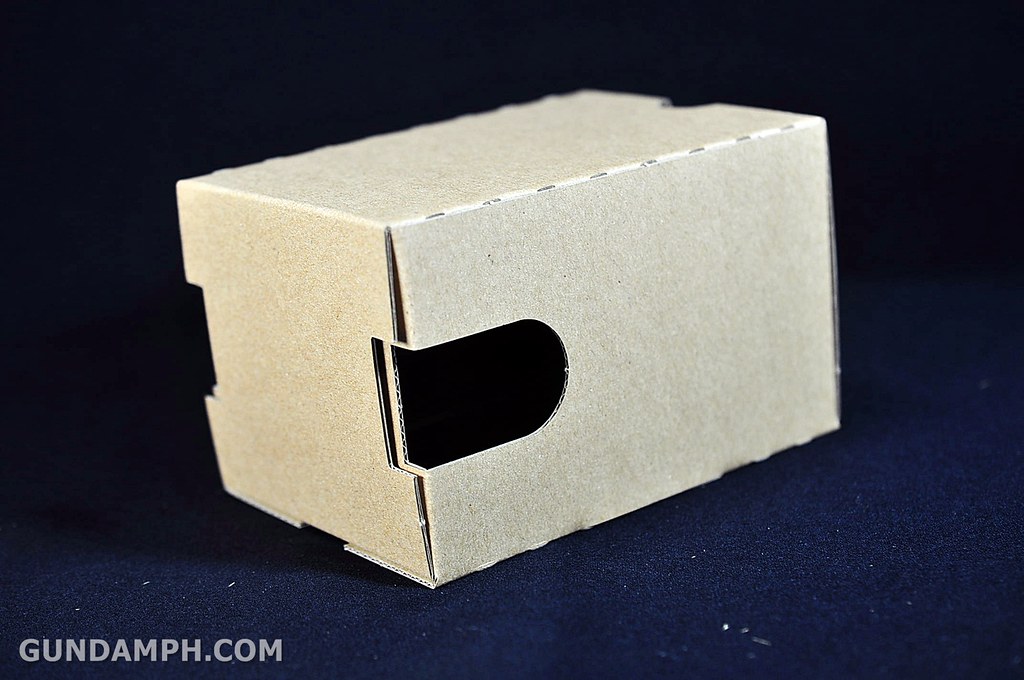
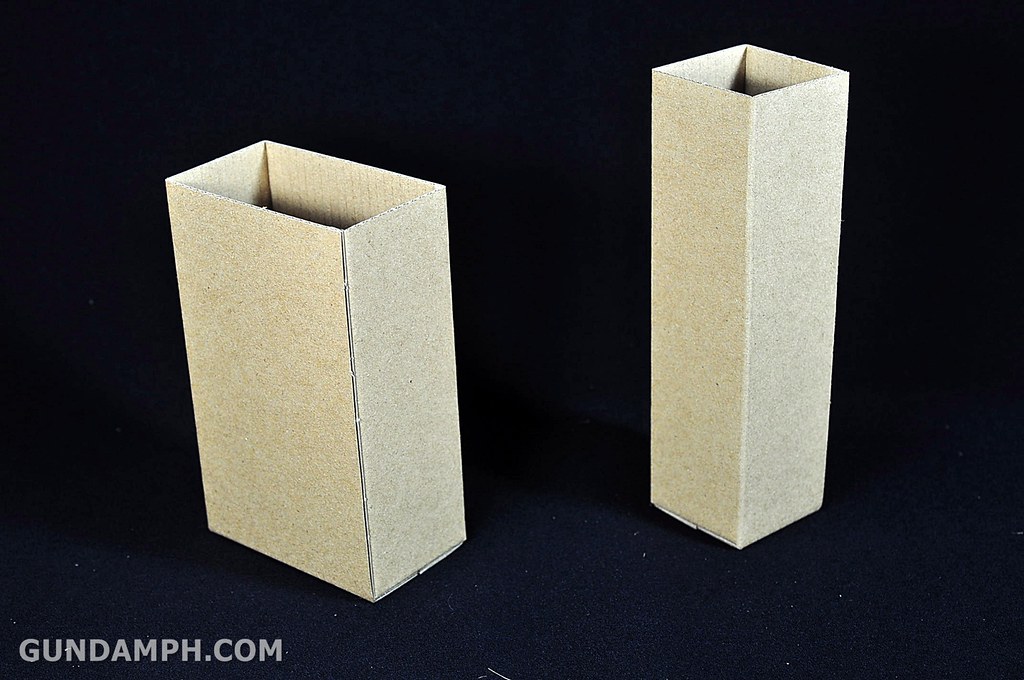
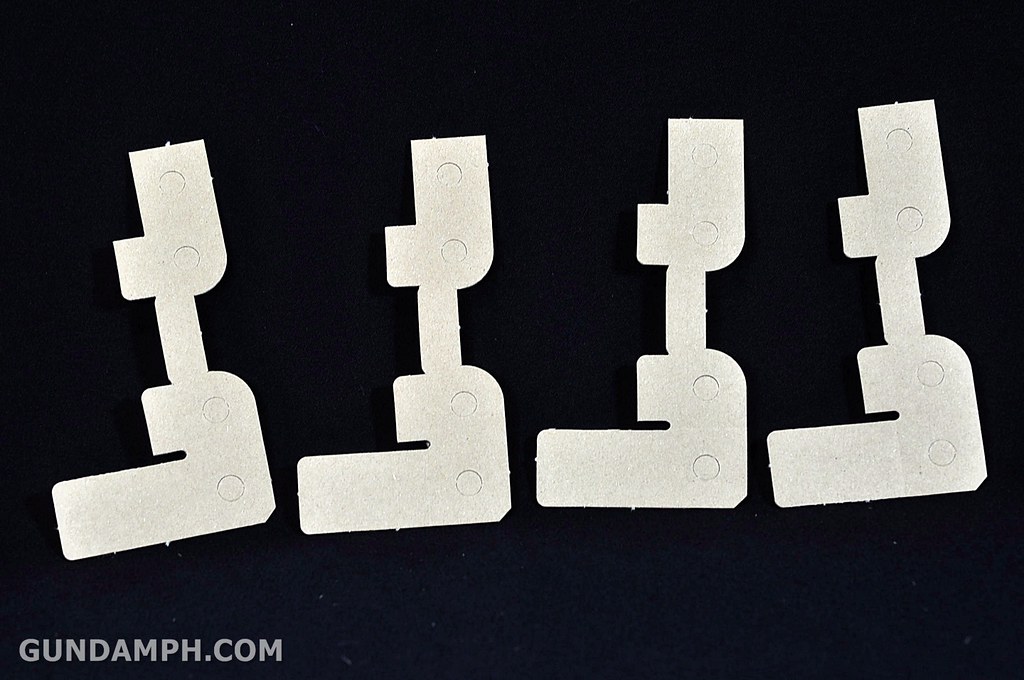
Like the torso, we also have inner frames for the arms and legs

left one is frame for the legs
right one is for the arms

below are the ARMS and LEGS

A photo showing where each respective inner frame will go

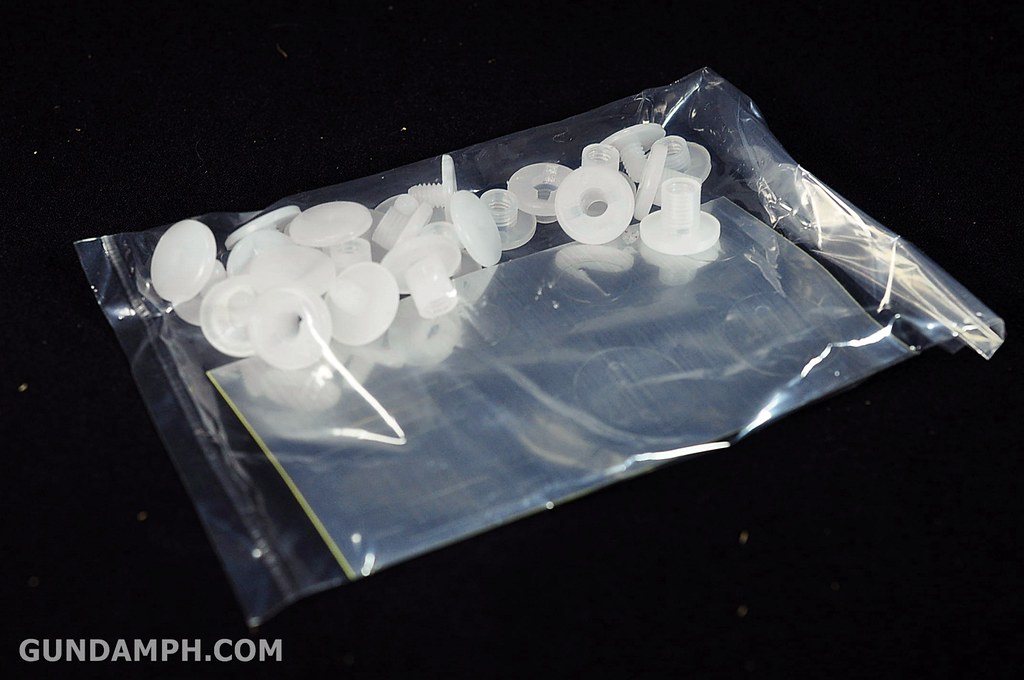
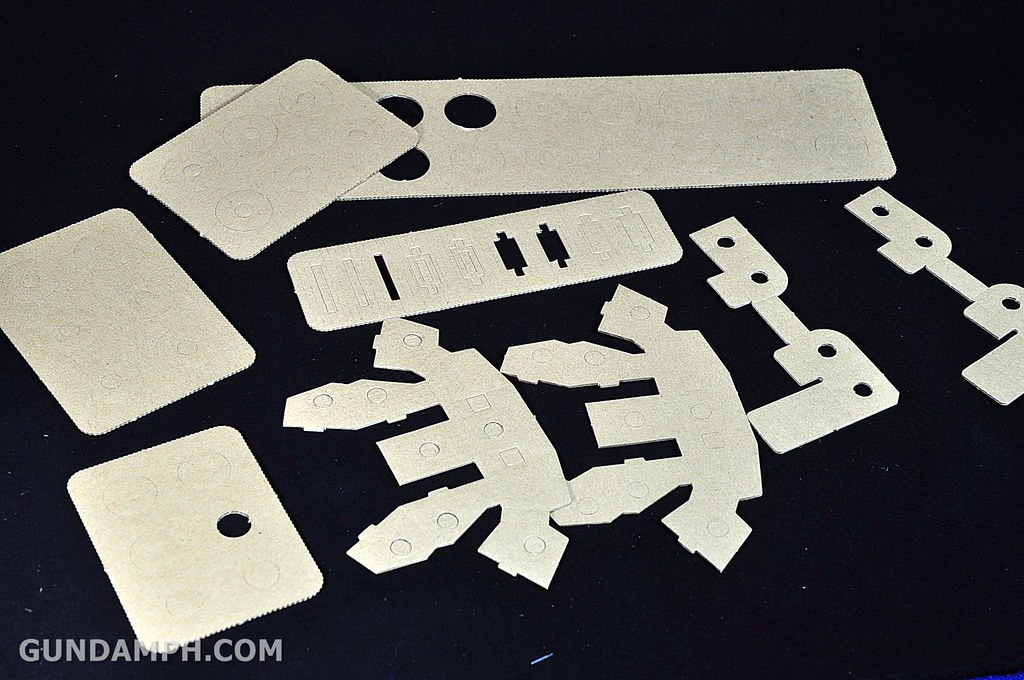
Almost forgot to mention this pack here. It contains the plastic screw set (the joints)
and also the TIN FOIL sticker
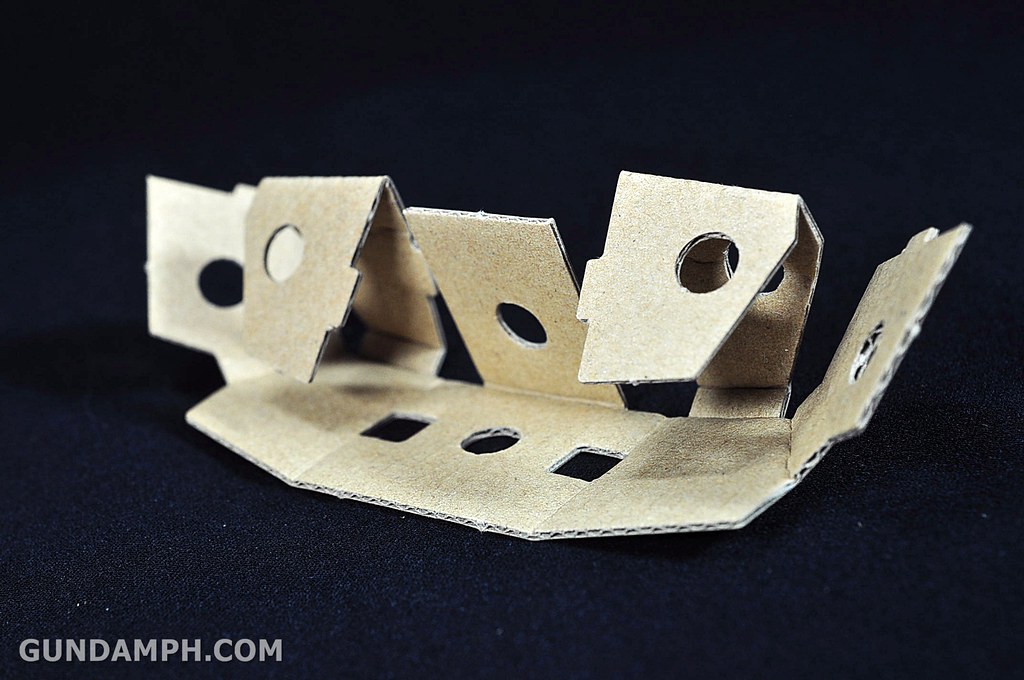
These are the connectors for the arms to the torso. Which when folded will look like the one on the right.
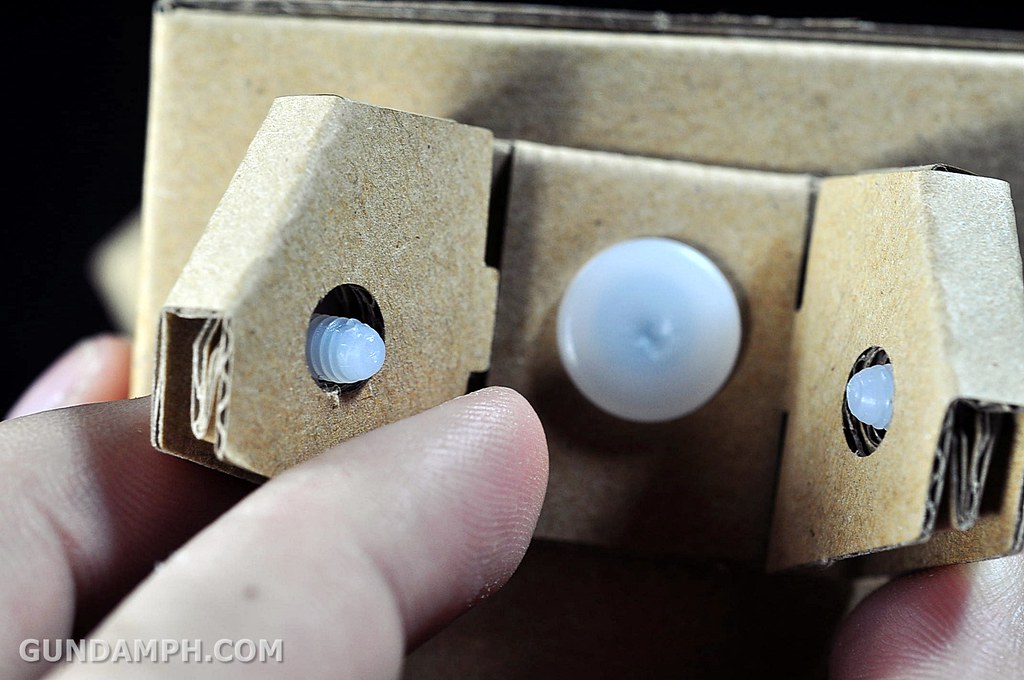
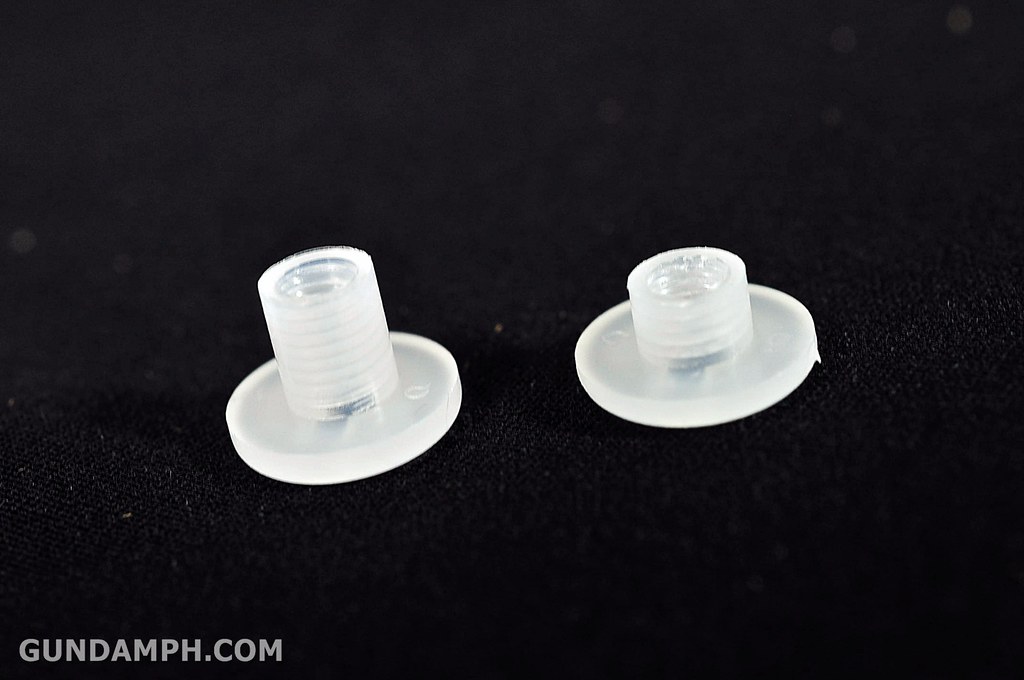
a close up look on the plastic screws
– REMEMBER that there are two type, a long and a short one. The longer ones are the ones that will be using the cardboard WASHERS or SPACERs

and this is how it looks like when used
SHOULDER COVERS as I would like to call it.
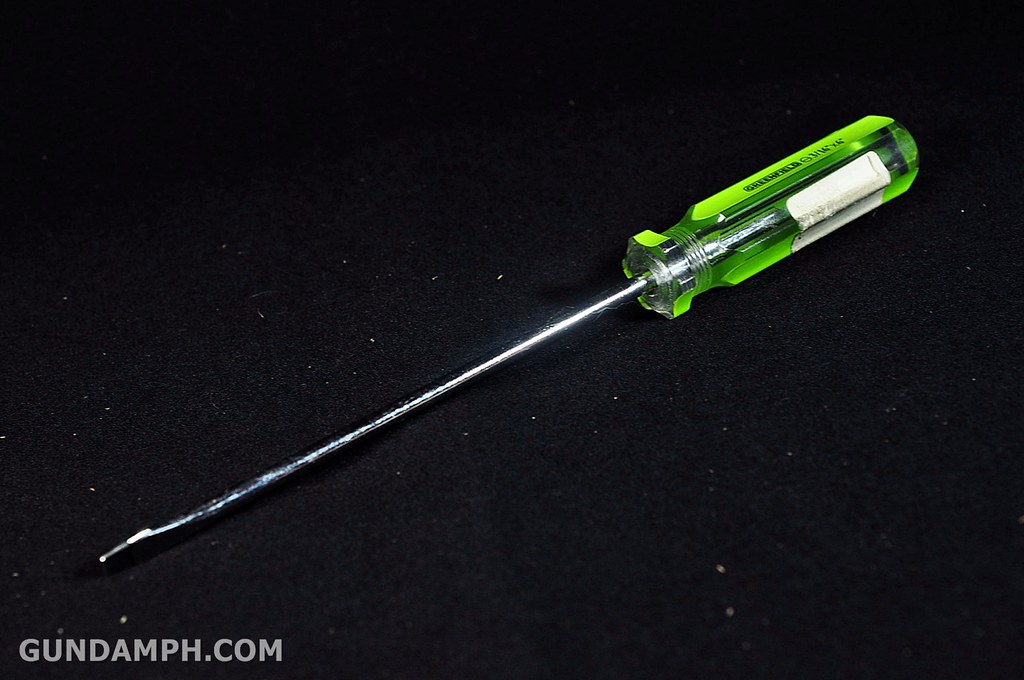
– it was really hard to put the screws into it.
– took me around 30 minutes or so…
– I used a flat screwdriver in order to connect it properly


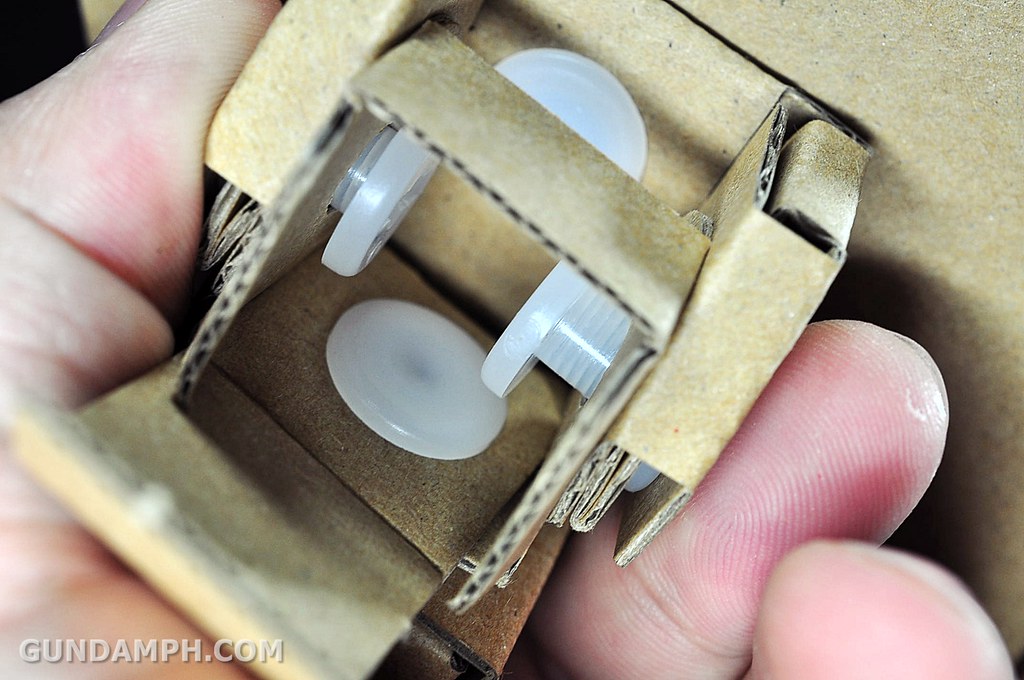
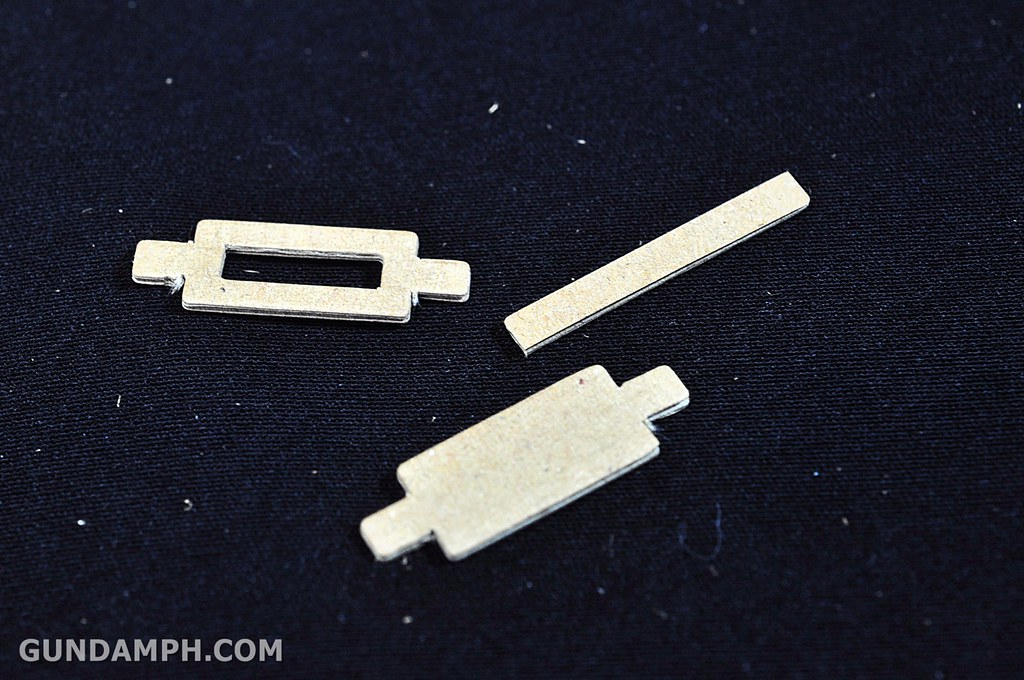
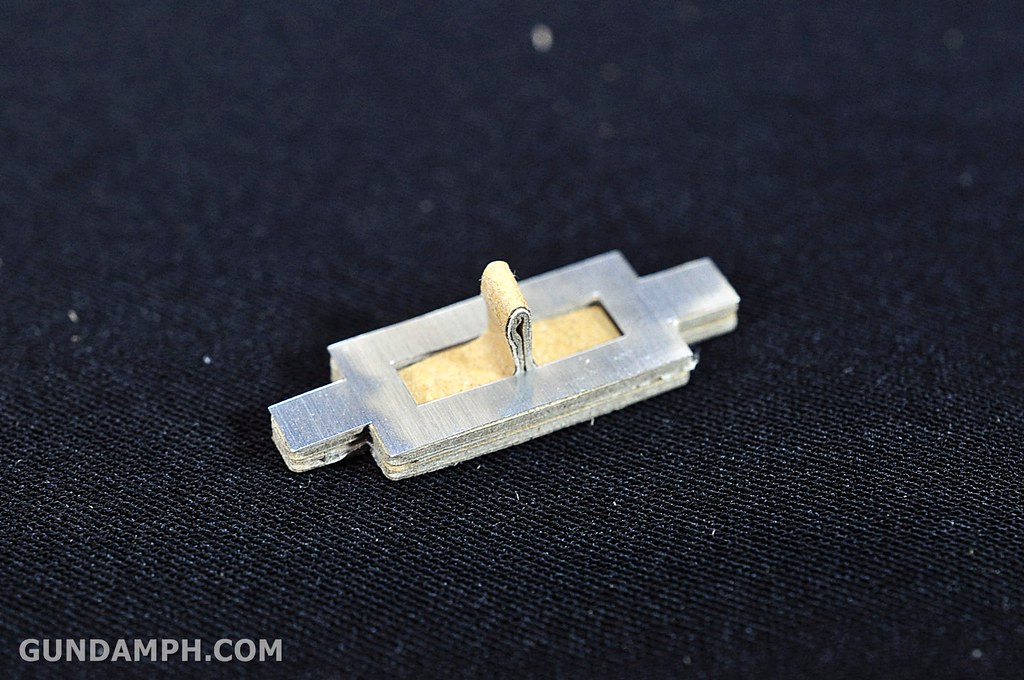
These are the spacers I was talking about


What it looks like when things are connected

the frame for the head

the “ARMOR” parts
DANBOARD!!!

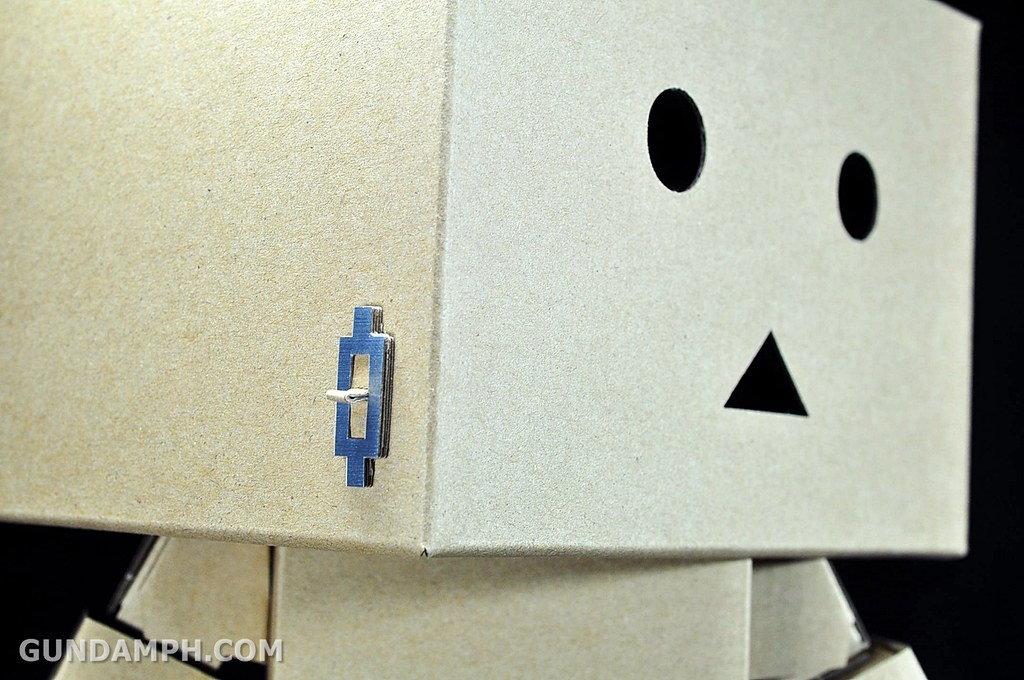
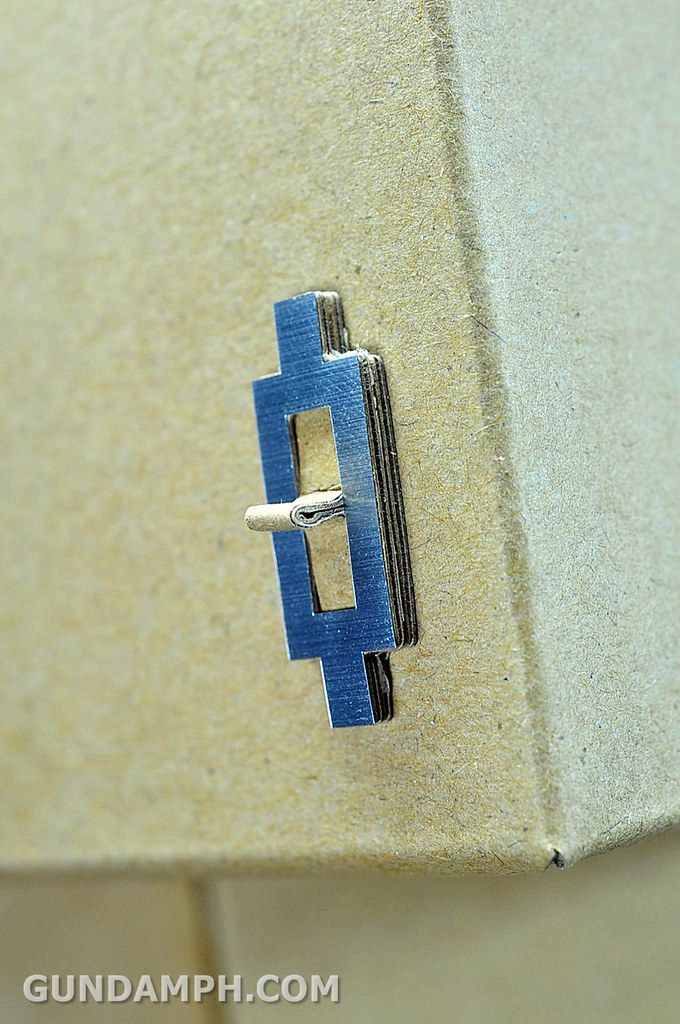
the switch for the side of the head
added the metal on the chest too

There seems to be a lot of excess stuff. I think some of them are extras in case the joints get torn or destroyed.
I kept them inside the head so I will not lose them.
***************
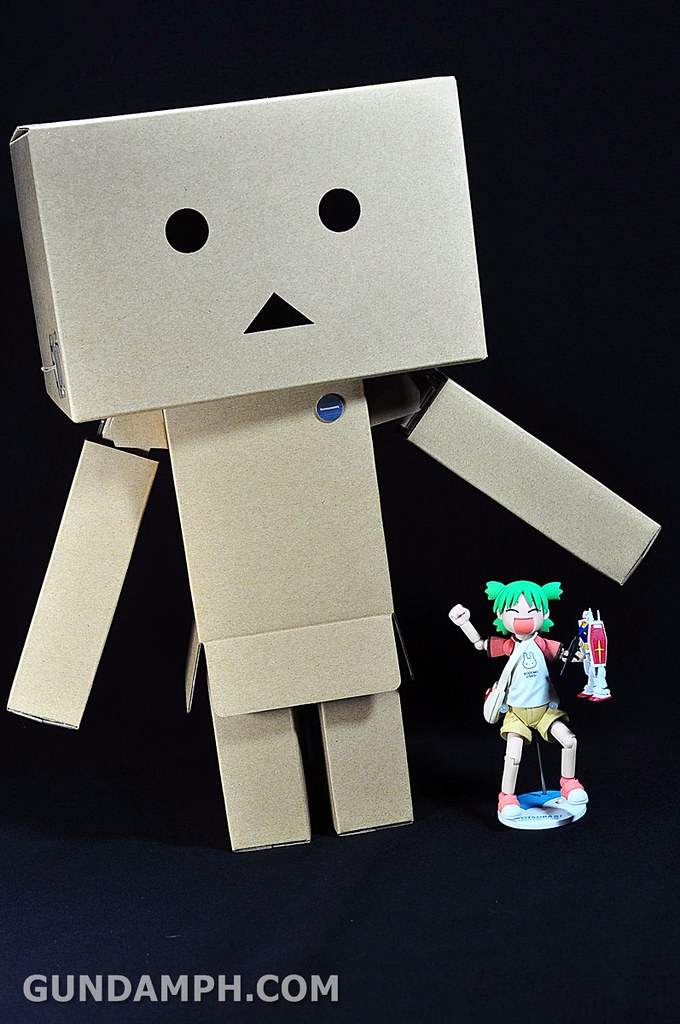
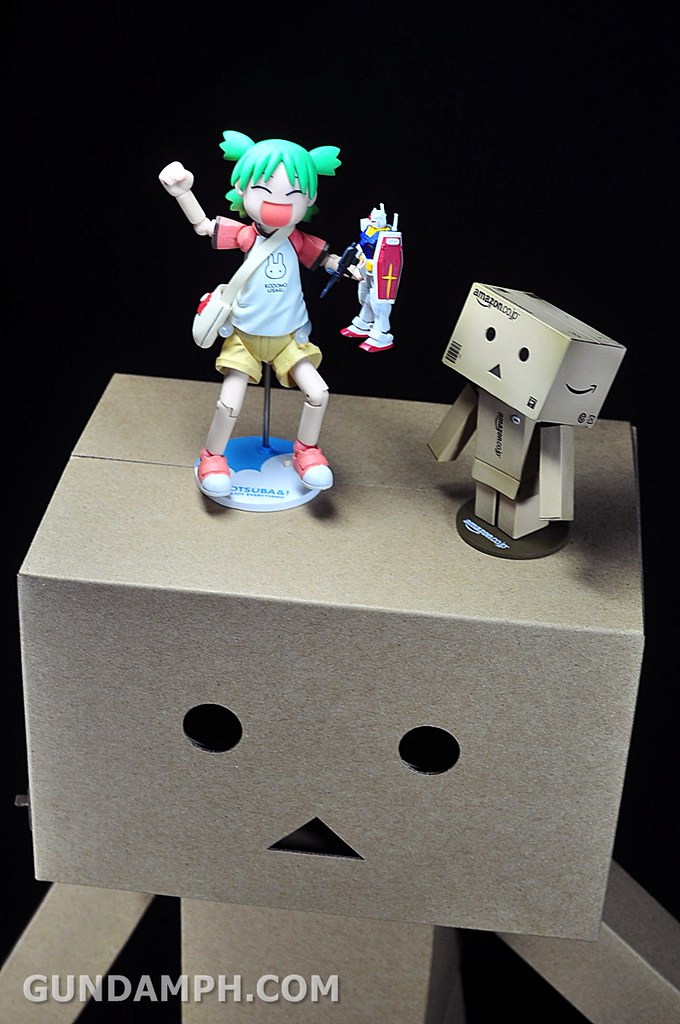
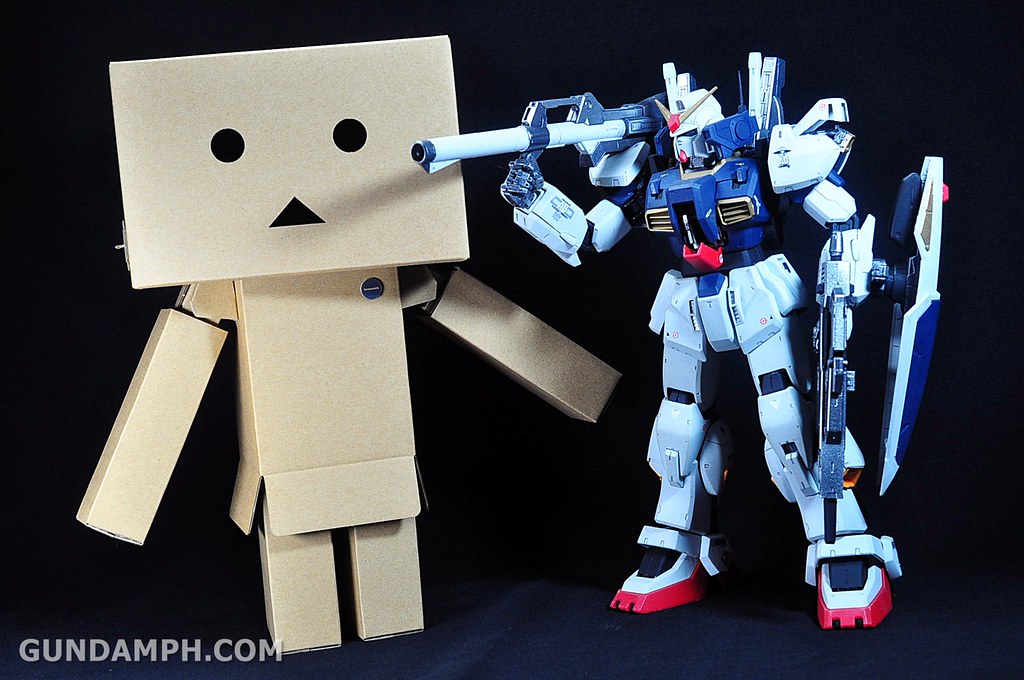
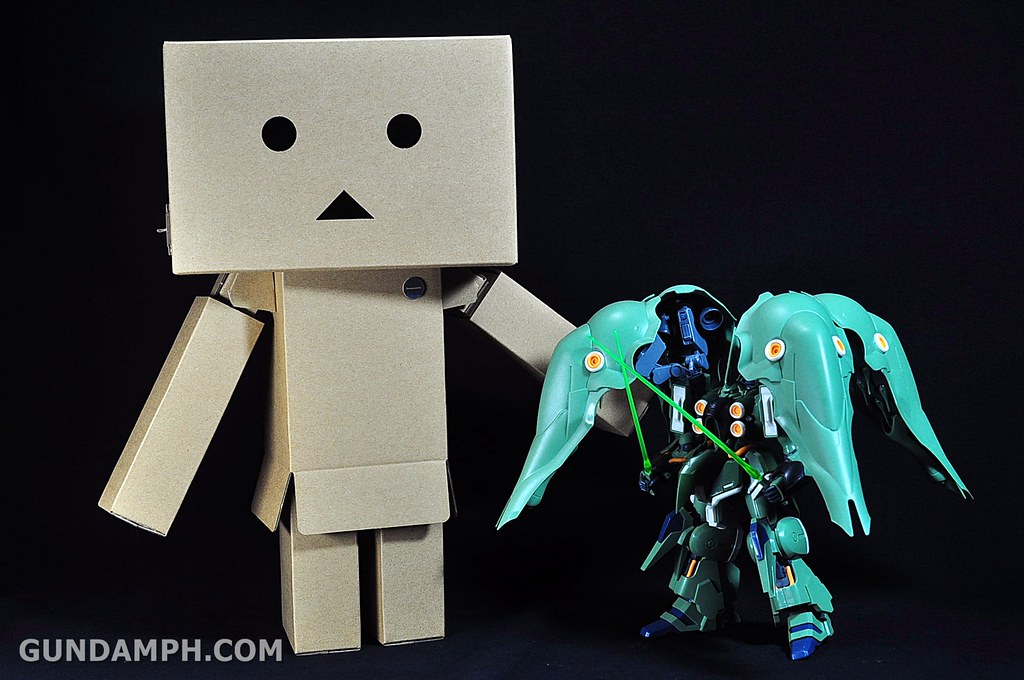
SIZE COMPARISON photos

the normal size Danboard
alongside the Big Scale Yotsuba
Mini Danboard

against the Yotsuba Summer Vacation version

against PG RX-178 MKII
against 1/144 Kshatriya
-END
