Finally got the guts to try and do a straight build review on our 1/100 Kshatriya (Neograde Version). What we have is the colored cast version made by G-System-Best. When we say straight build for this one, we built it WITHOUT PAINTING any single part. It is basically fitting and sanding parts (if necessary) to see how it will look together. In our case we just used PVA glue to put the parts together. We do not have the equipment to do a paint job so it will stay like that for quite some time. Luckily, because it is already colored cast, we have a rough idea on how the final kit will look like. Please be reminded that this is our first attempt on resin kits… It was fun and challenging to do… ^_^
************
1/100 Kshatriya UNBOXING review part has already been posted here —> CLICK here to read more!
**********
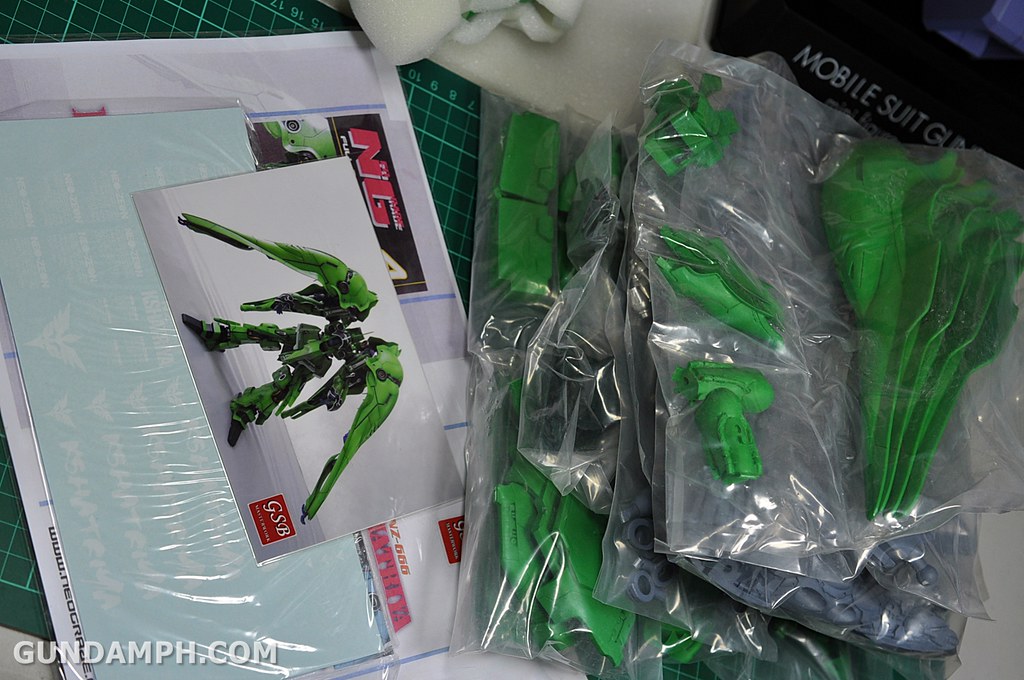
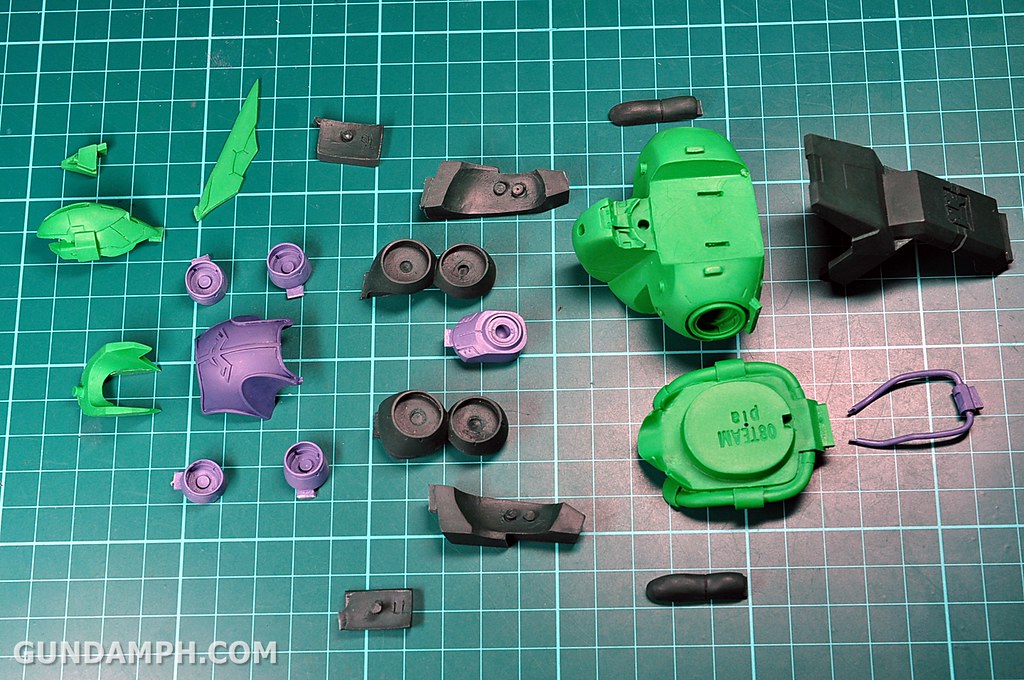
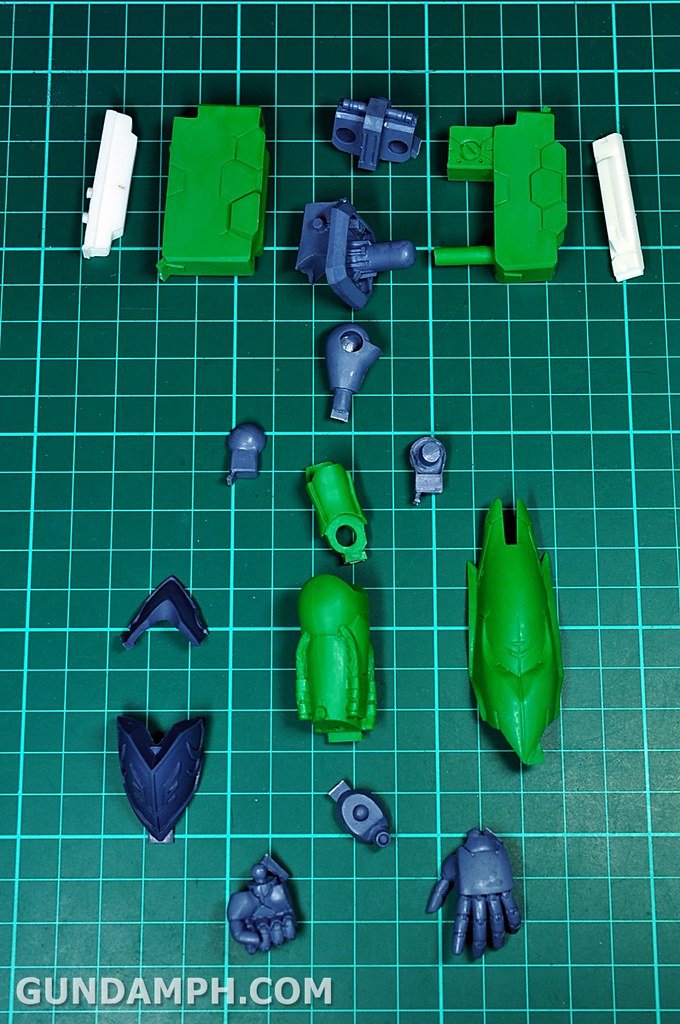
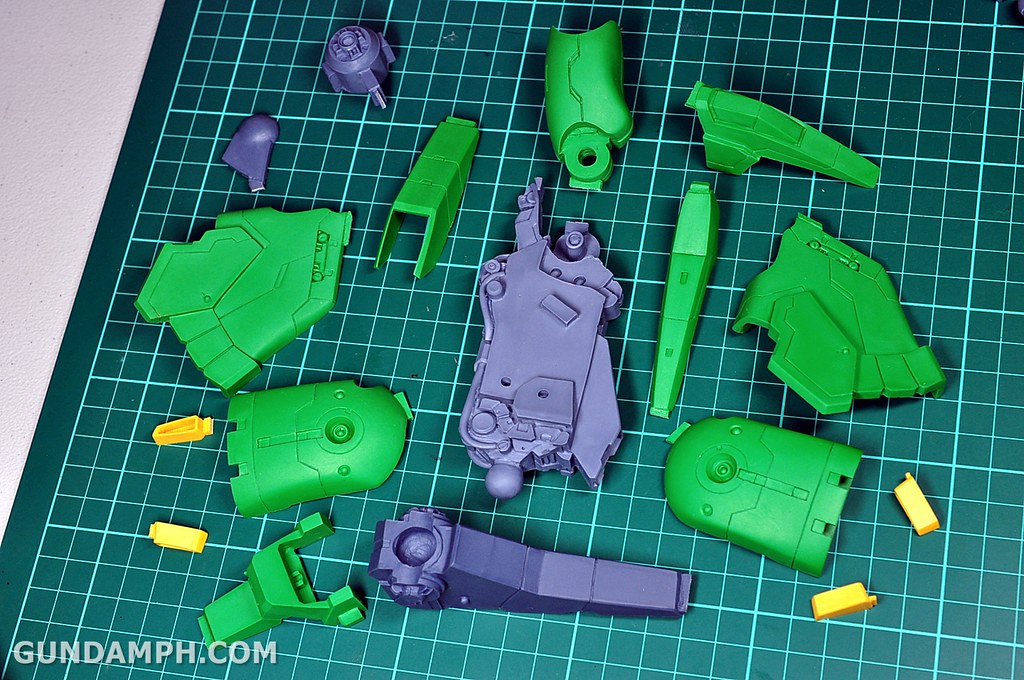
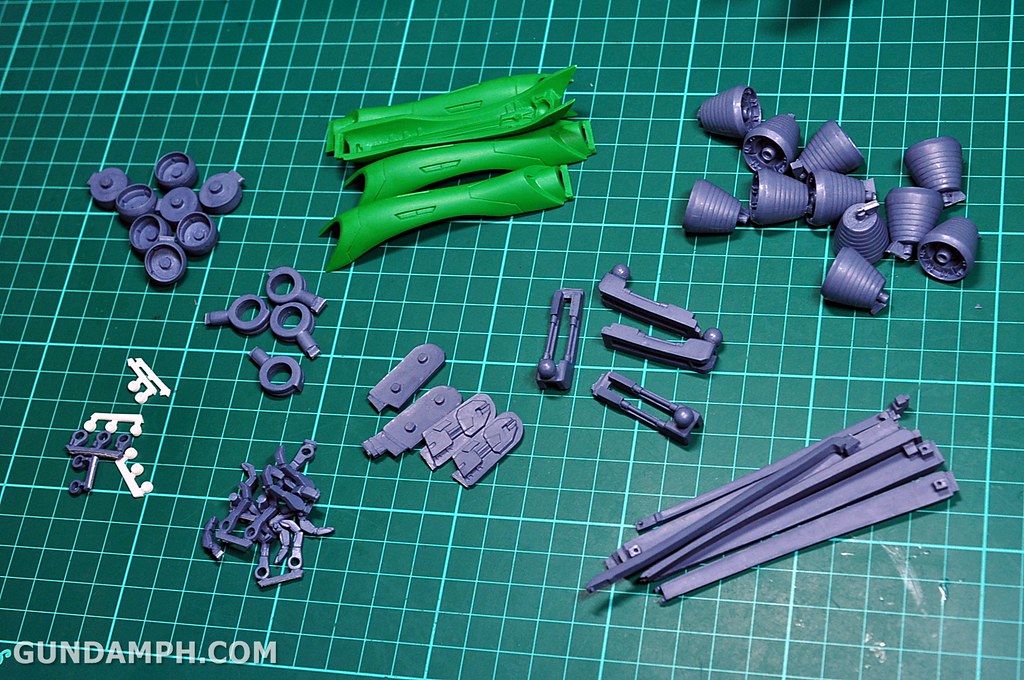
So these are all the contents of the box
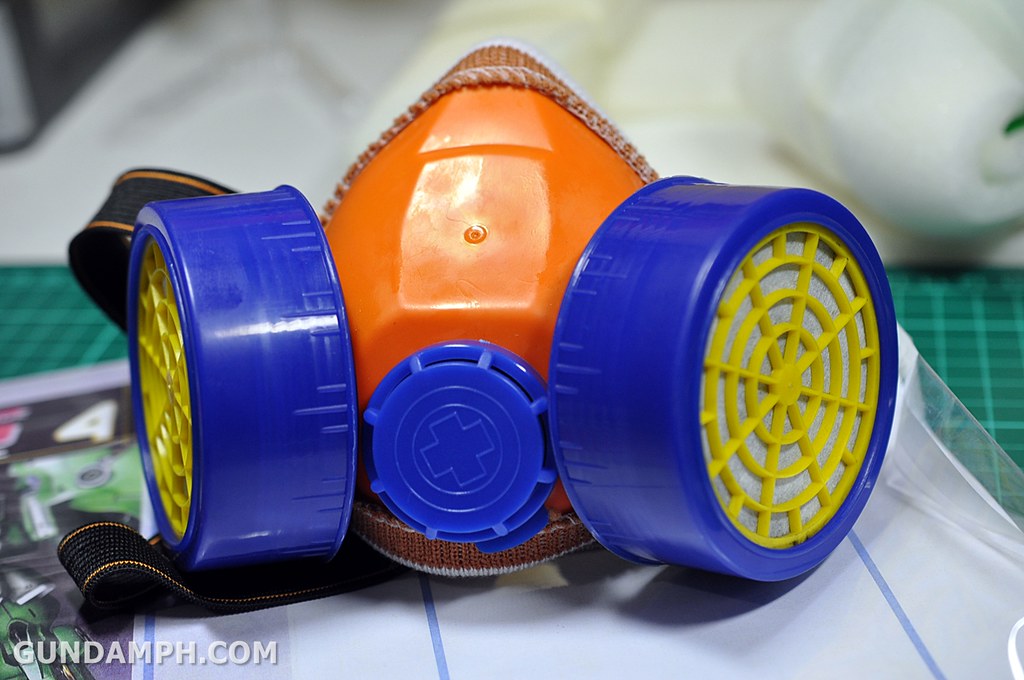
Resin kits have this sharp smell… I think it is from the chemical used to create the cast.
Just to be sure, better equip yourself some mask with air filters.
Eventually the smell will go away. Or maybe you could open the box for a few days to let the smell go away before you start working on the kit
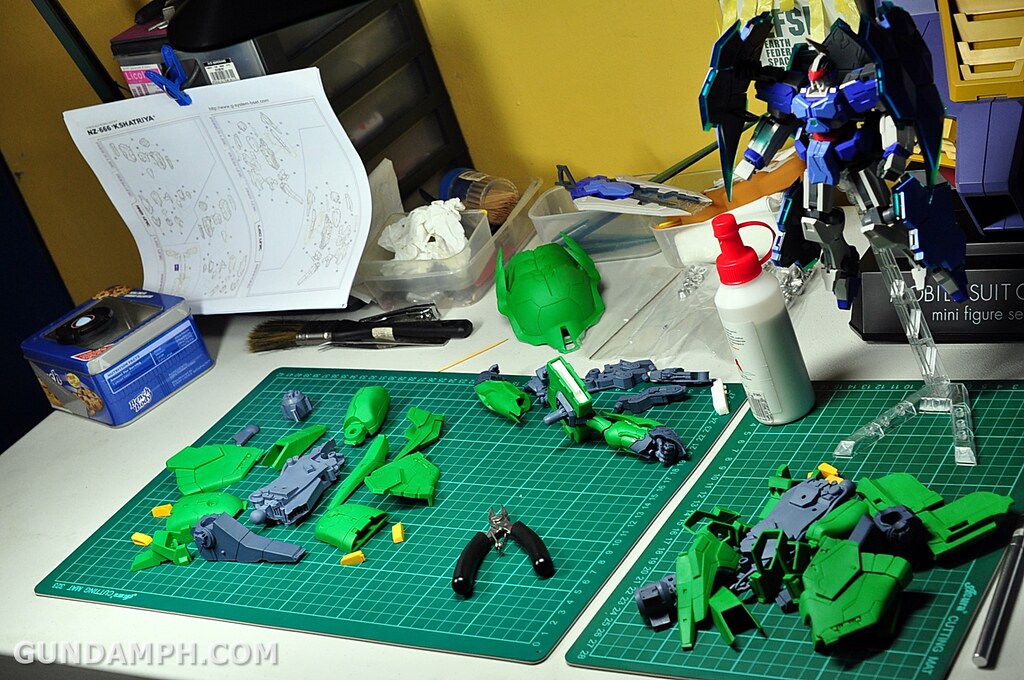
Manual and picture reference


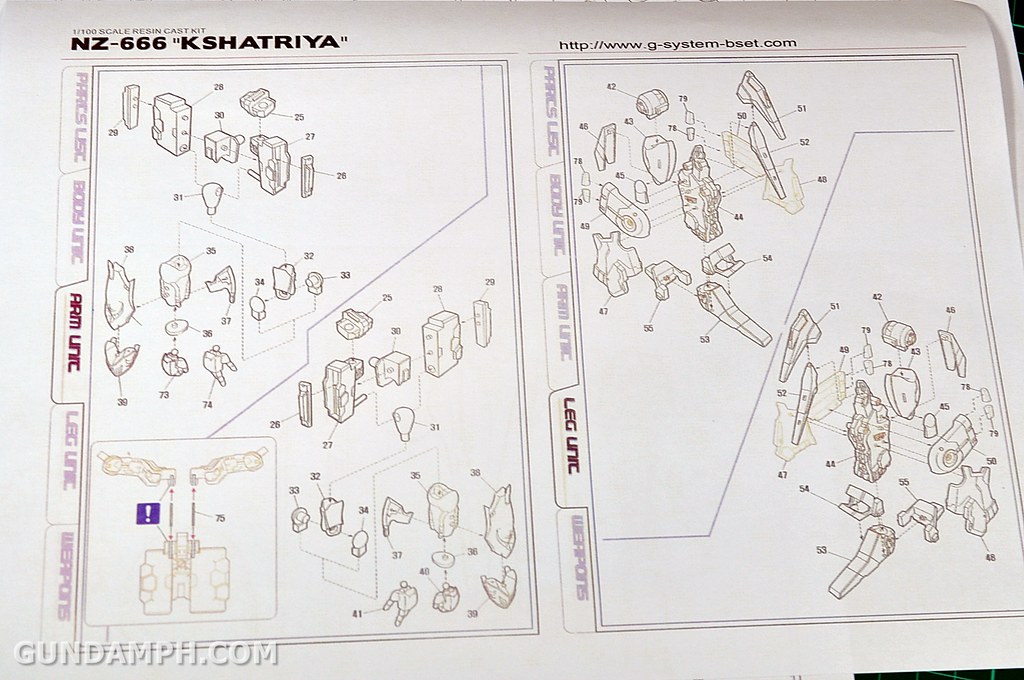

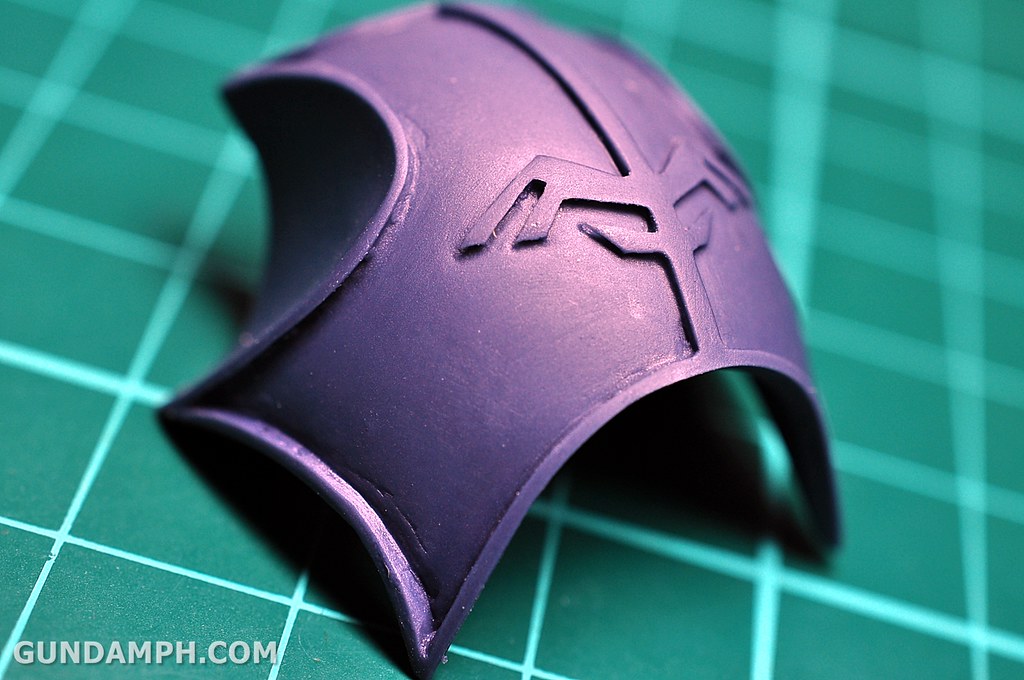
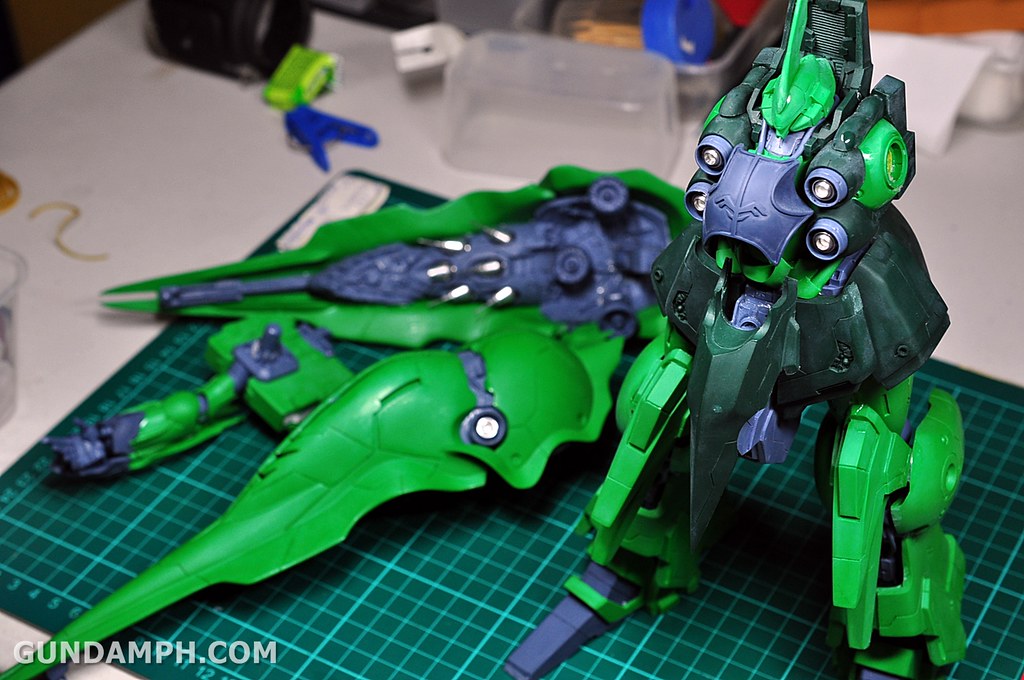
COLORED CAST
when you mention resin kits, the first thing that comes to mind are YELLOW/BEIGE kit pieces
luckily what we got was cast in color

Some parts have numbers under them. Especially if they seem to look identical and which side it goes is very important.

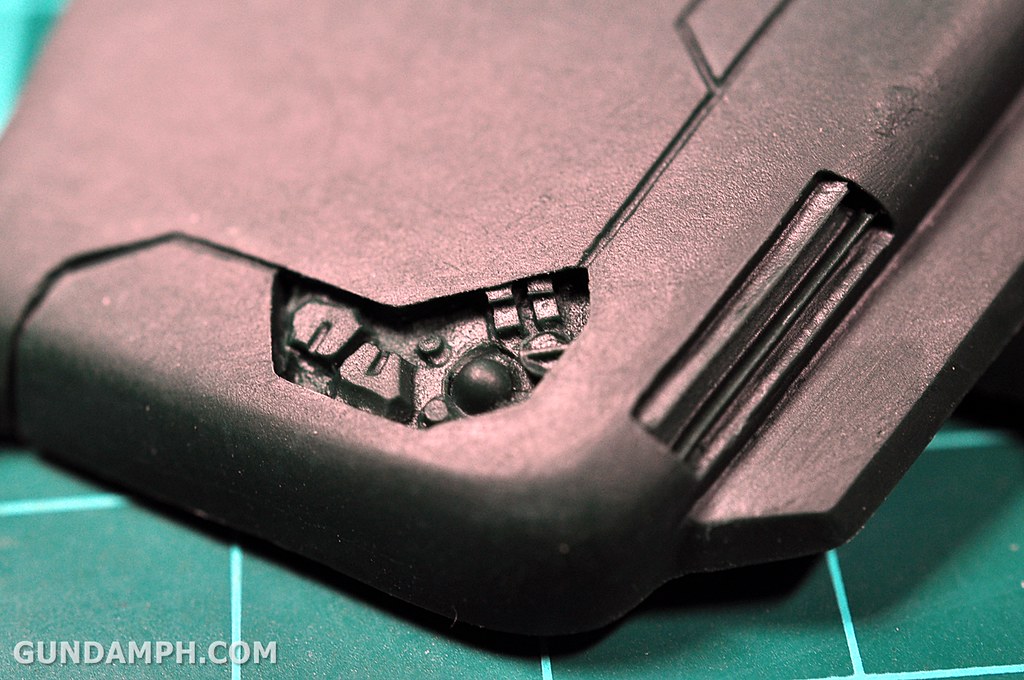
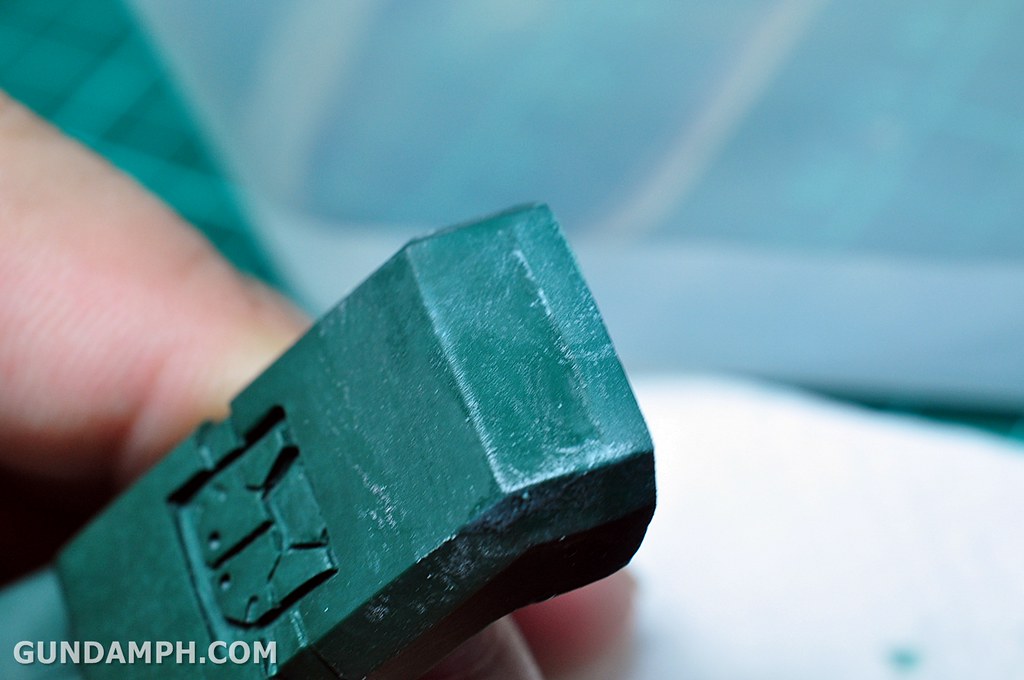
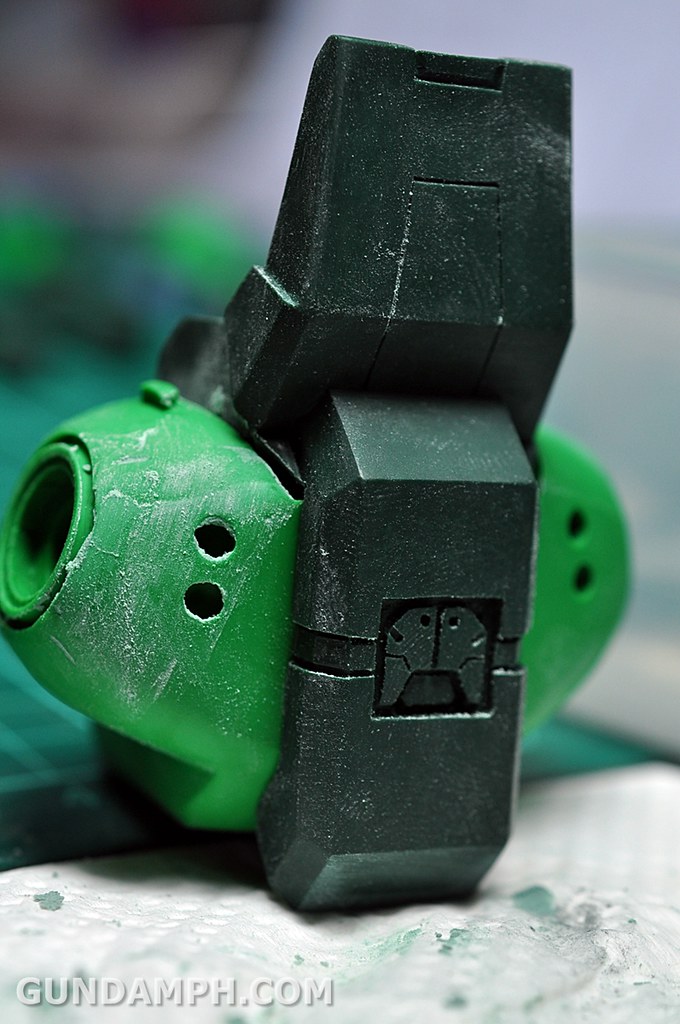
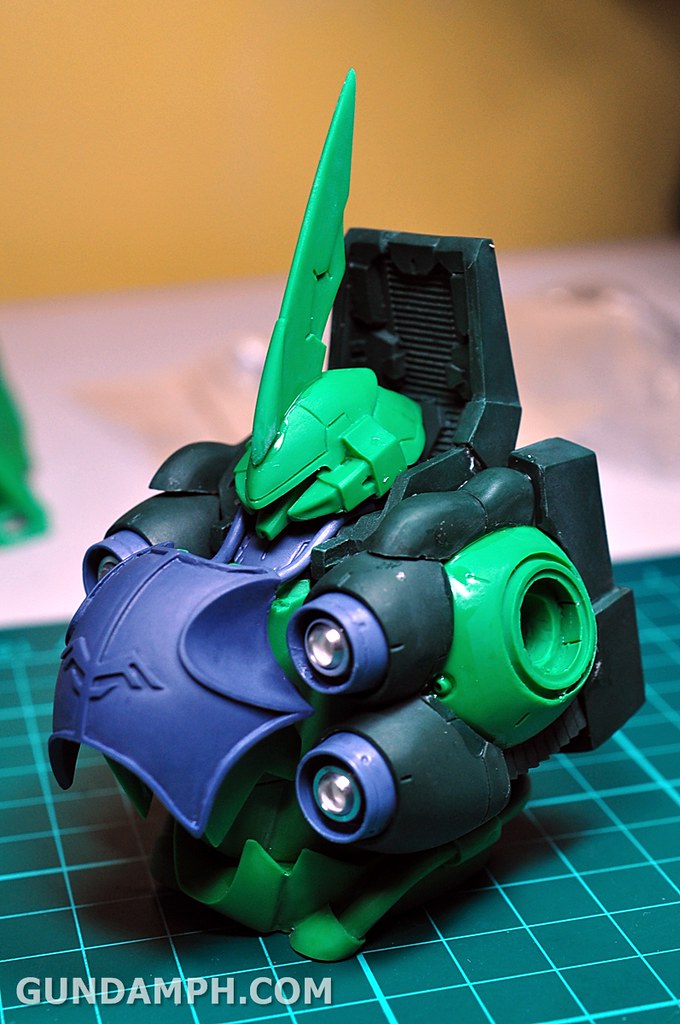
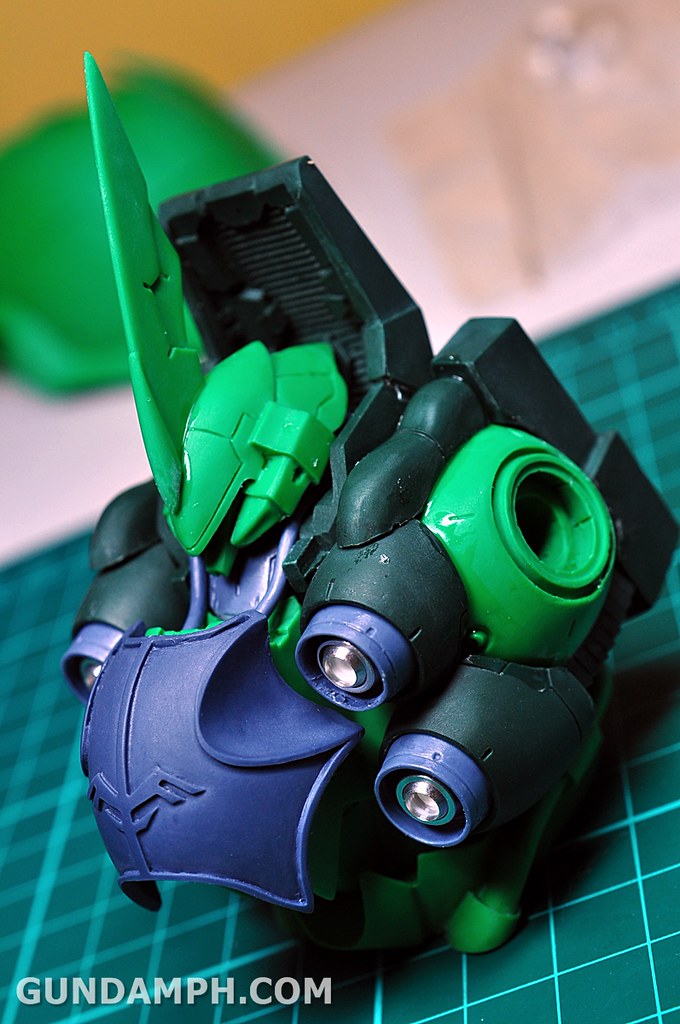
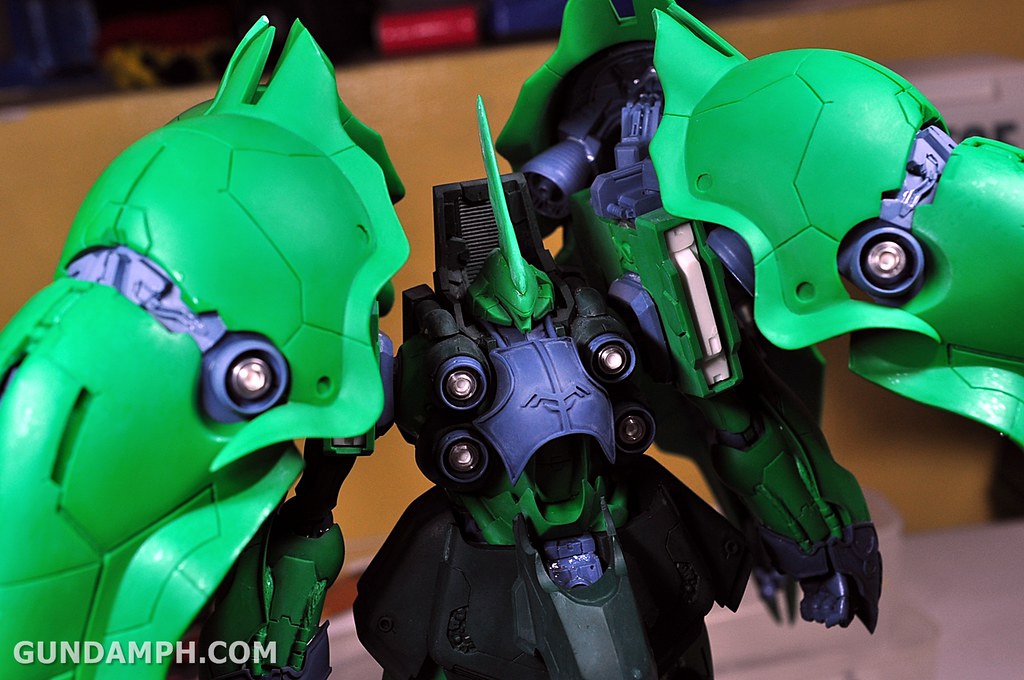
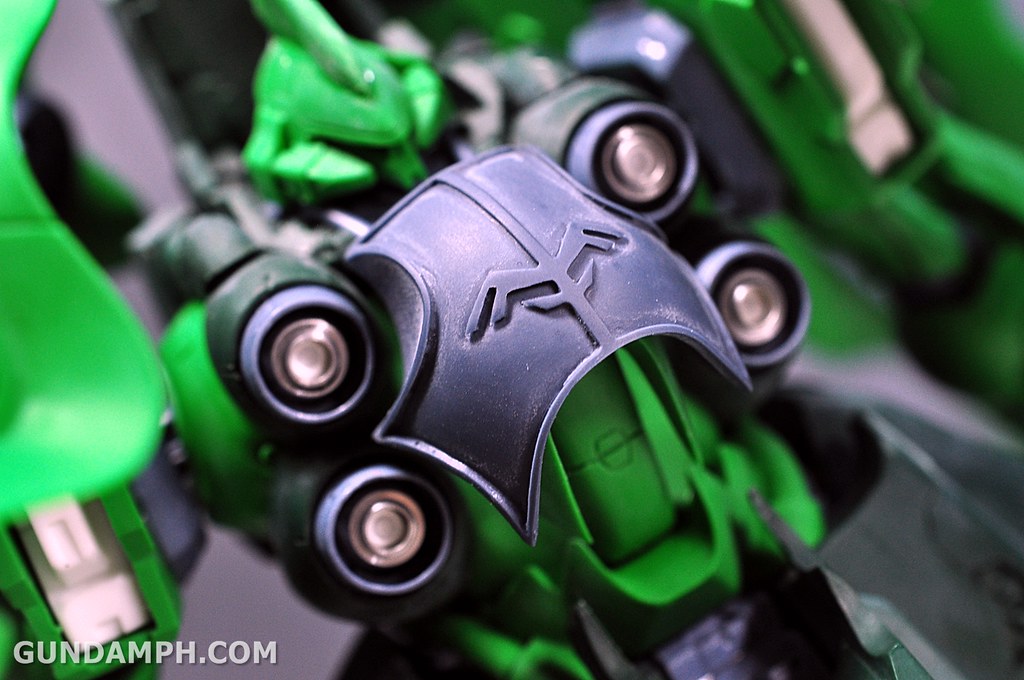
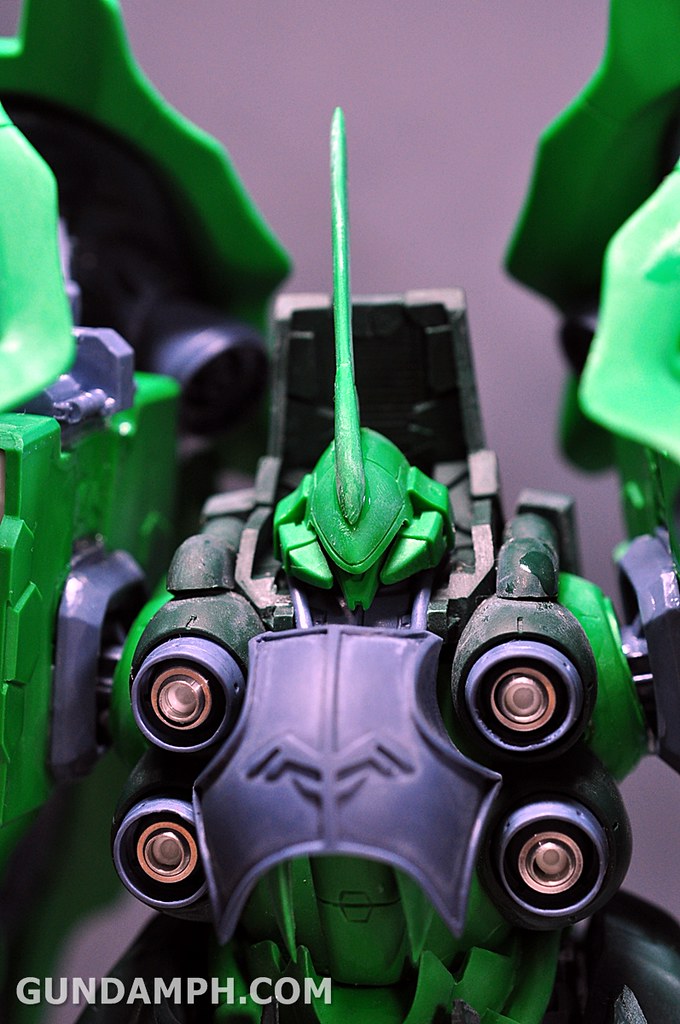
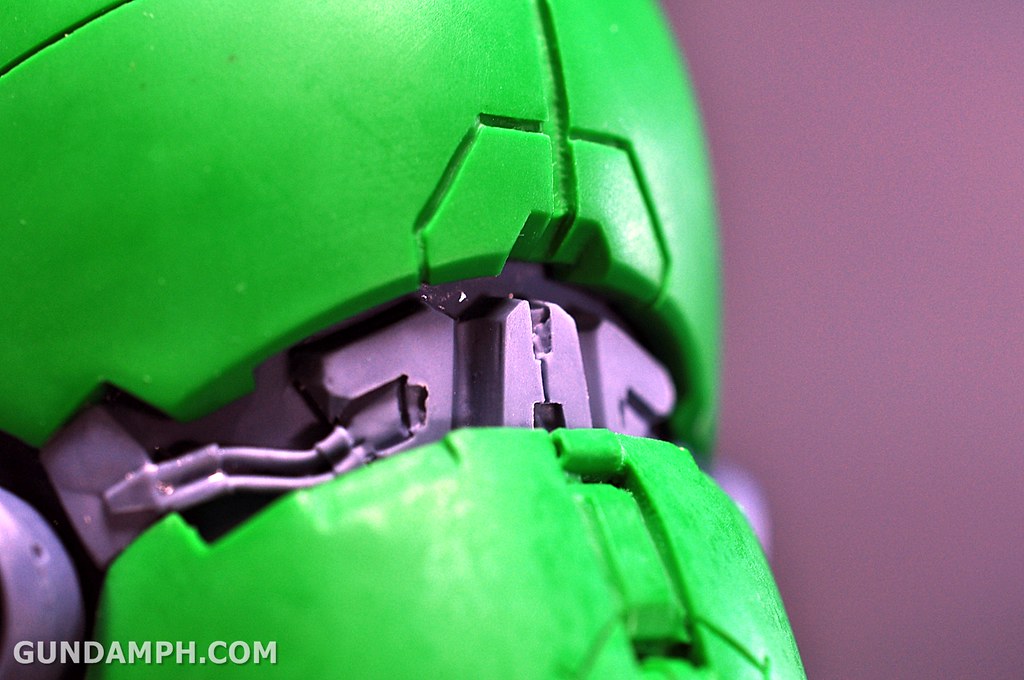
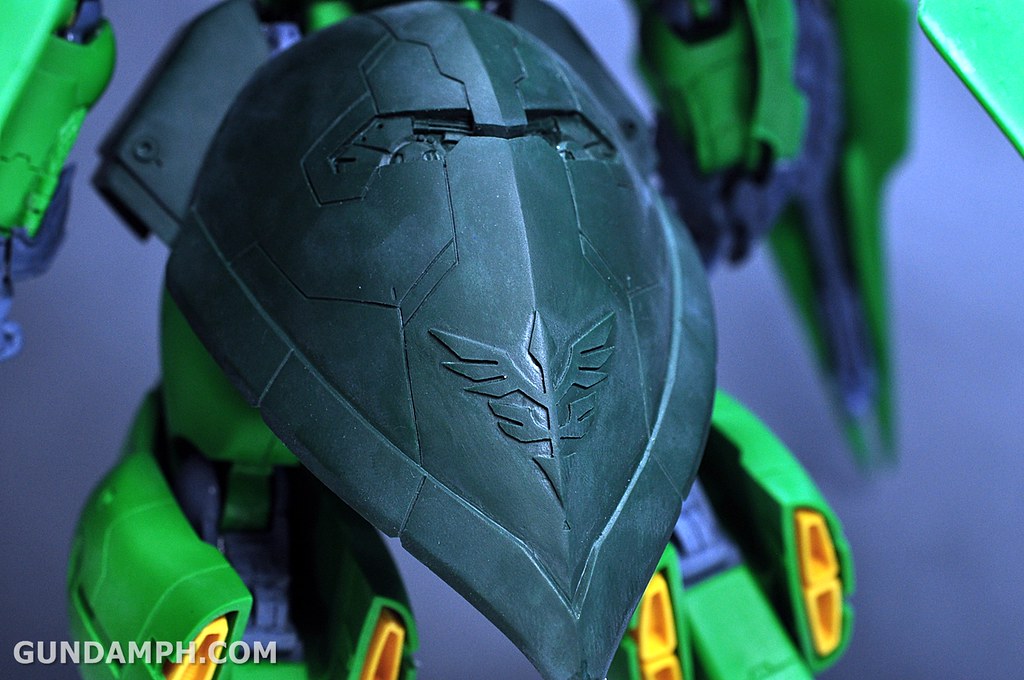
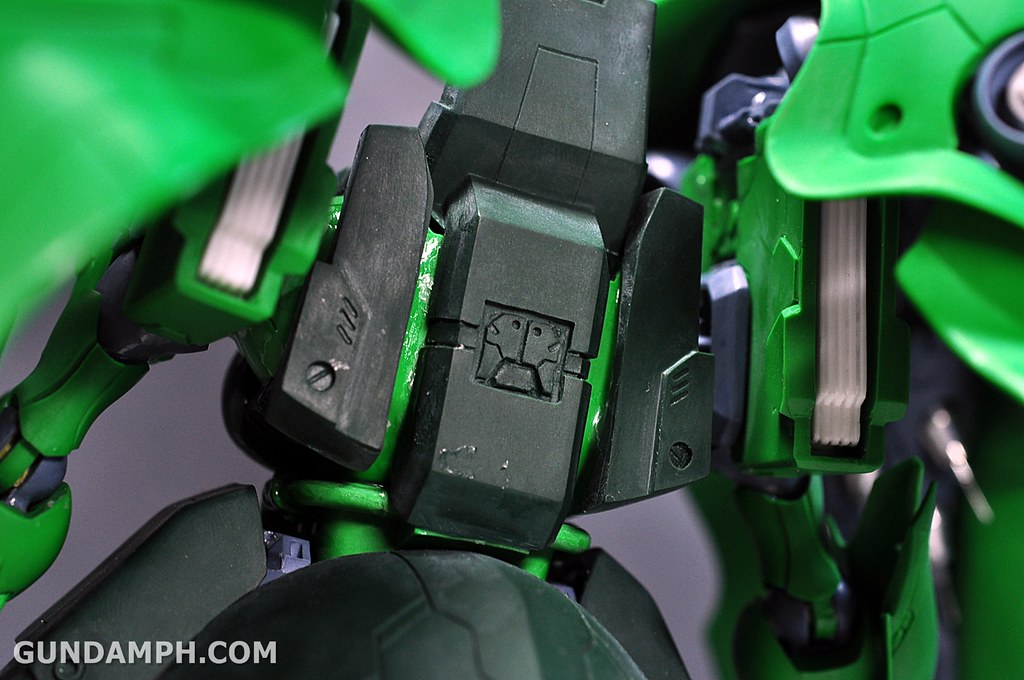
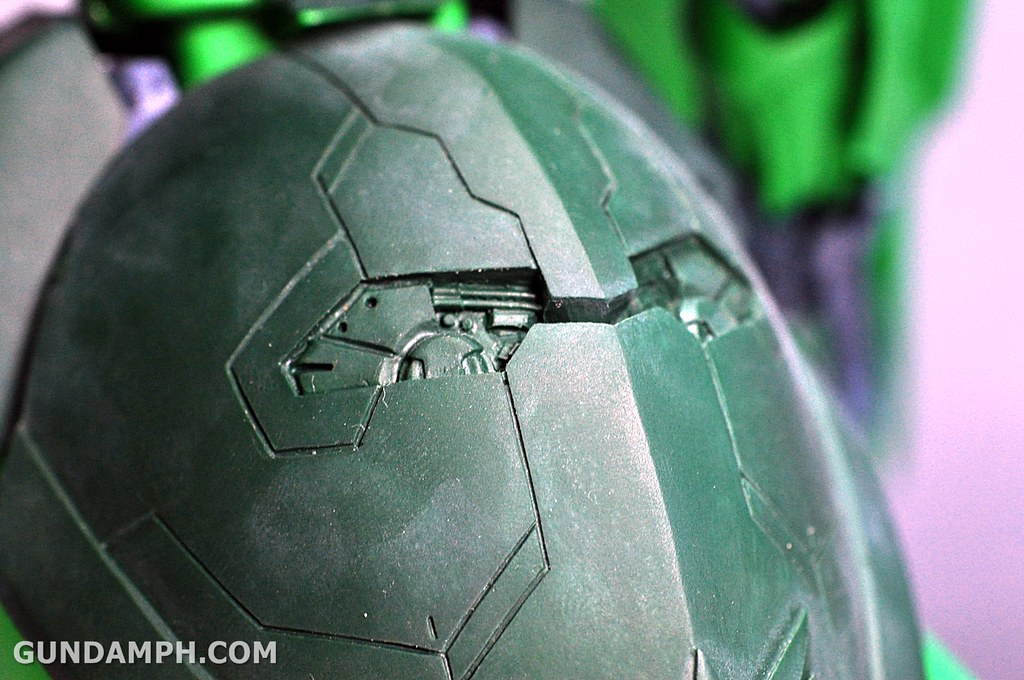
Details are good…
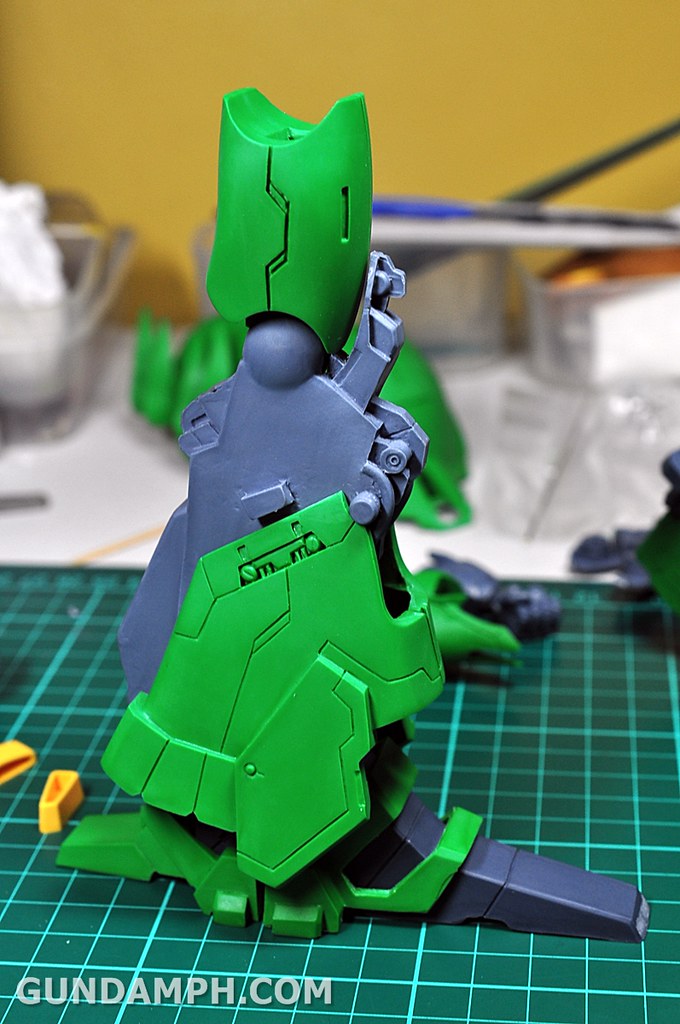
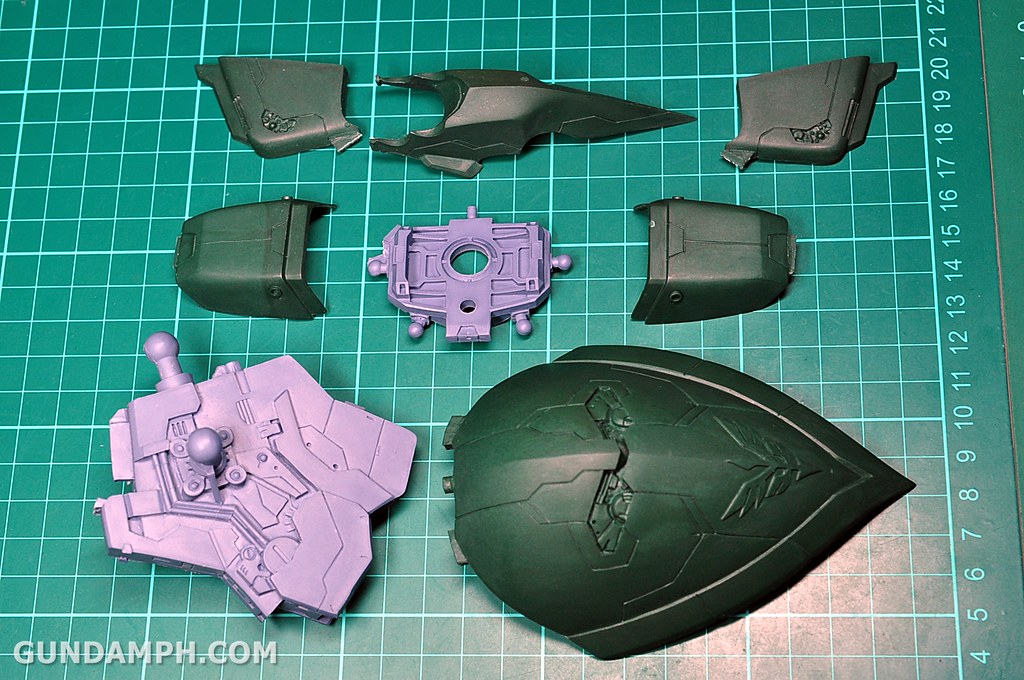
Starting with the TORSO
Resin kits are usually consists of solid pieces

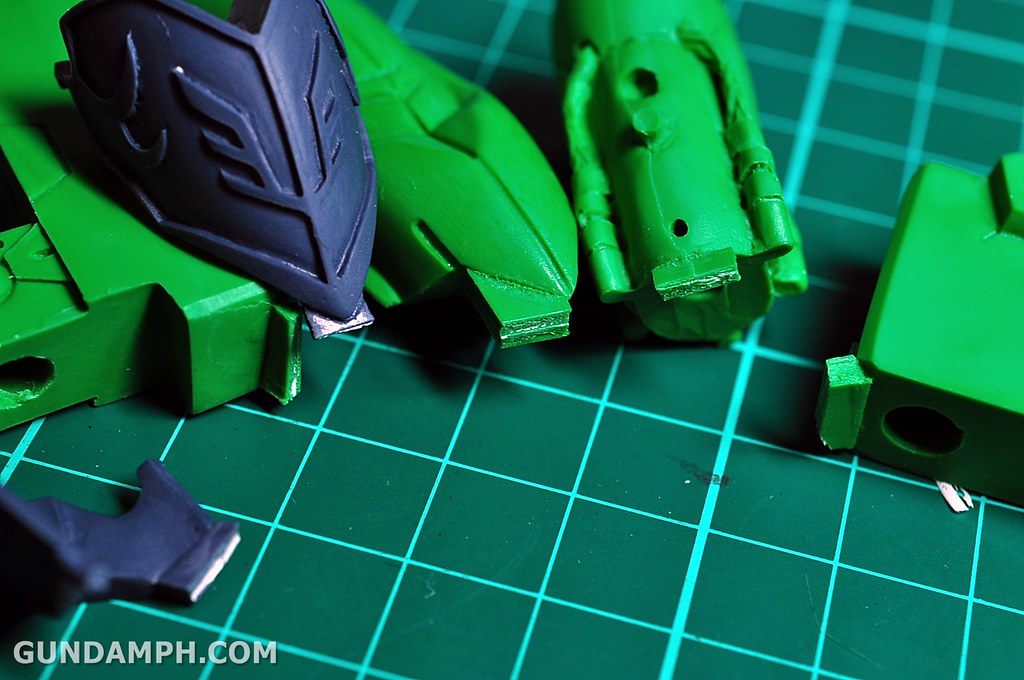
and if you have nub marks in Bandai model kits, we have POUR STUBS or POUR PLUGS in garage kits
My alexan side cutter proved to be a big help

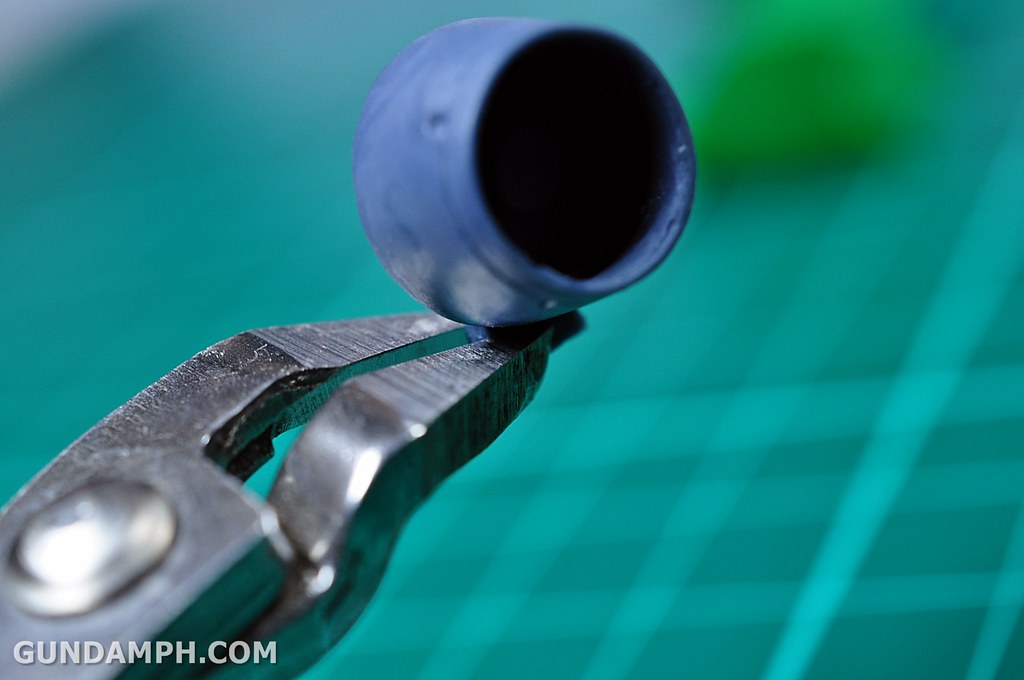
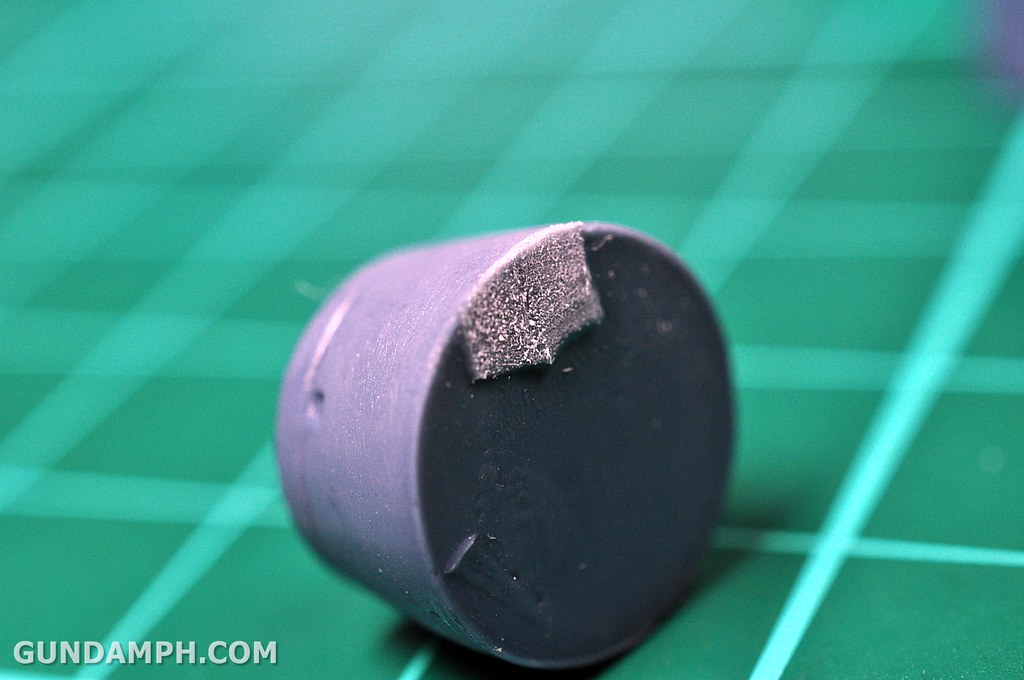
what a place to have a pour stub
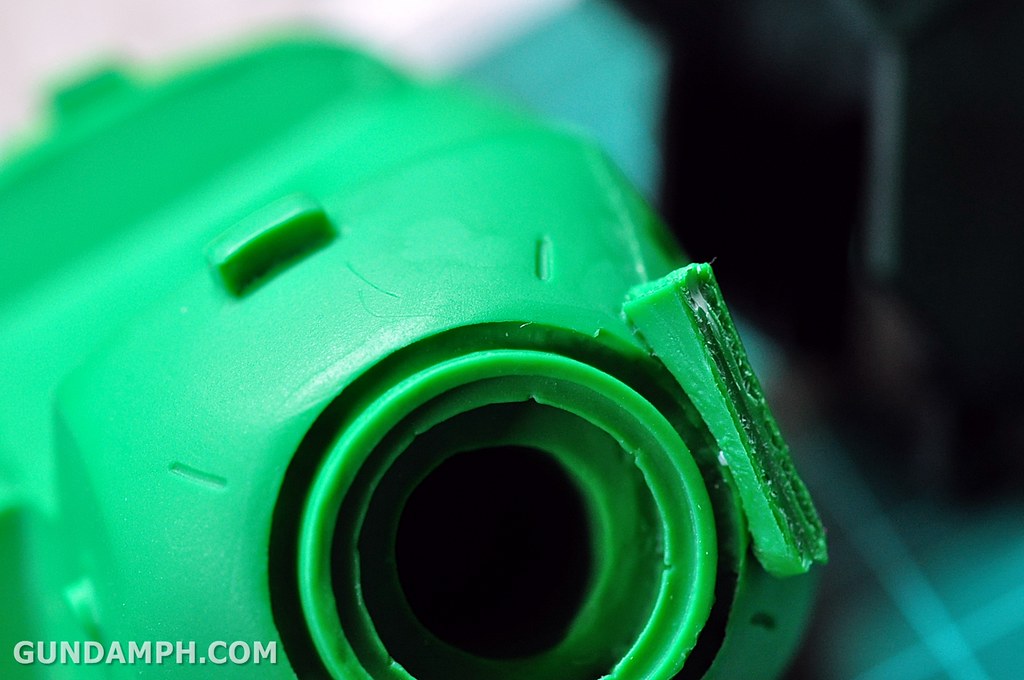
its messy just removing these
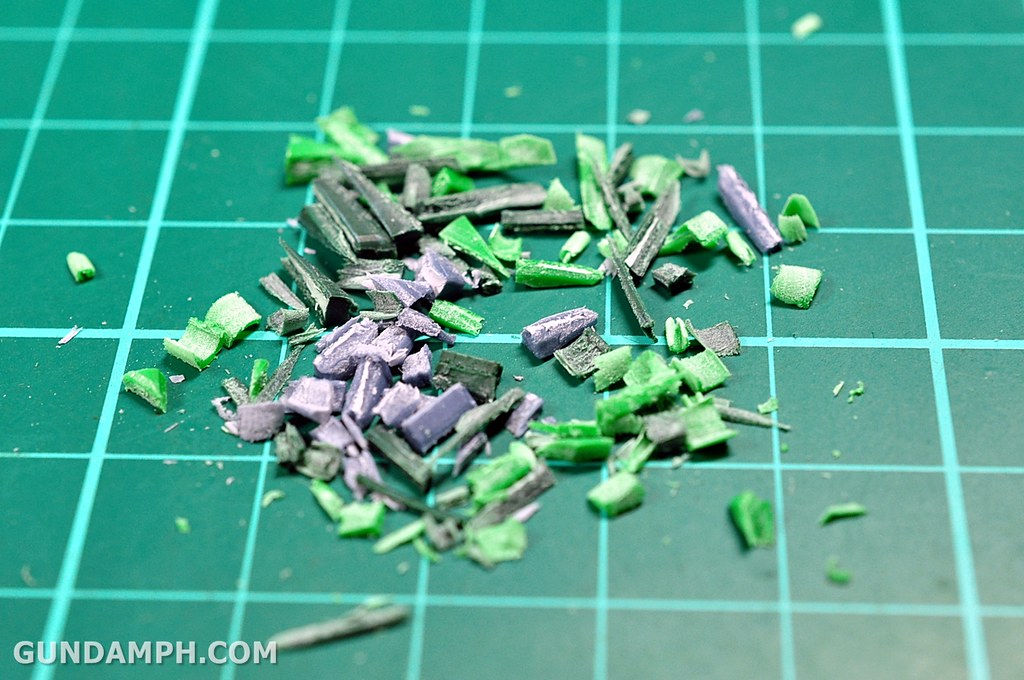
my first fitting issue… needed to trim down some parts
also, if the side cutter was having a hard time removing the pour stubs, you may need to do some wet sanding…
you wet sand so that the resin dust will be wet, it won’t go airborne and it won’t go into your lungs…
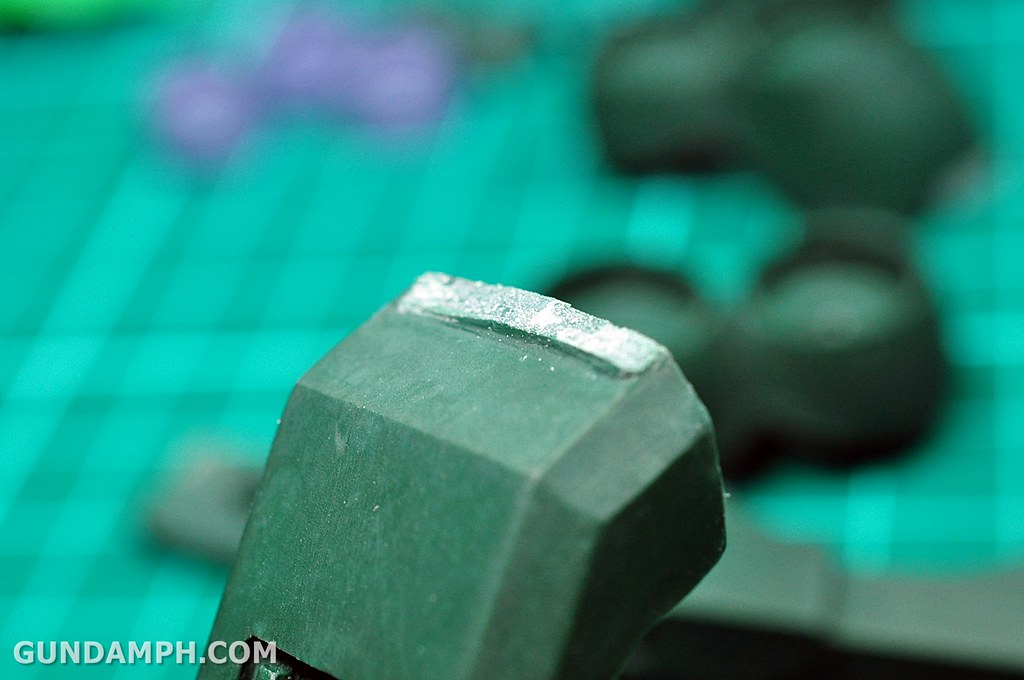


finally… sanded and trimmed down…
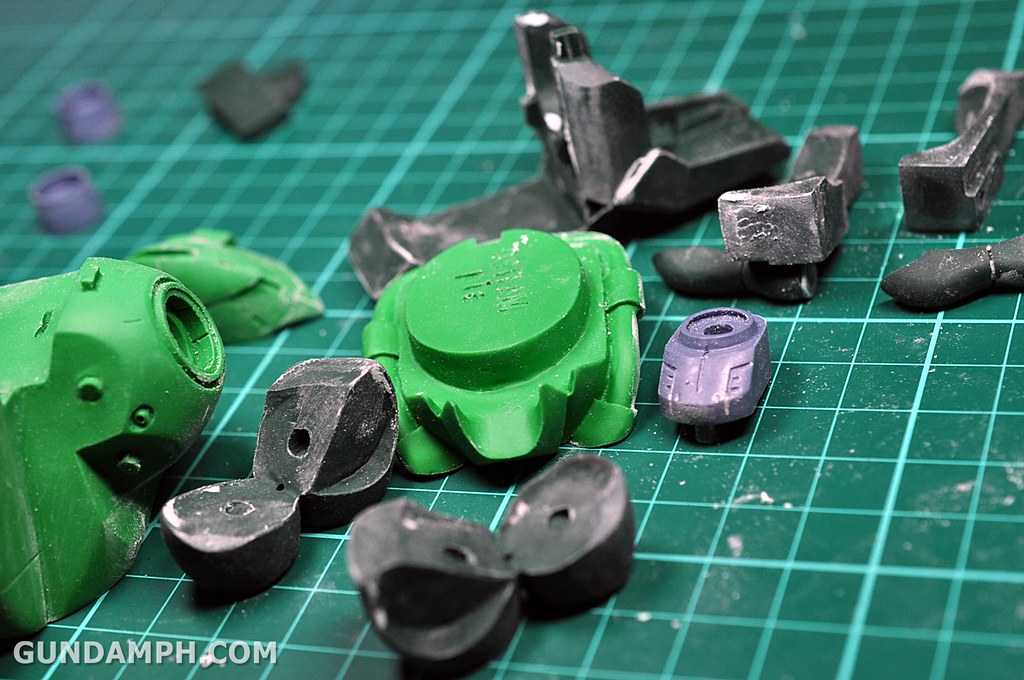
Now after sanding and trimming down the parts to make sure they fit nicely…
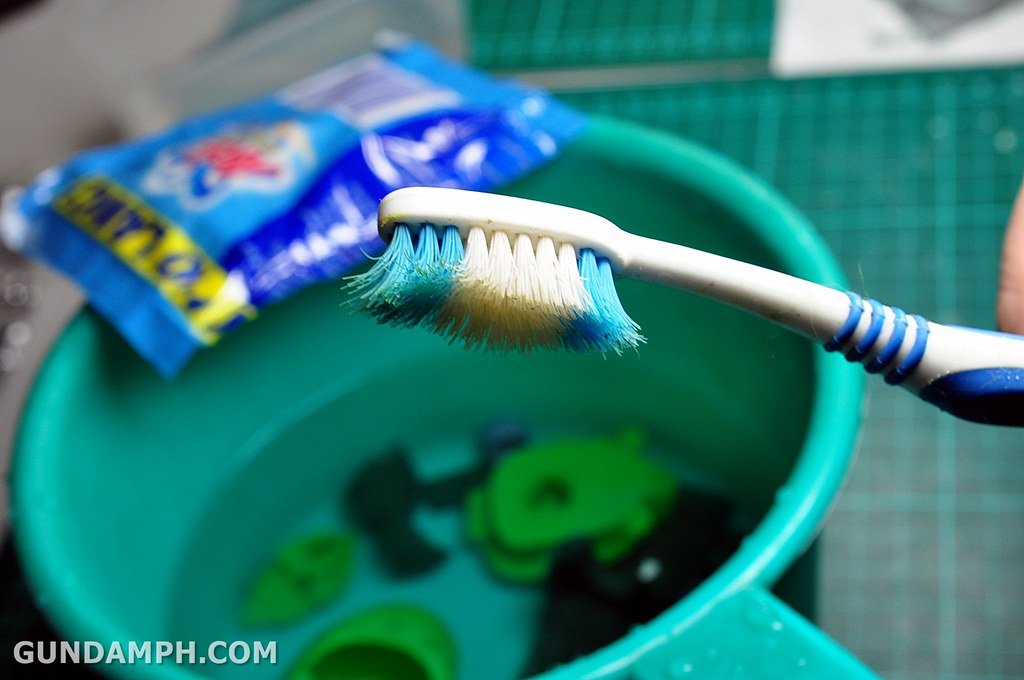
You need to wash the pieces…
1. these removes some chemical residue on the parts that sometimes causes paint, putty or epoxy to not stick properly.
2. removes dirt as well especially after you sanded the parts
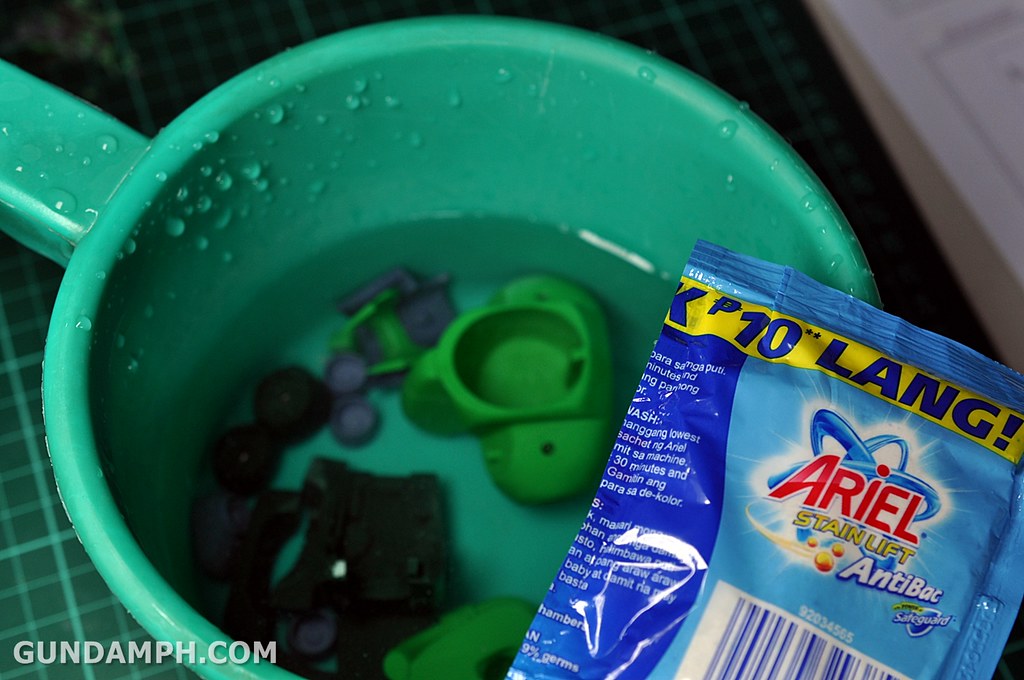
you just need to soak it in water with detergent…
some use baking soda… or a ready made soaking agent specially produced for resin kits…
but since we are not painting it, detergents will do fine for now…
air drying

PUTTING it together….
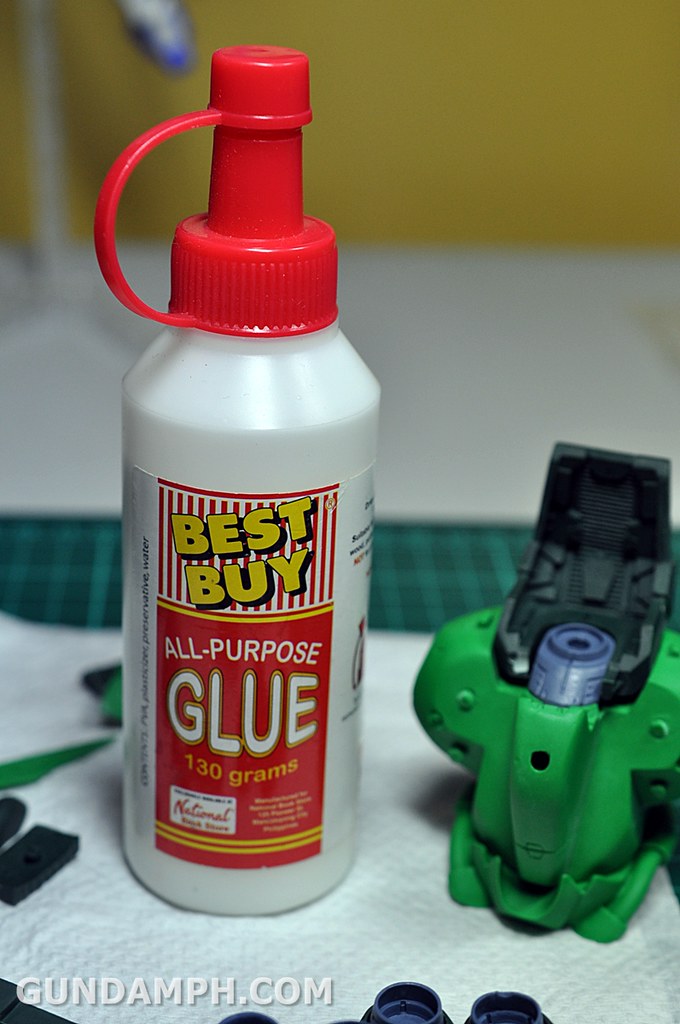
I used PVA glue to hold the parts together… basically it is used when you are planning to disassemble something like this in the future
pros:
1. can be easily removed
2. good for testing purposes… like seeing alignment and fittings
3. cheap to use
4. dries clear
5. can hold heavy pieces when dried properly
cons:
1. take 8-12 hours to fully cure
2. runs a lot… too thin…
3. looks messy at first

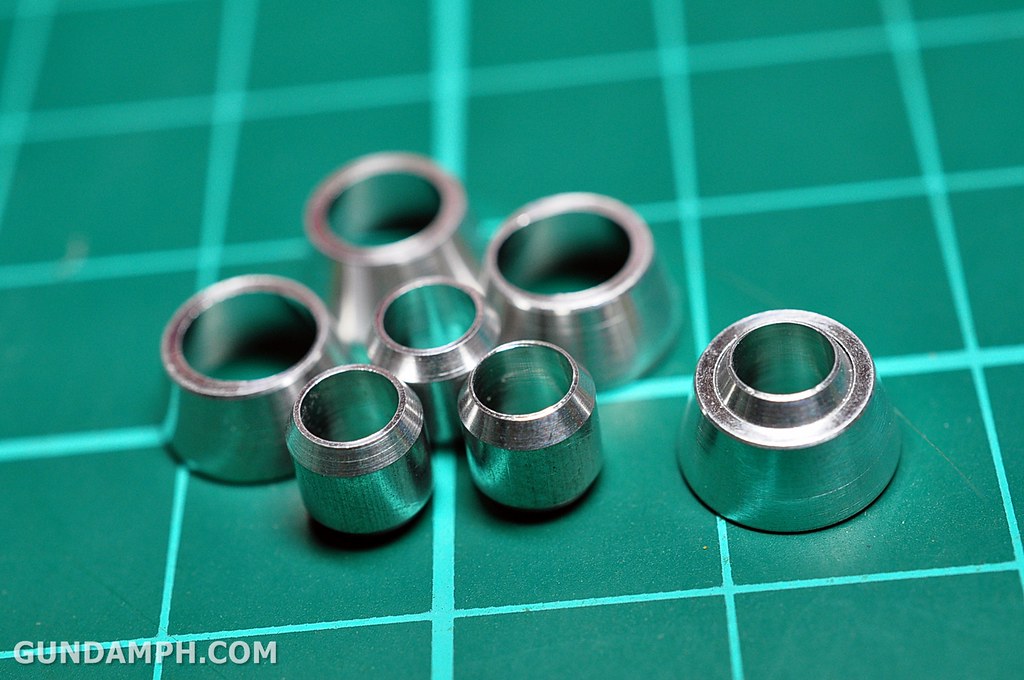
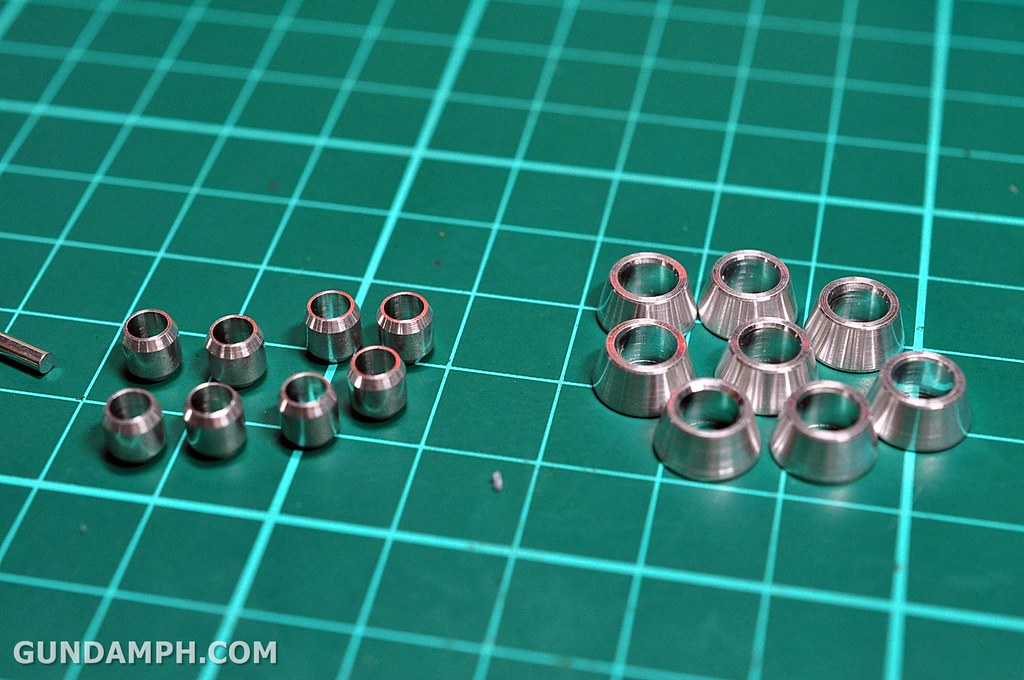
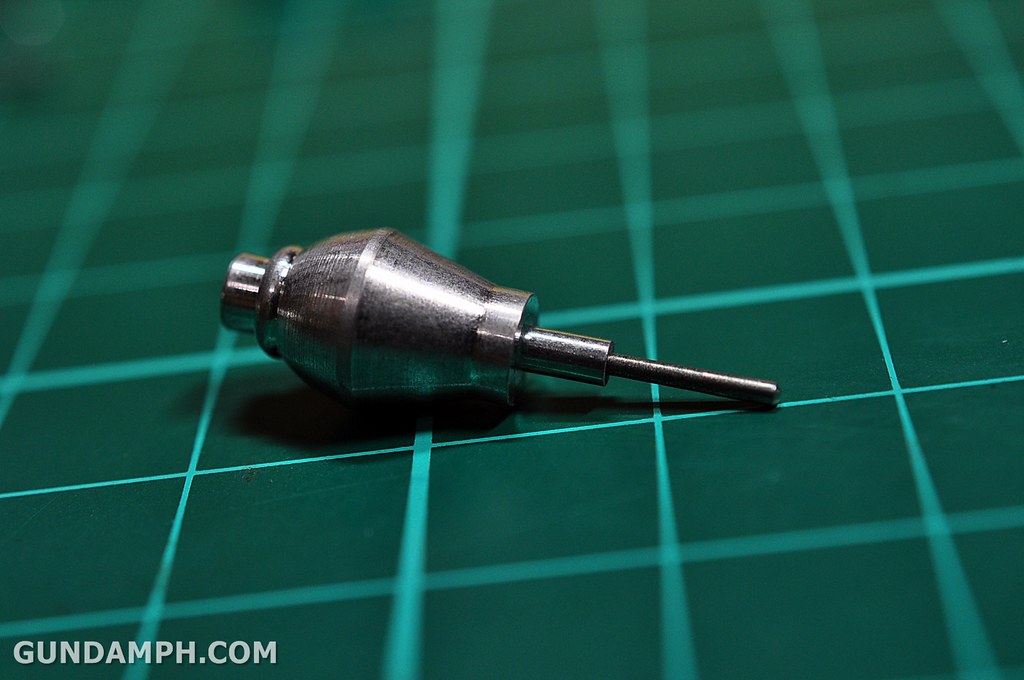
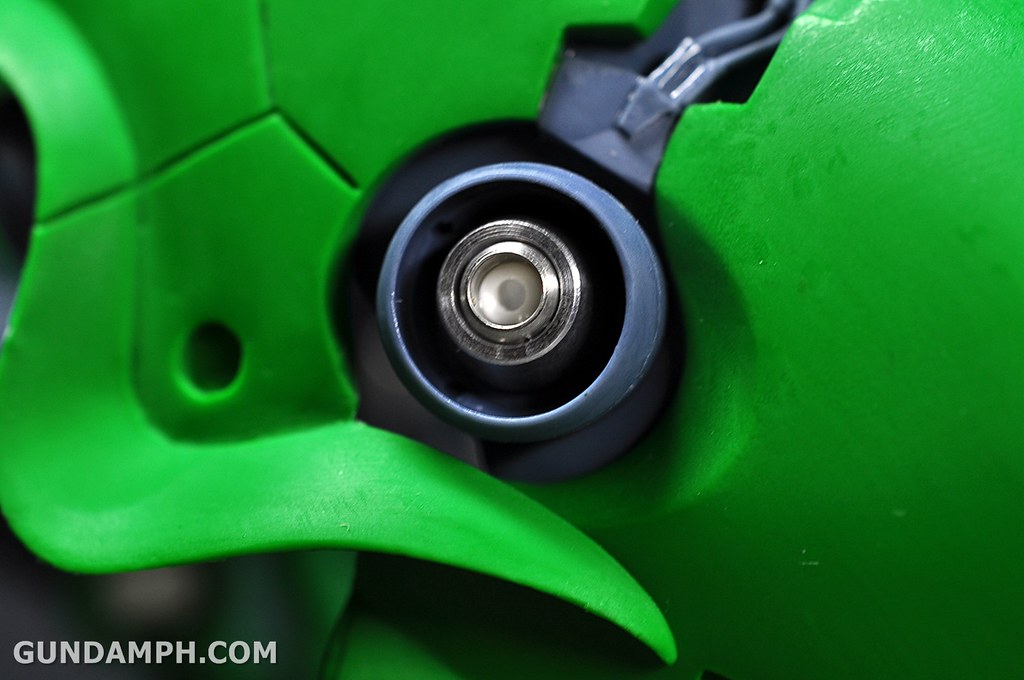
here are the METAL PARTS that comes with the kit
after a day or two…

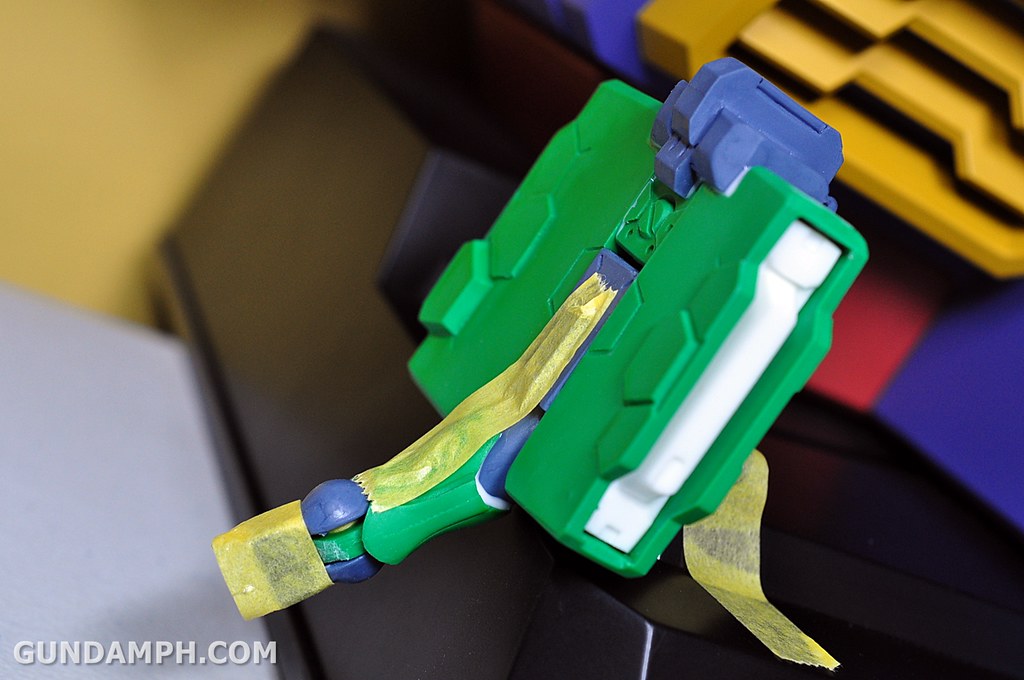
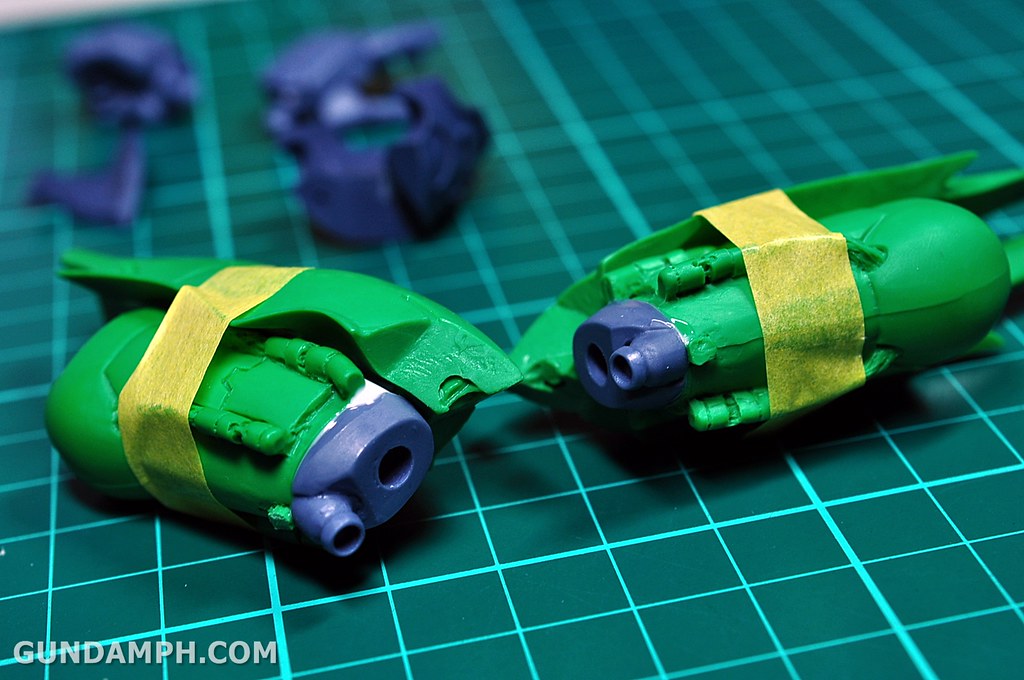
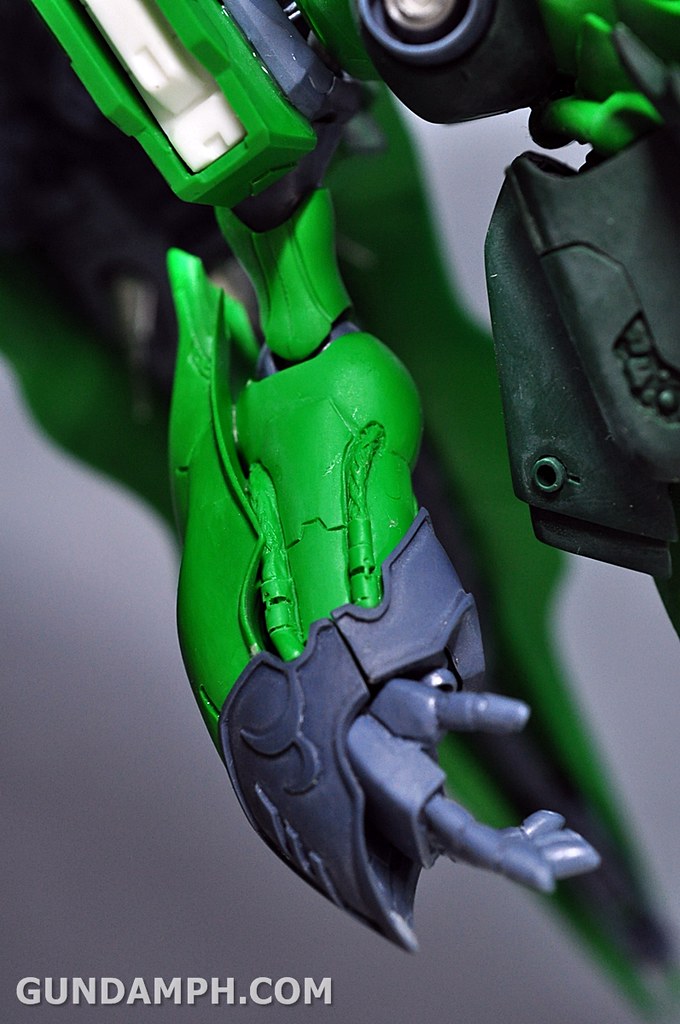
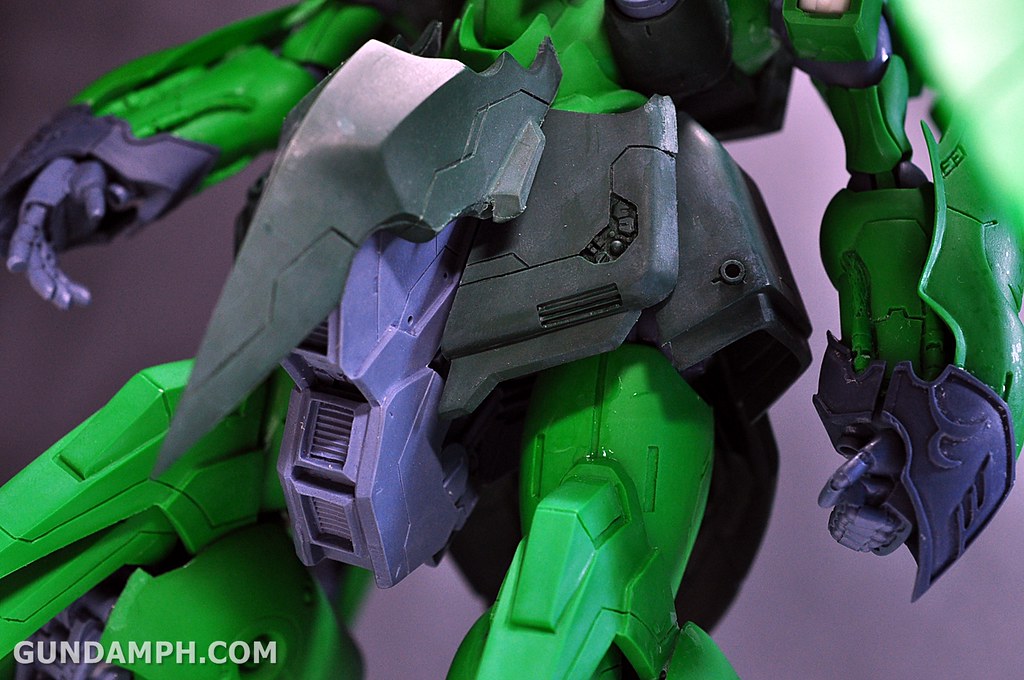
ARMS
damn pour plugs

peg that goes into the torso…this will also hold the BINDERs

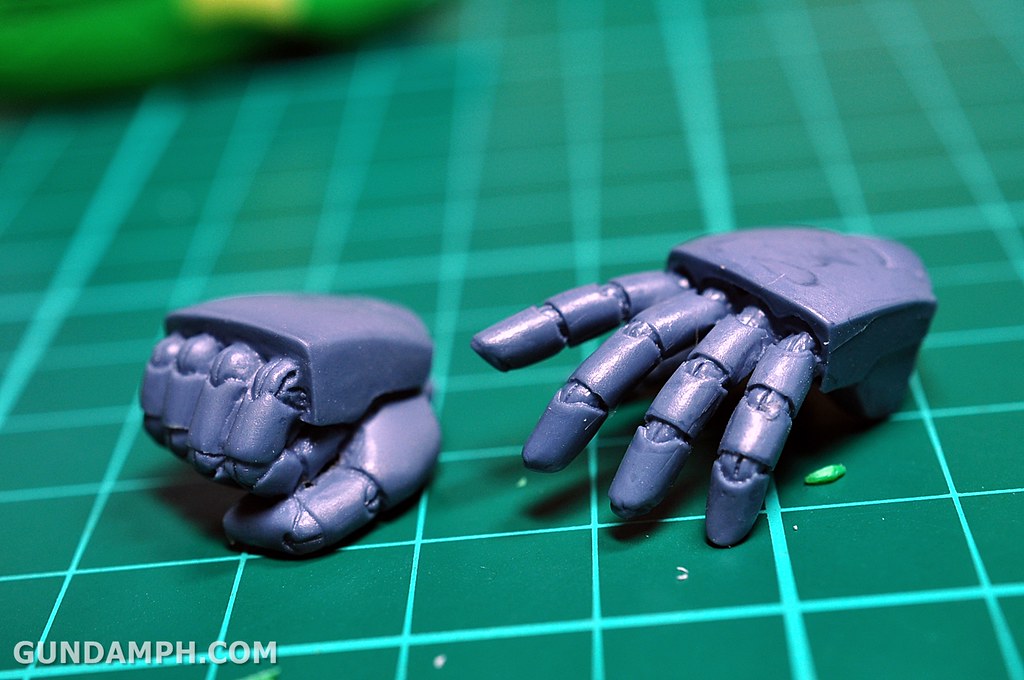
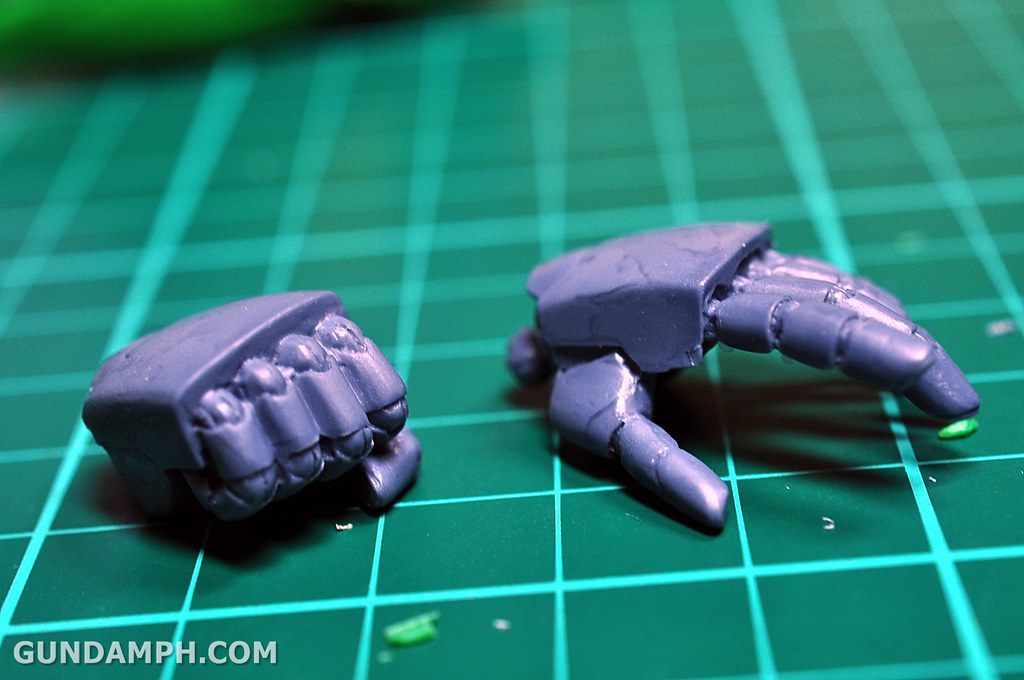
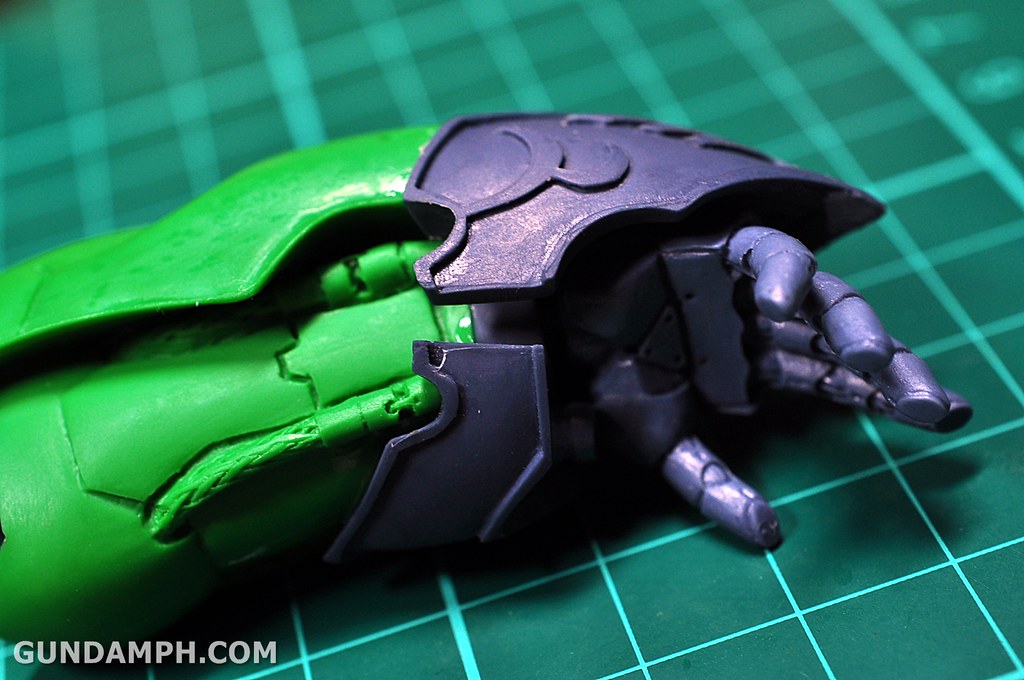
hands…. only 2 pairs (open and closed fists)
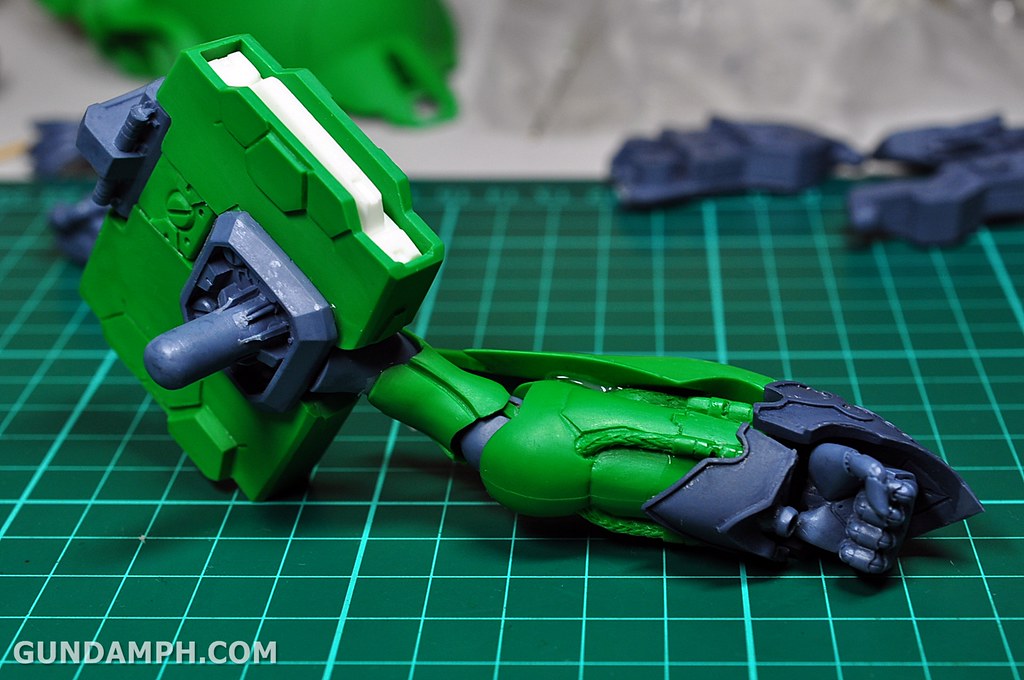
glue time!
got another fitting issue here… the hand cuffs does not connect as expected…

done!
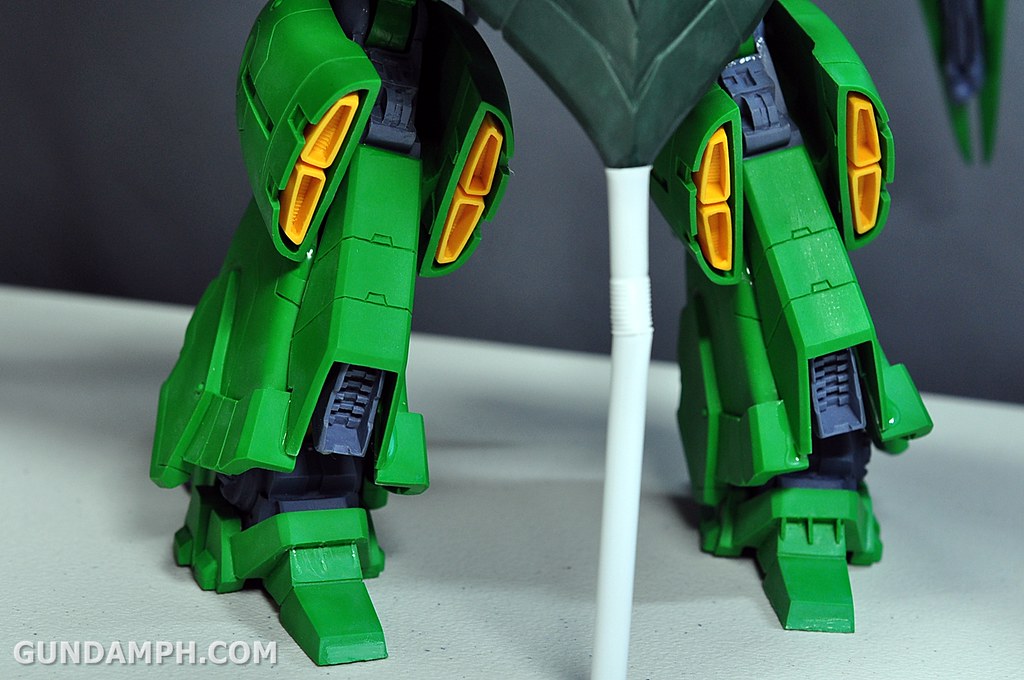
LEGS
**a view of the mess in my table haha
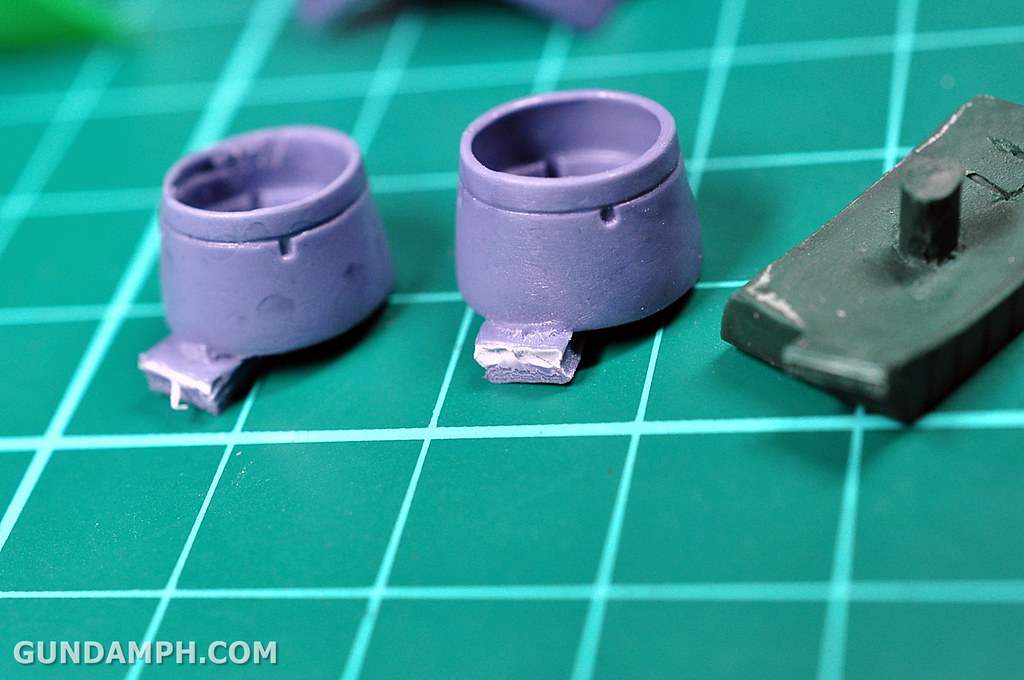
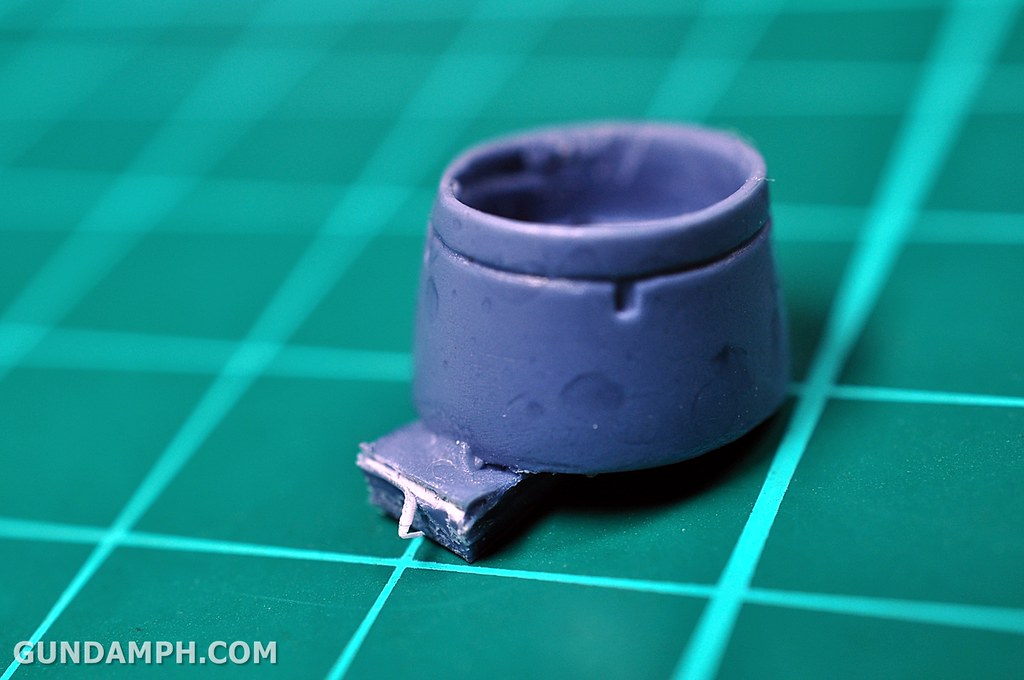
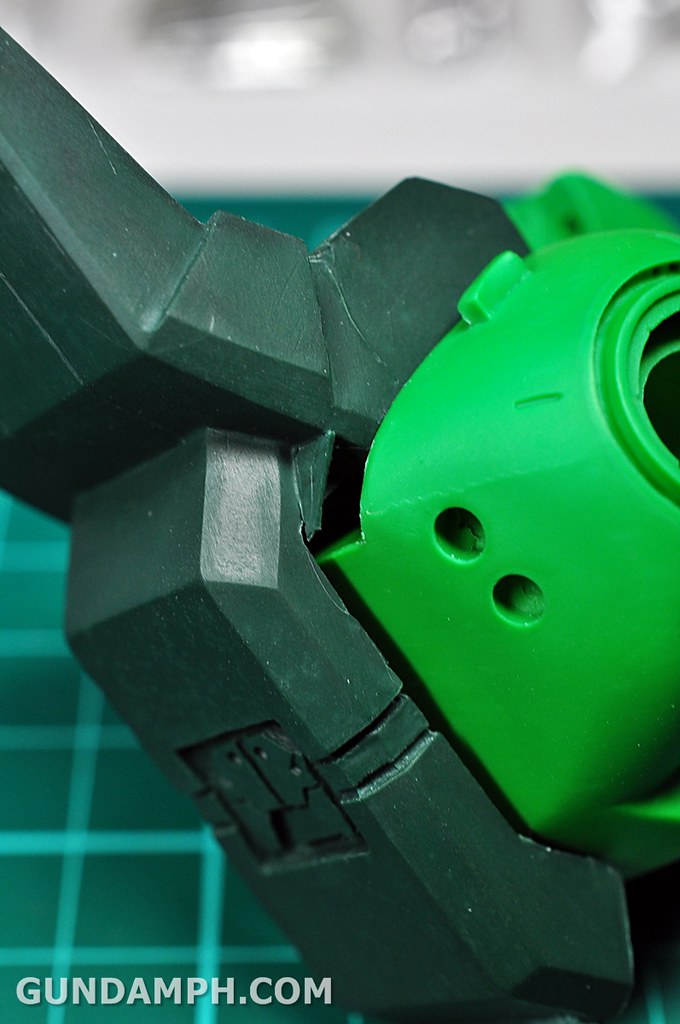
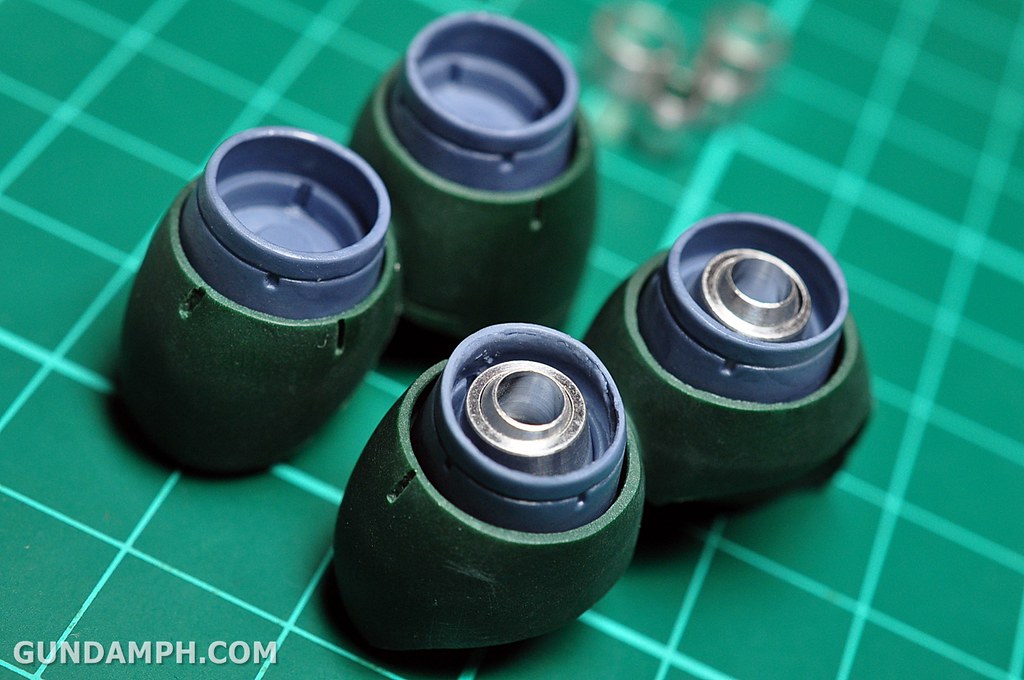
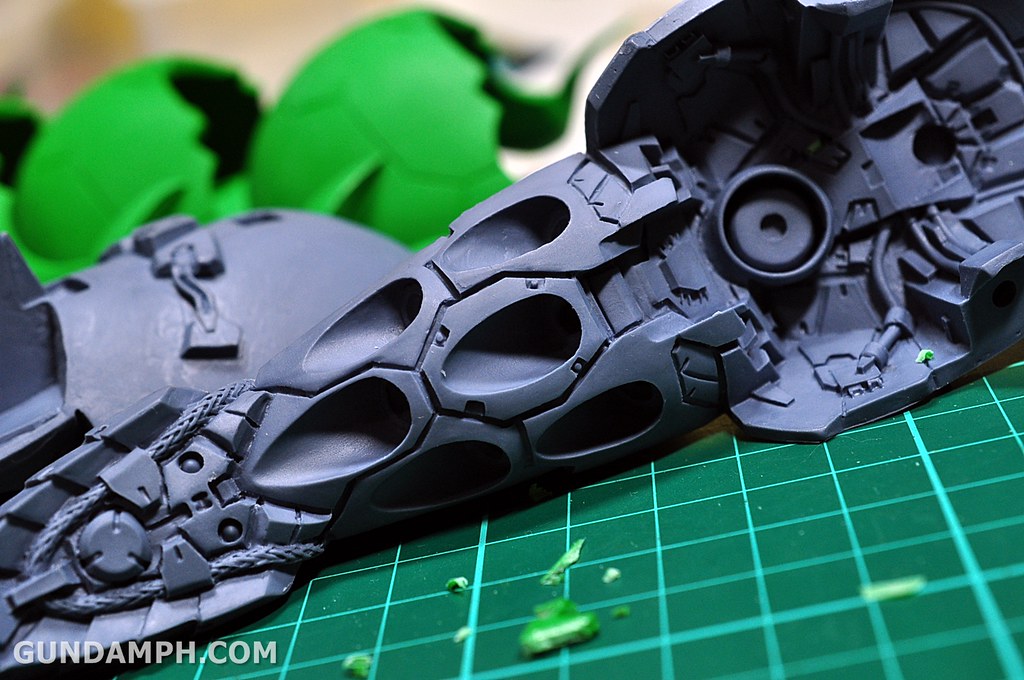
starting with the FOOT
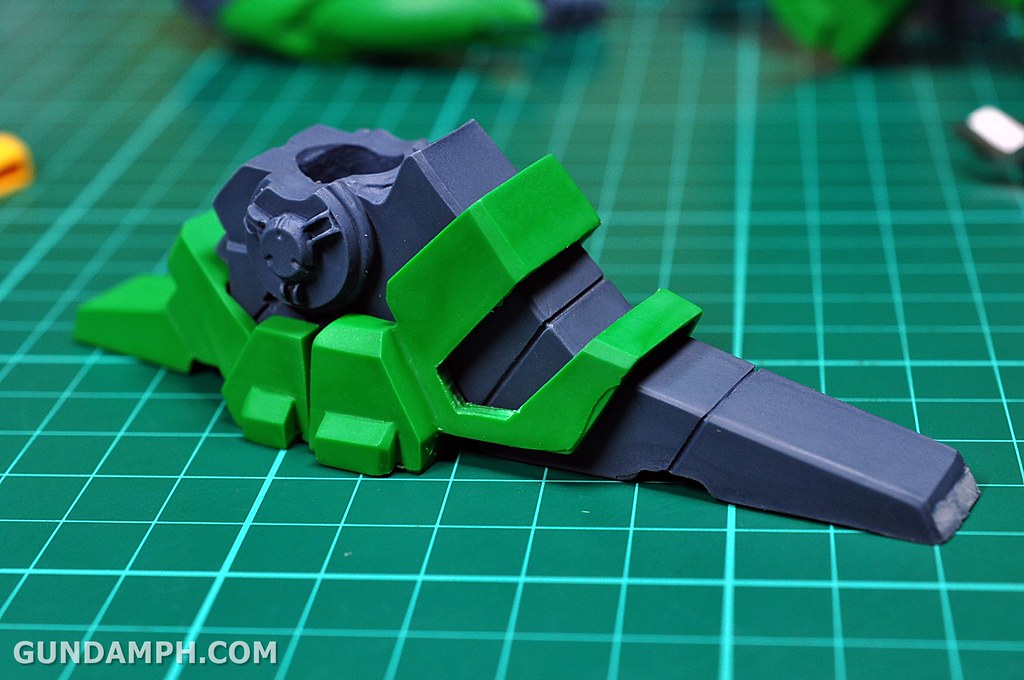
partially built legs
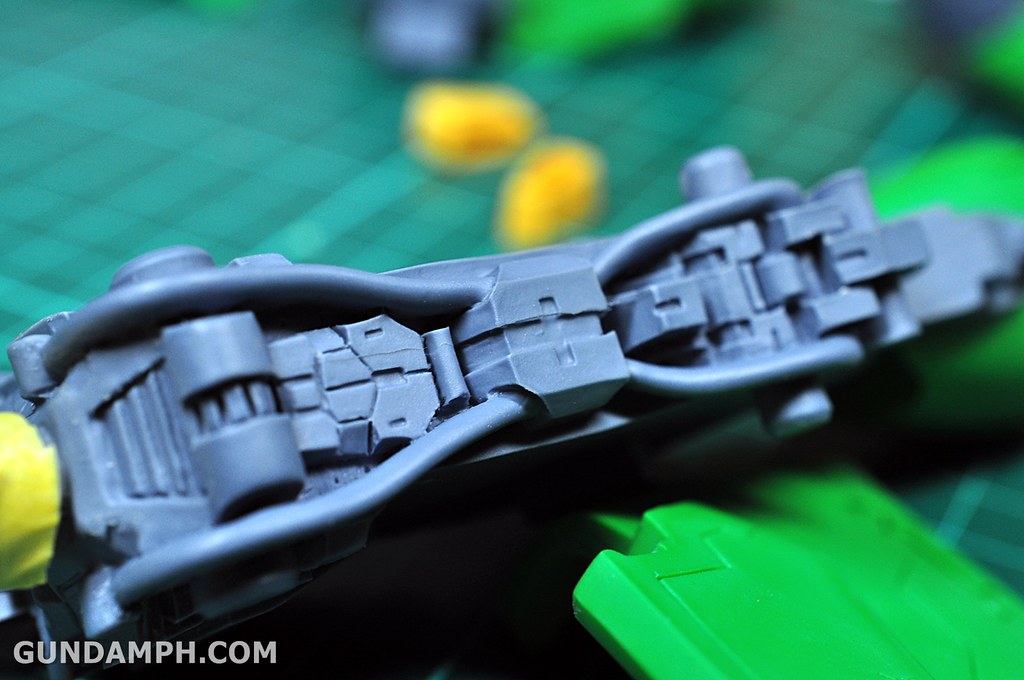
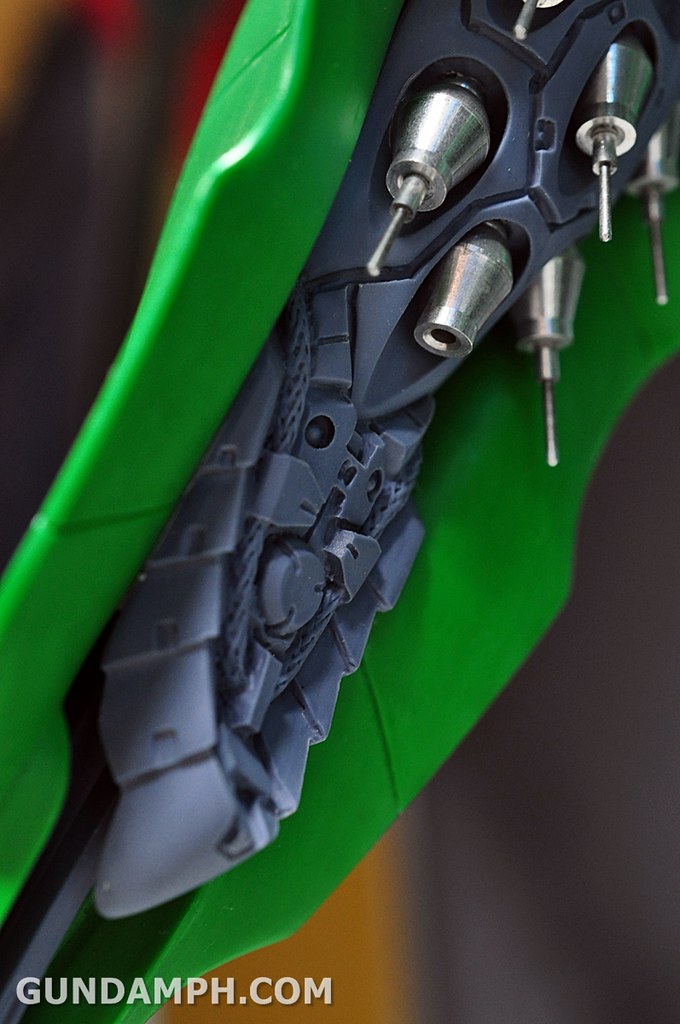
some details on what seems to be the frame
drying time as usual… took me 3 days for these set…


WAIST
the easiest of them all to glue together… took me just one day…
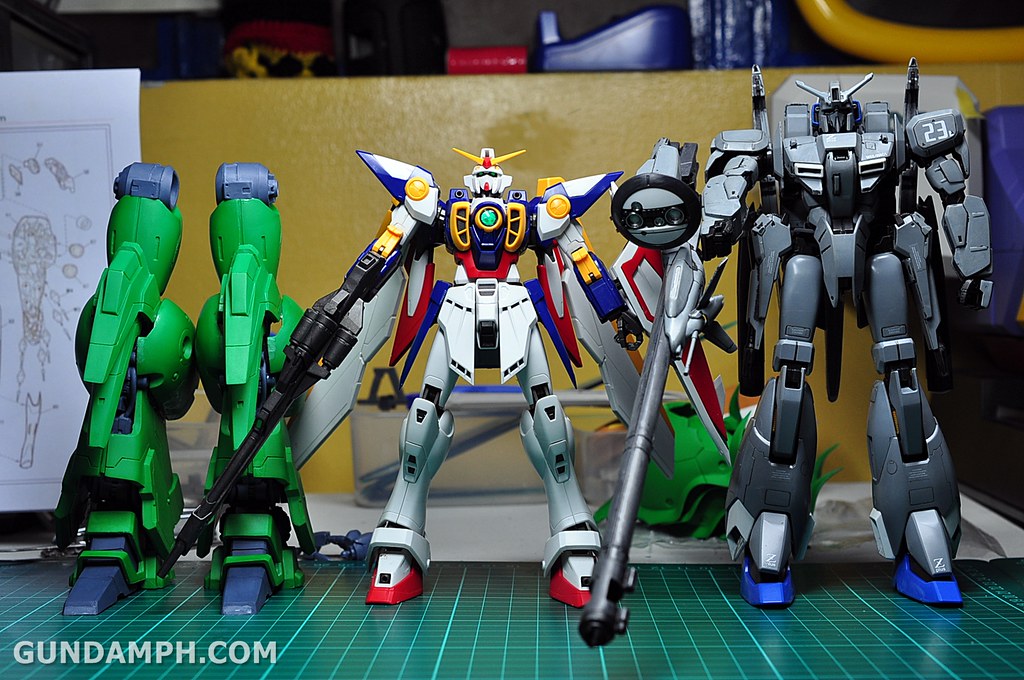
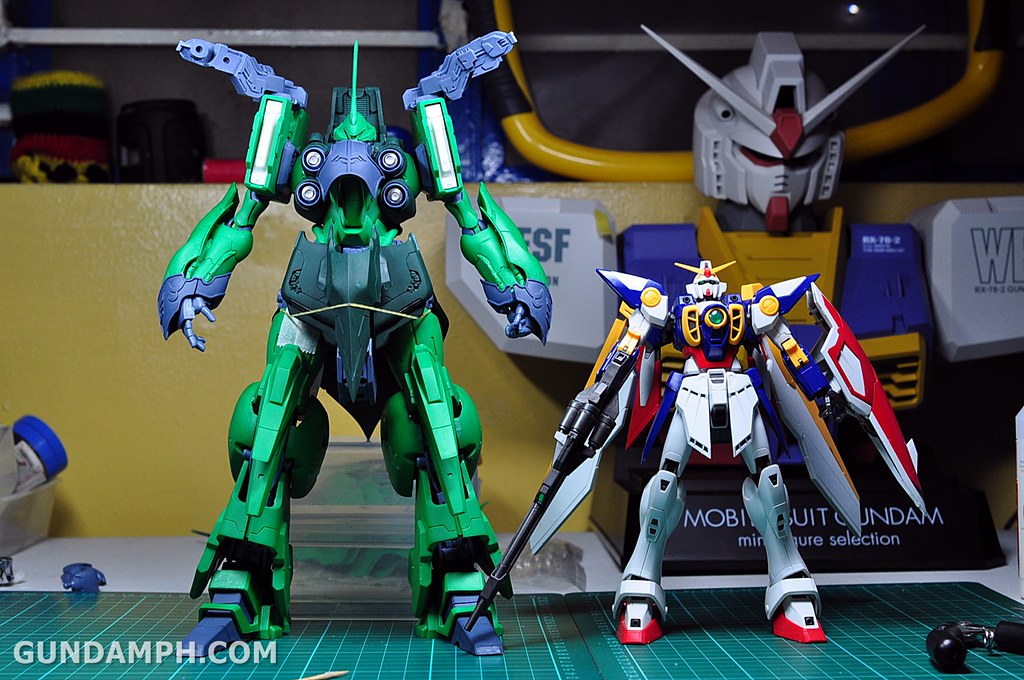
initial size comparison with other 1/100 kits
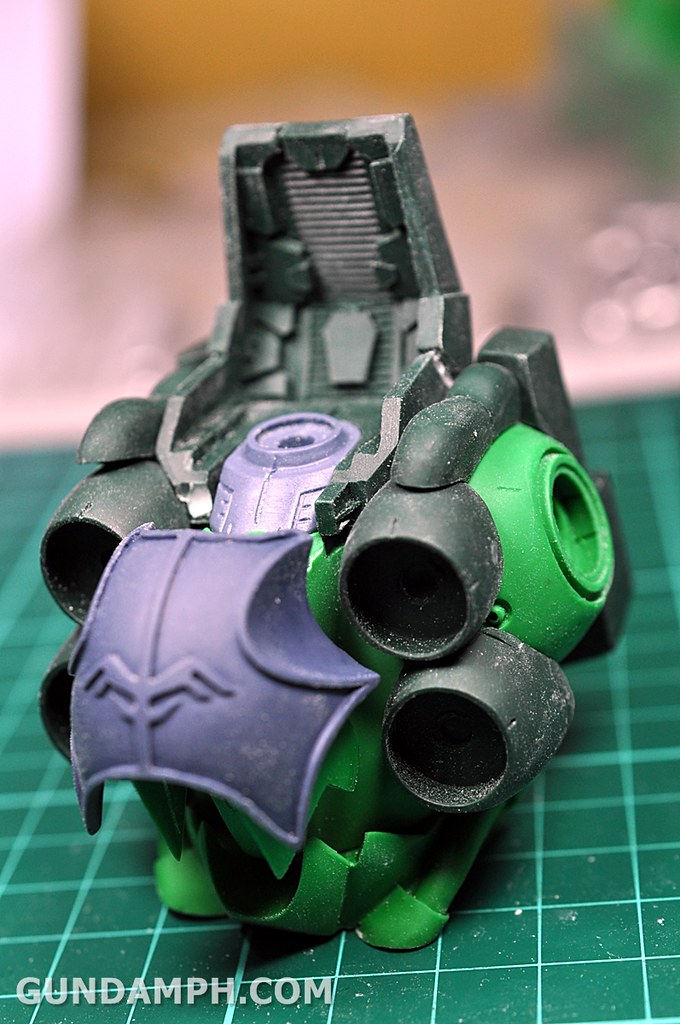
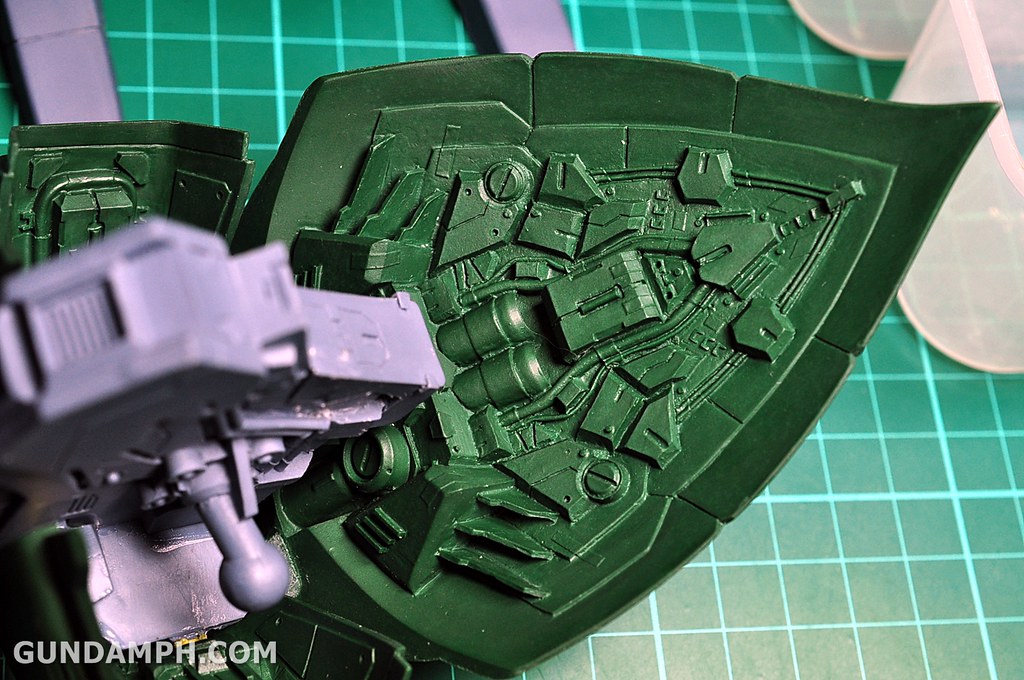
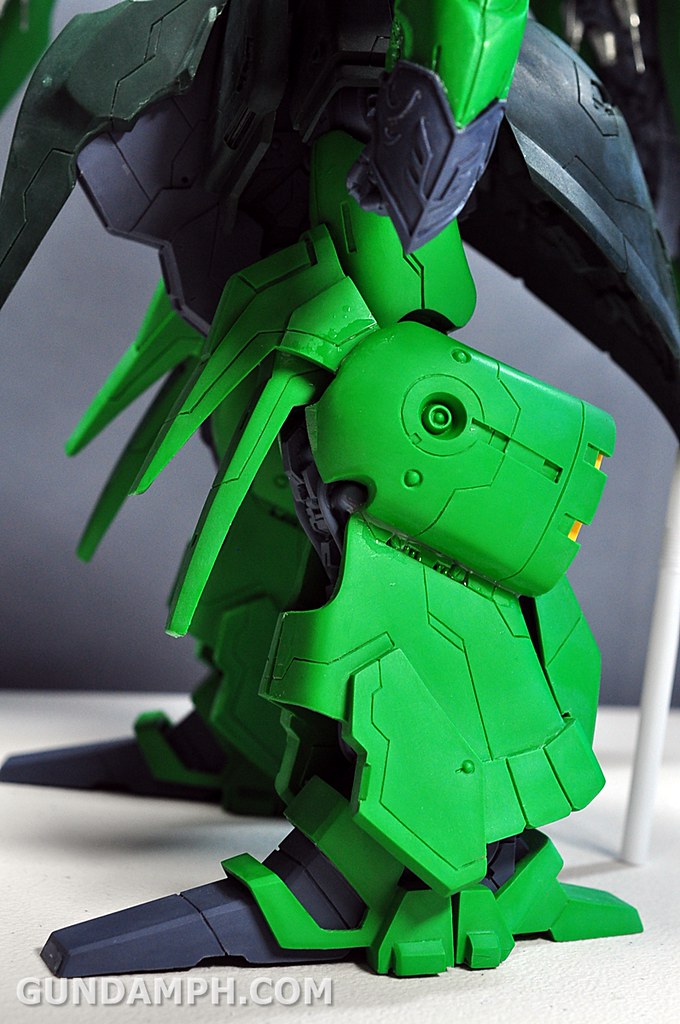
details under the waist (back part)
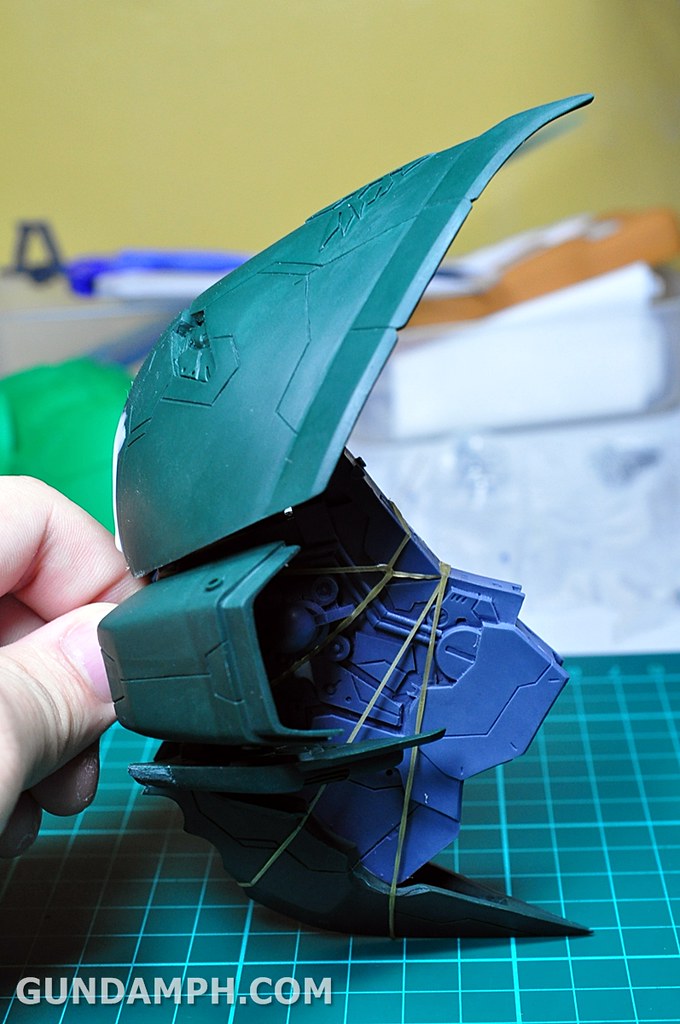
attempt to glue the finished parts

what a big boy! ^_^
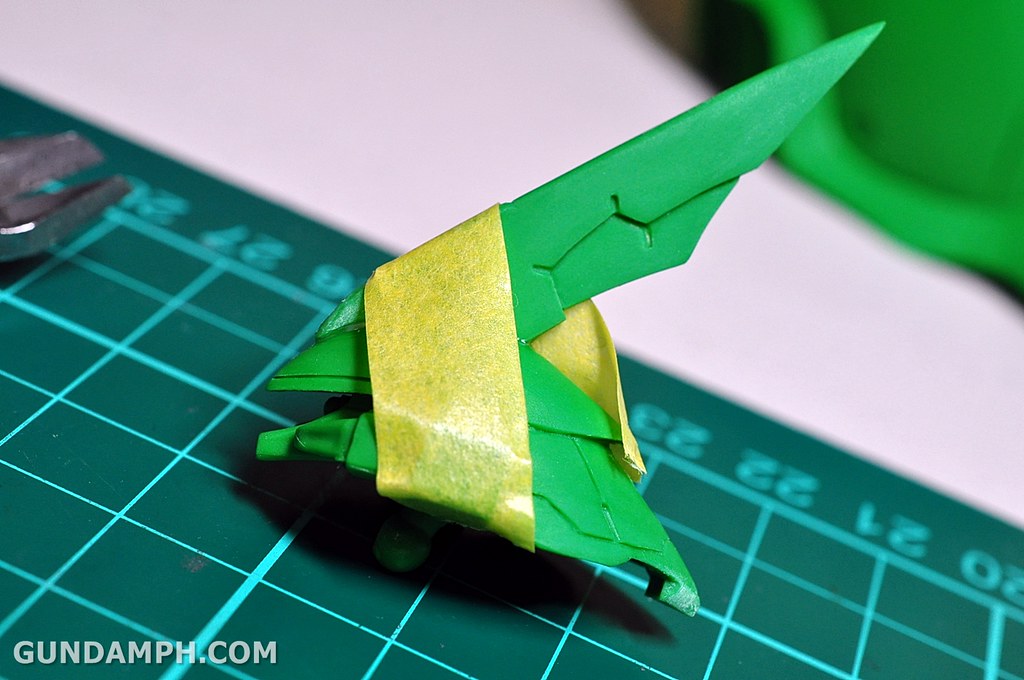
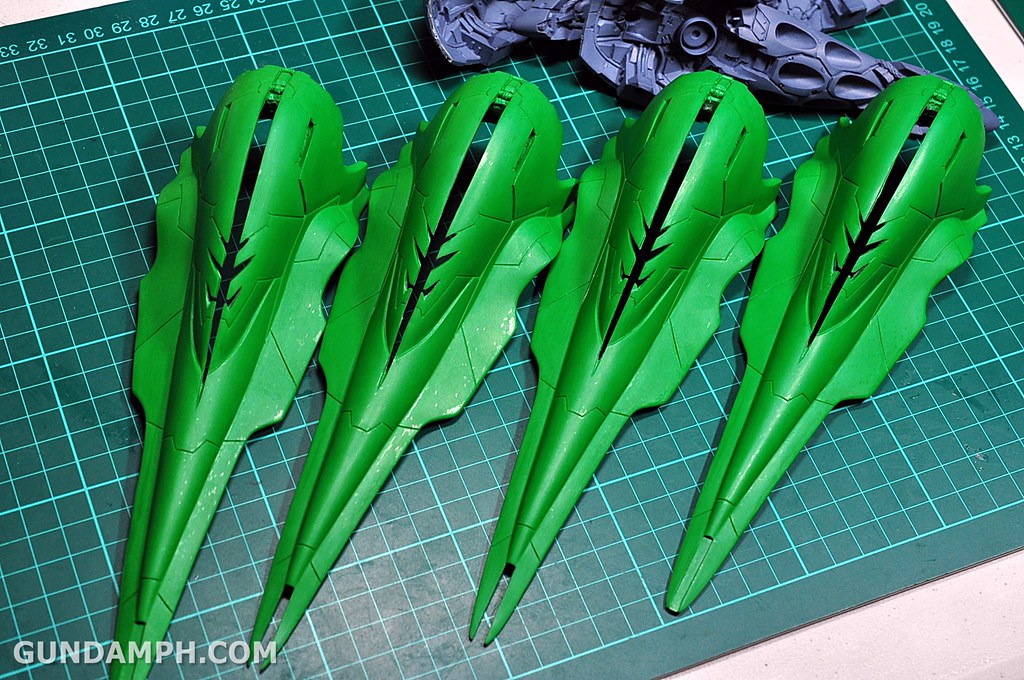
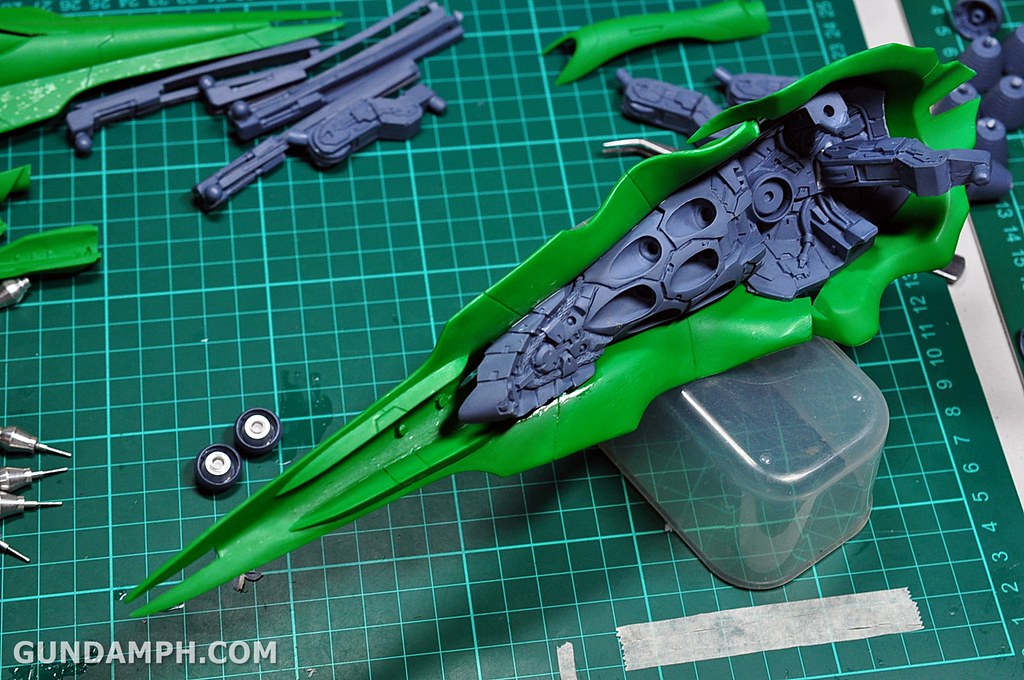
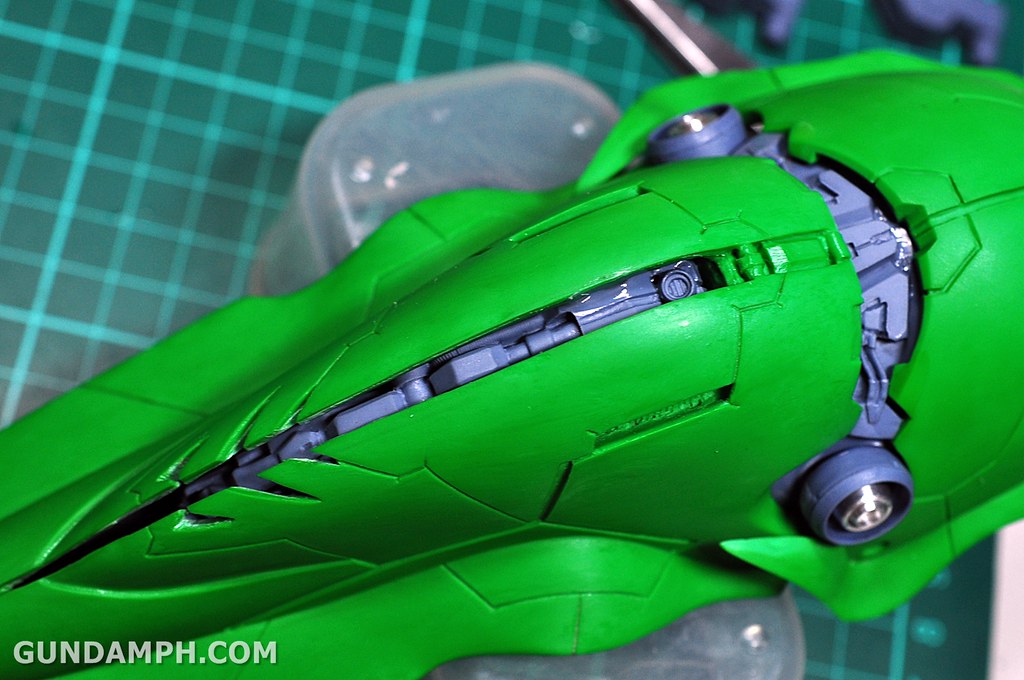
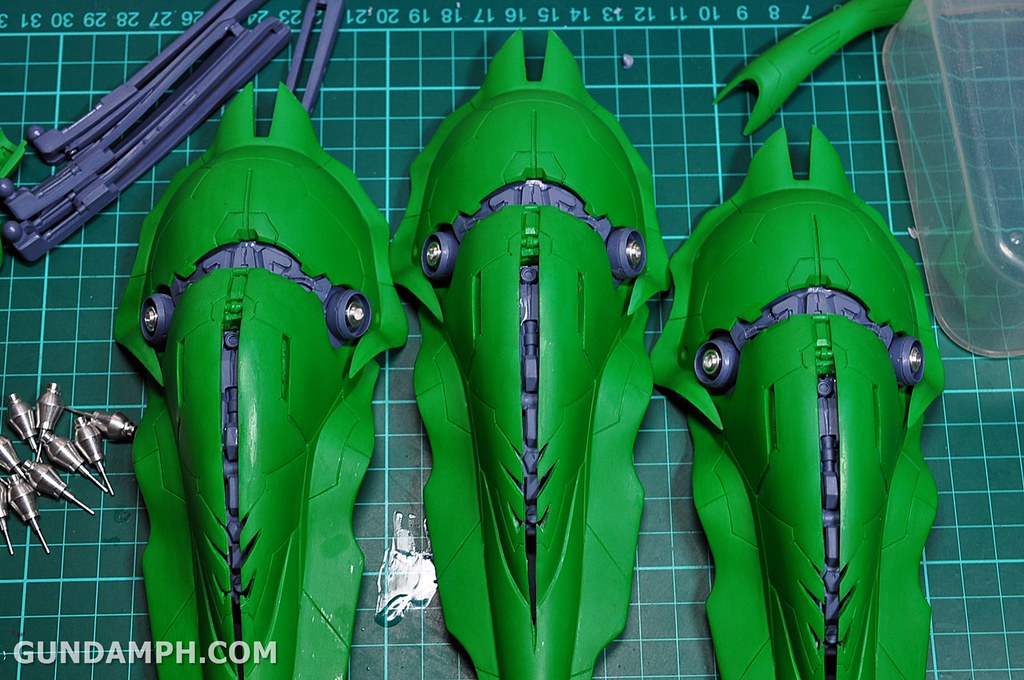
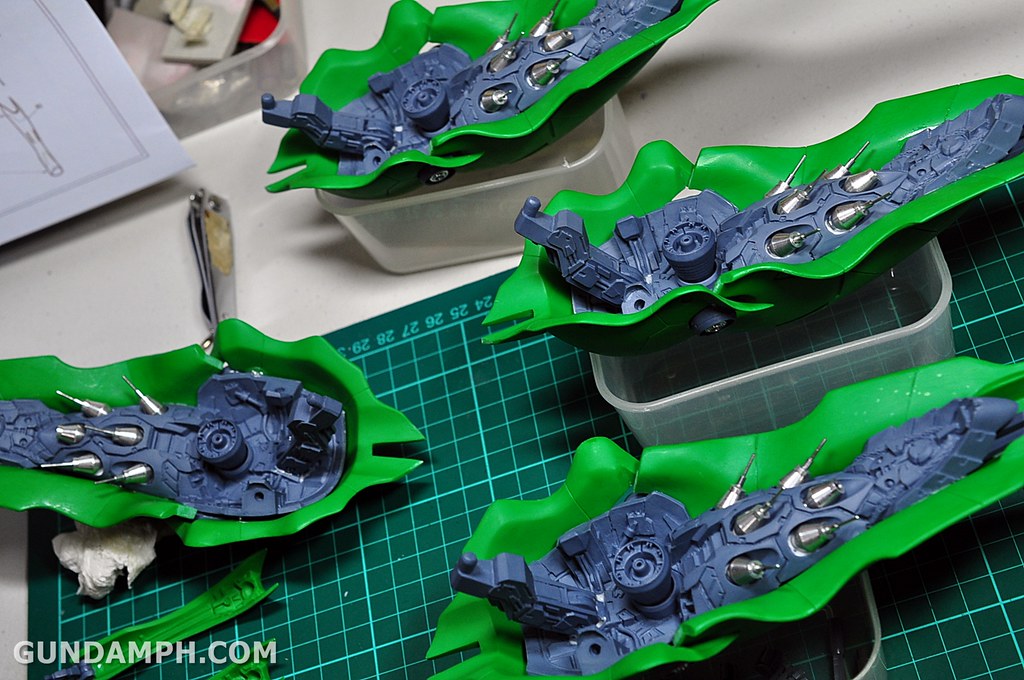
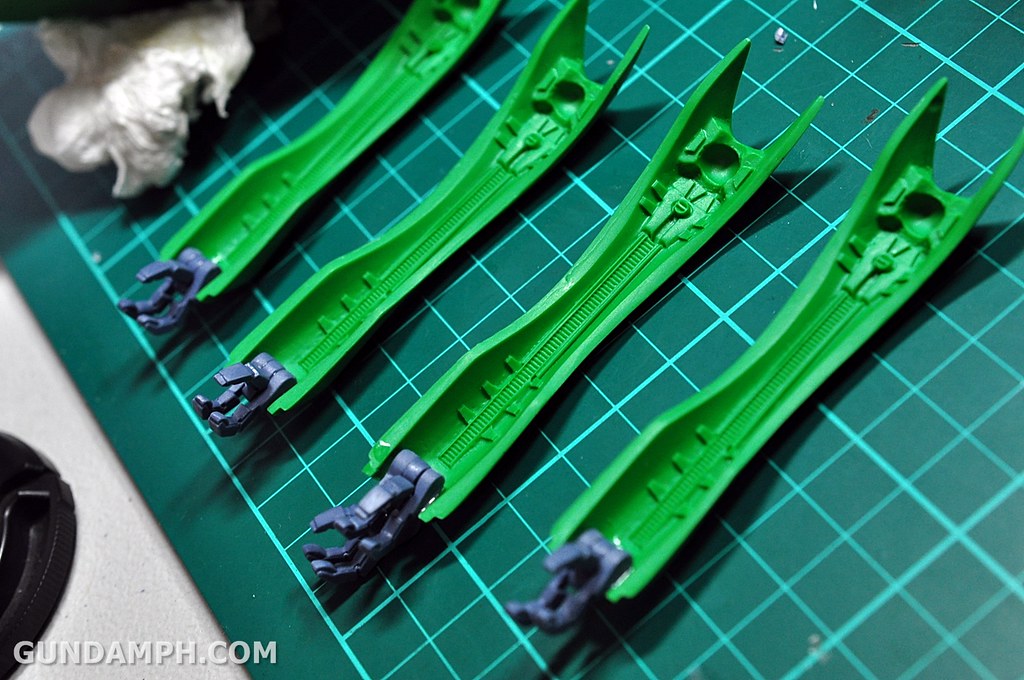
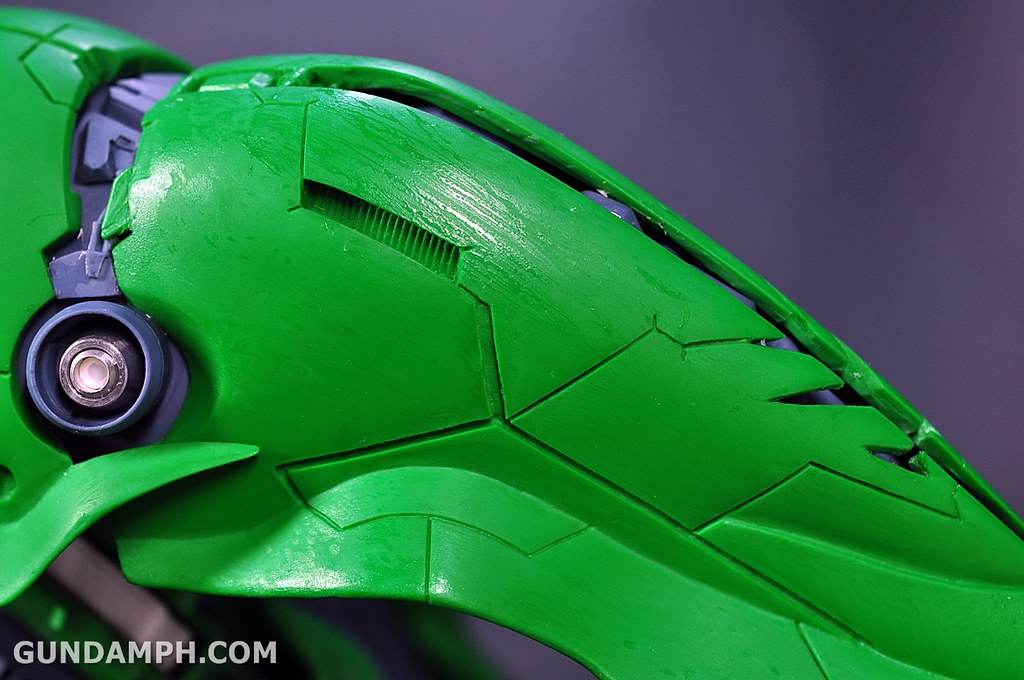
BINDERS
very detailed underneath… would be really interesting to detail the binders in the future

spent some fine time trying to remove the middle section…


did that on 4 of them… my fingers were numb after… T_T
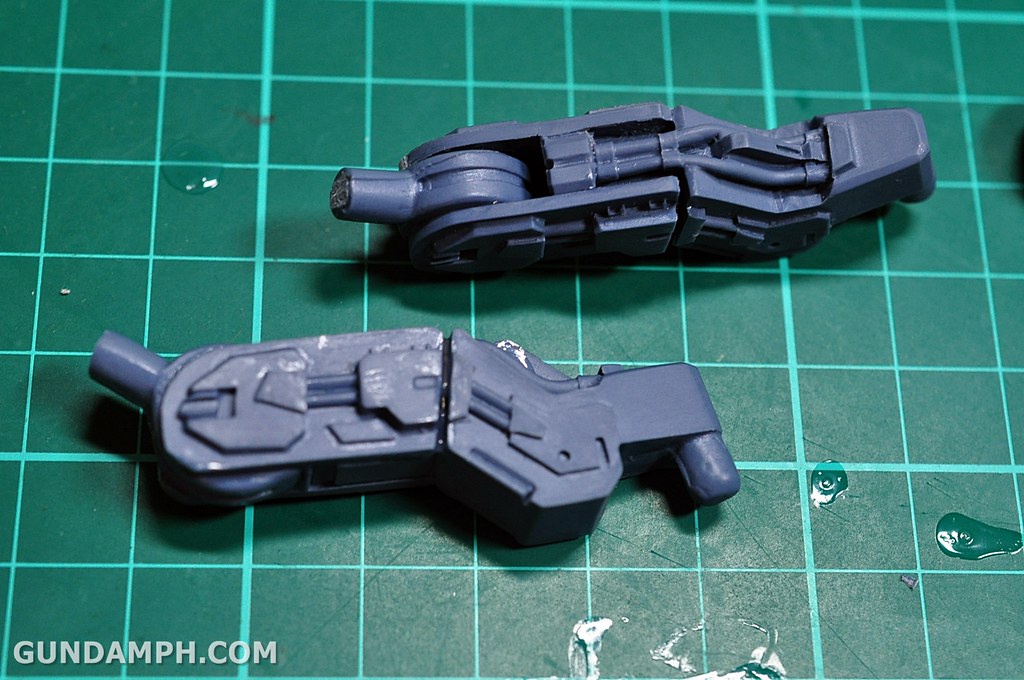
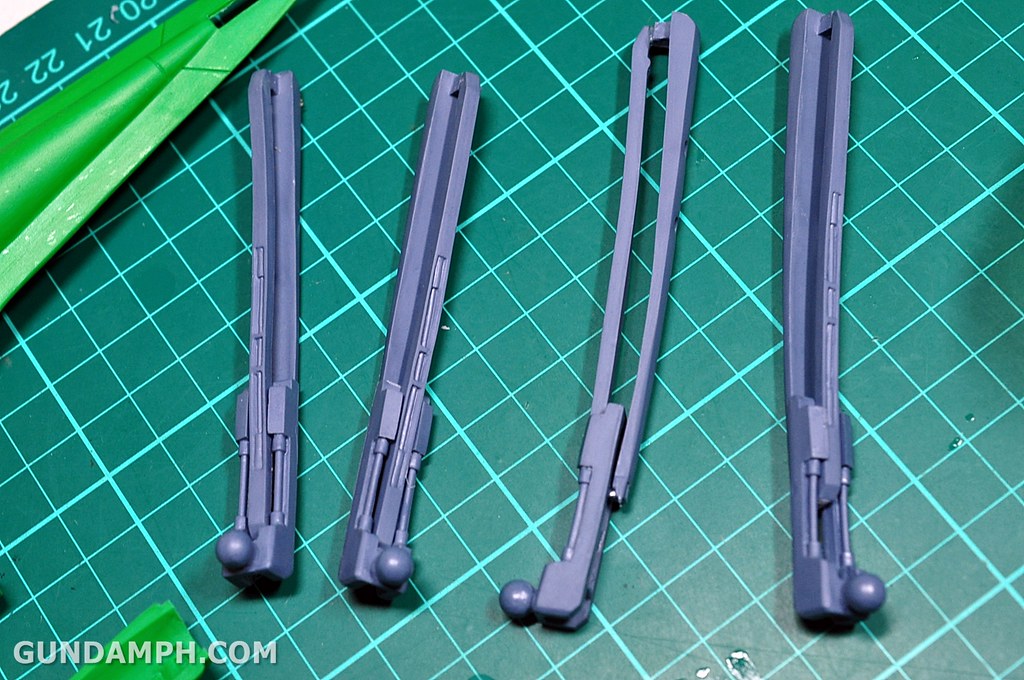
some of the parts
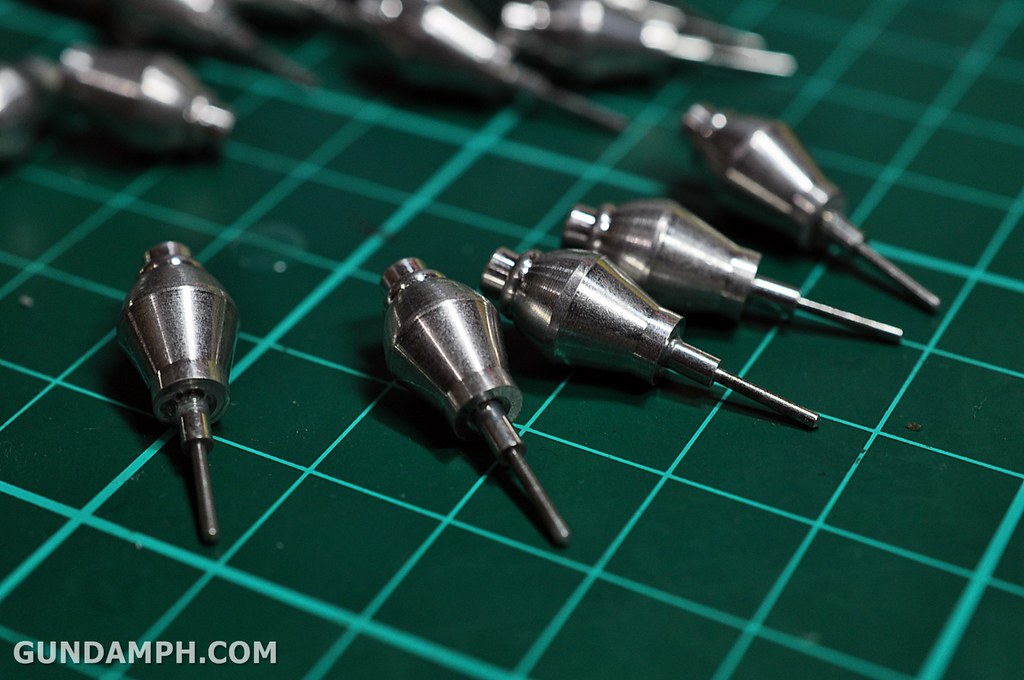
metal parts ^_^

I was missing 4 pins to connect to the funnels… there are 24 funnels and I only have 20 pins…
So I decided to just distribute the funnels with missing fins to the four binders

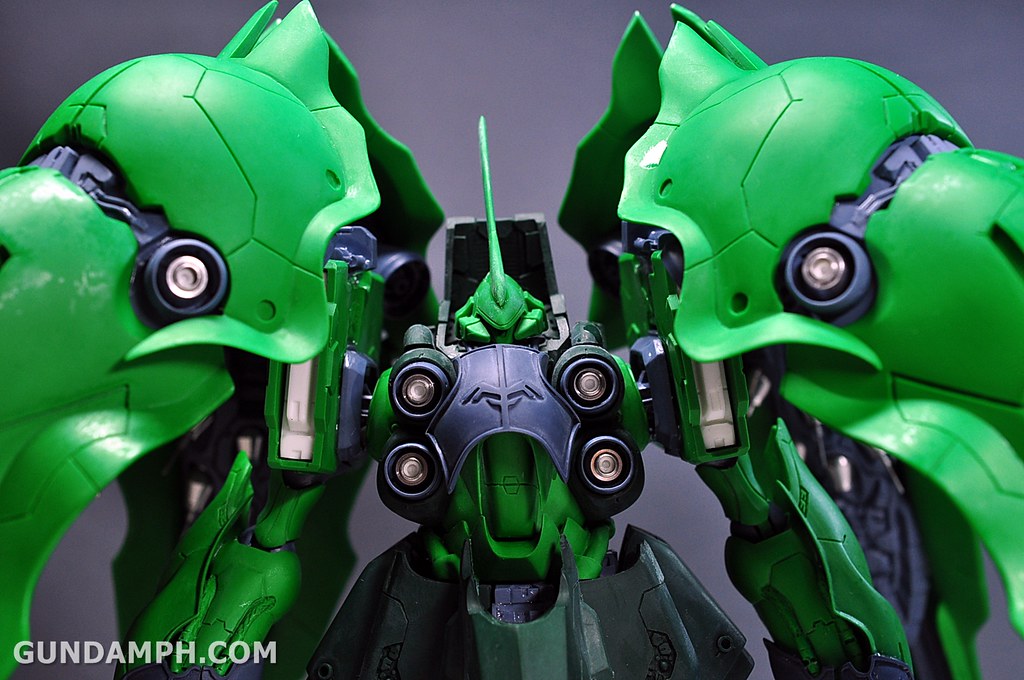
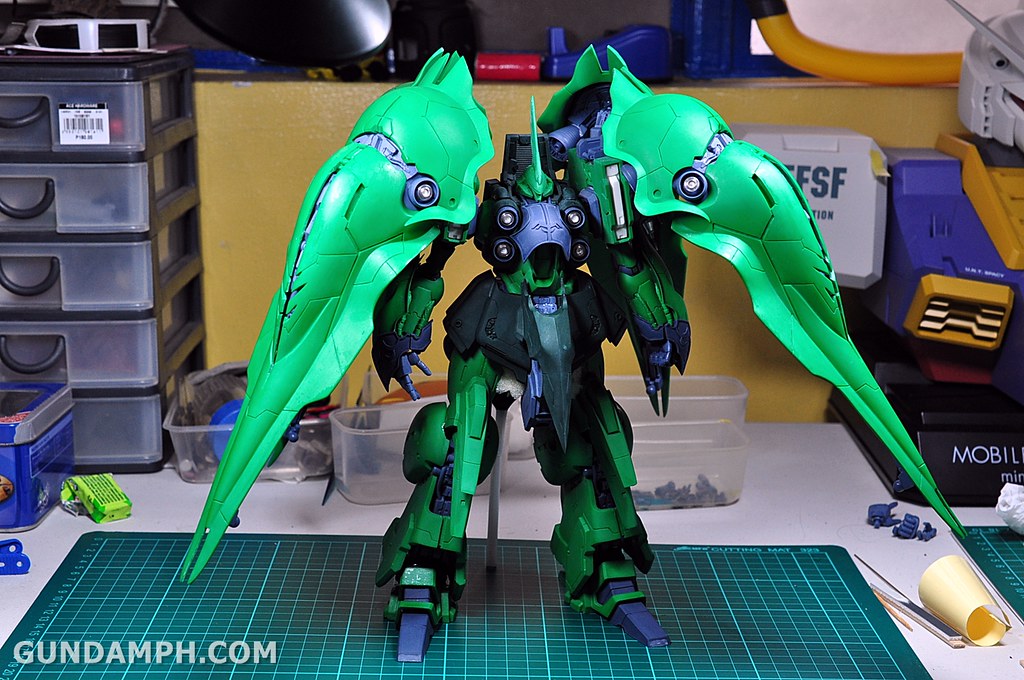
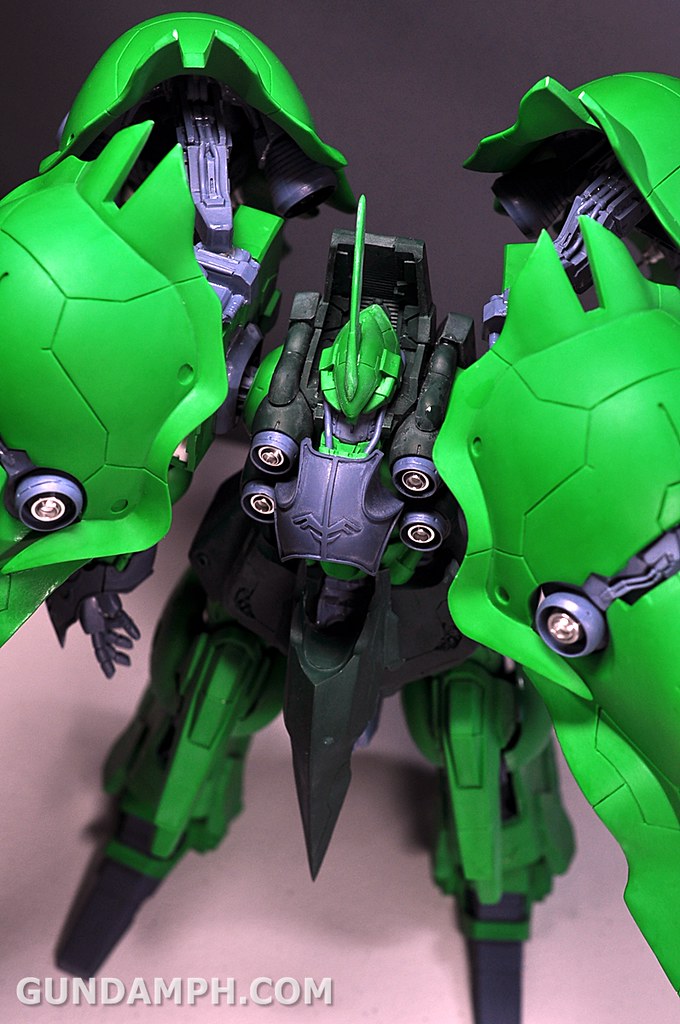
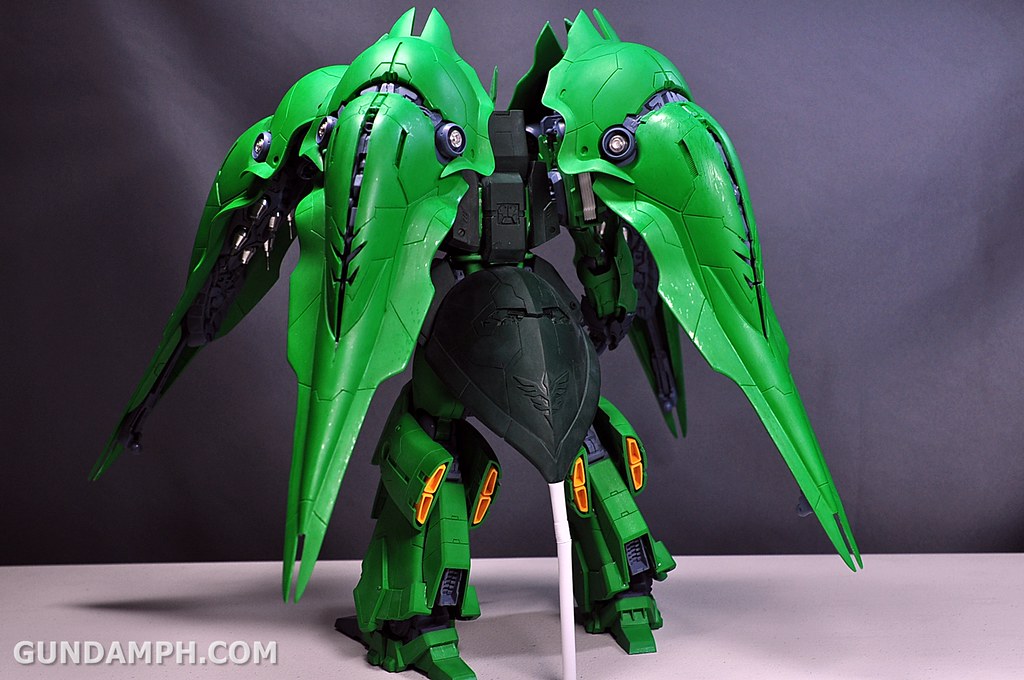
binders looks like a SQUID

the piece below is responsible at holding the heavy binders in place
the kit can be lifted by one hand on the crotch area
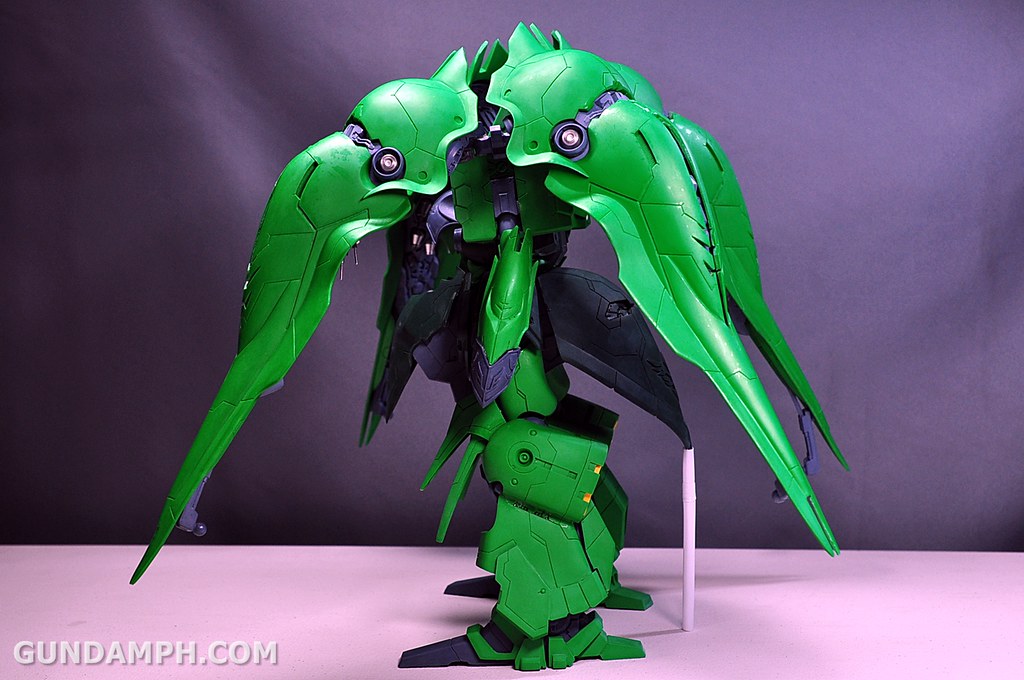
I added a straw stand as well on the back (can be removed if wanted)… safety precaution… don’t want it tilting backwards…

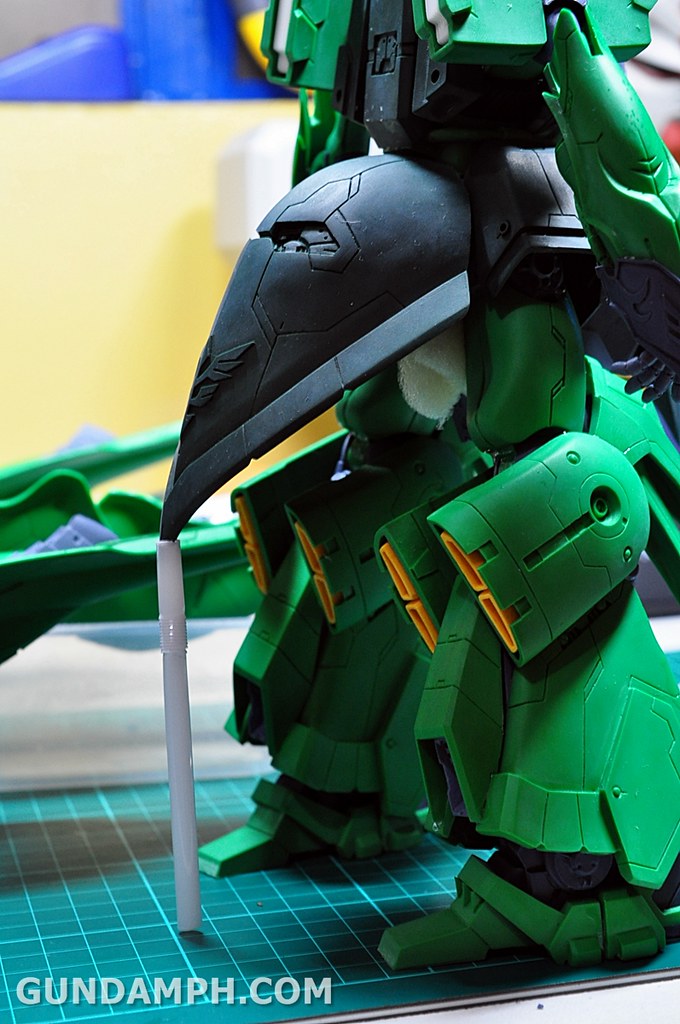
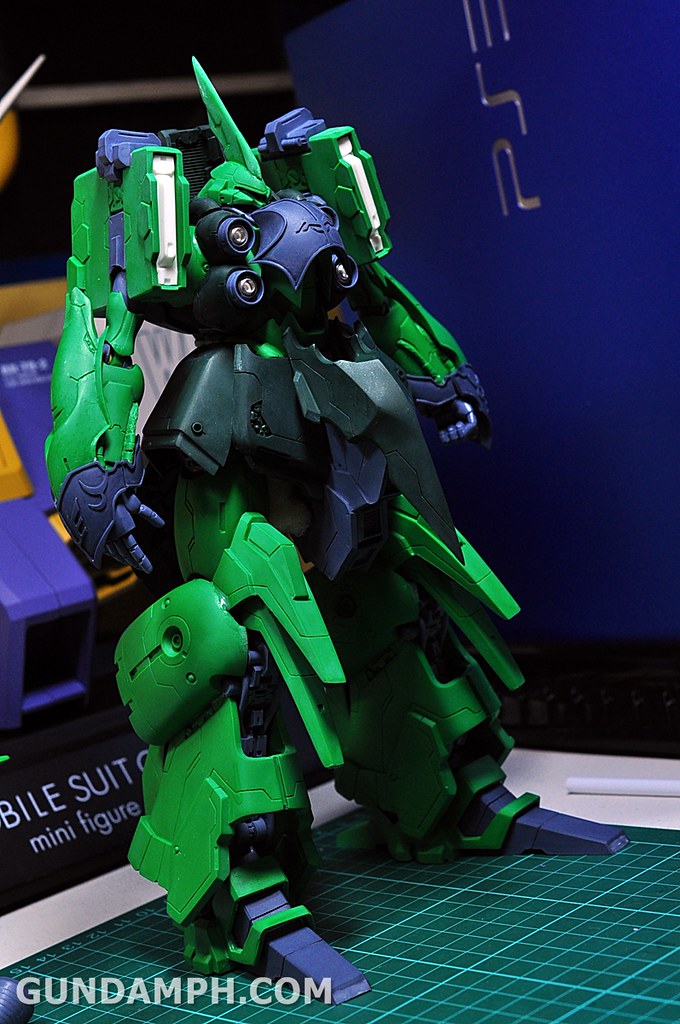
So I tried attaching the binders! Yehey it was a success!!!
then when I came back home in the afternoon… the binders were drooping on the sides…
like Kshatriya was out of energy… I had to remove the arms so I could work on the weight issue of the binders
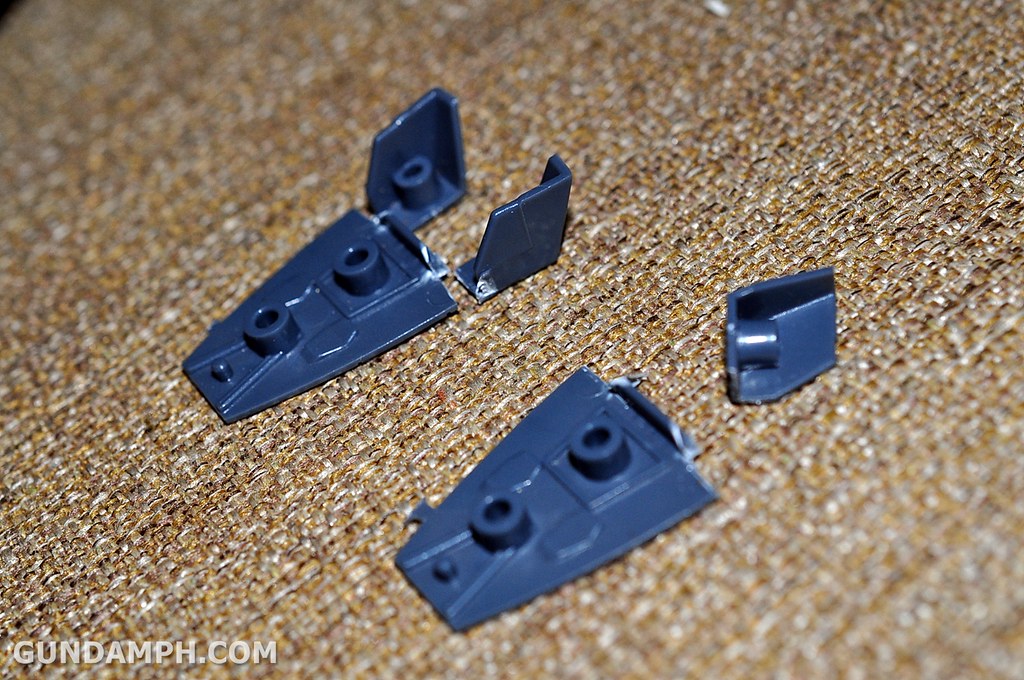
my solution was to add a piece to help lift the binders… PVA glue didn’t work… I used super glue instead

got those pieces from some spare 1/100 parts

******************
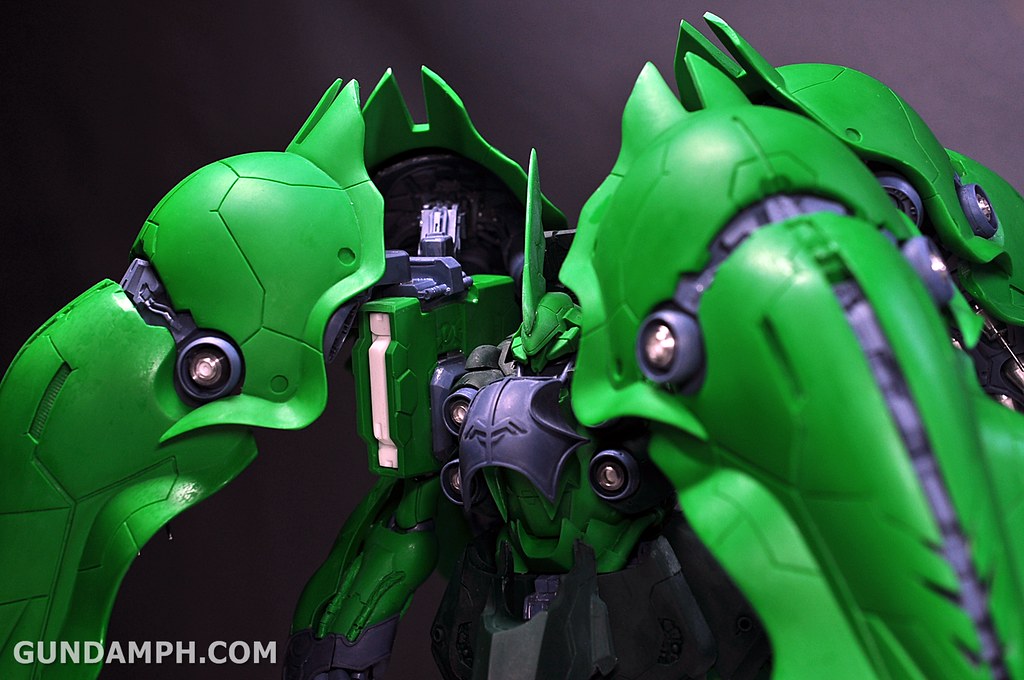
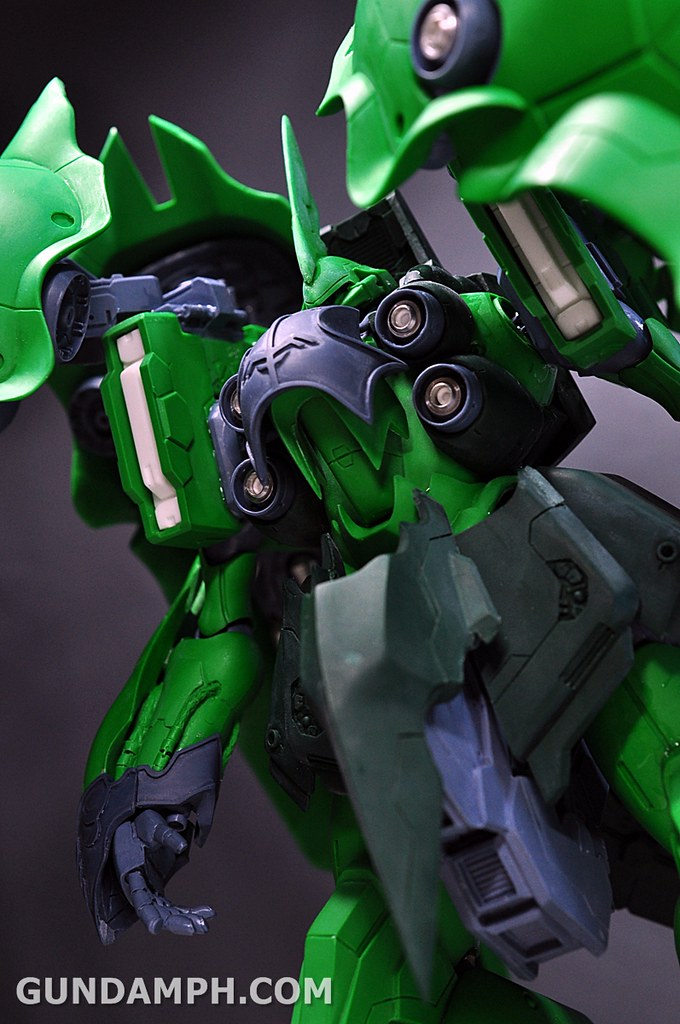
Final output!


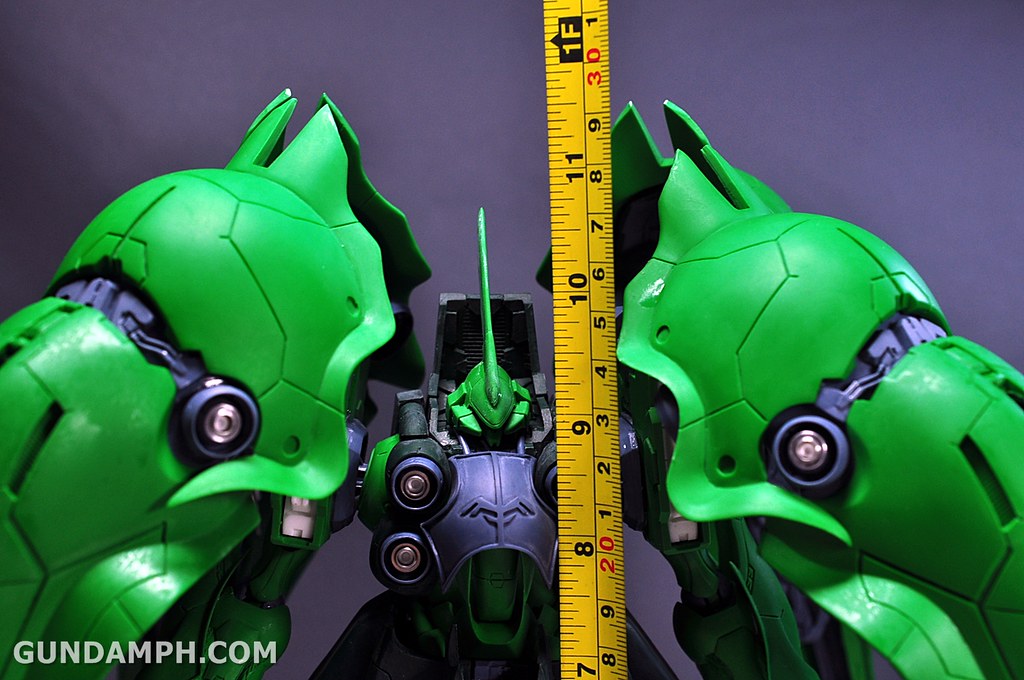
dimensions in inches…
WIDTH
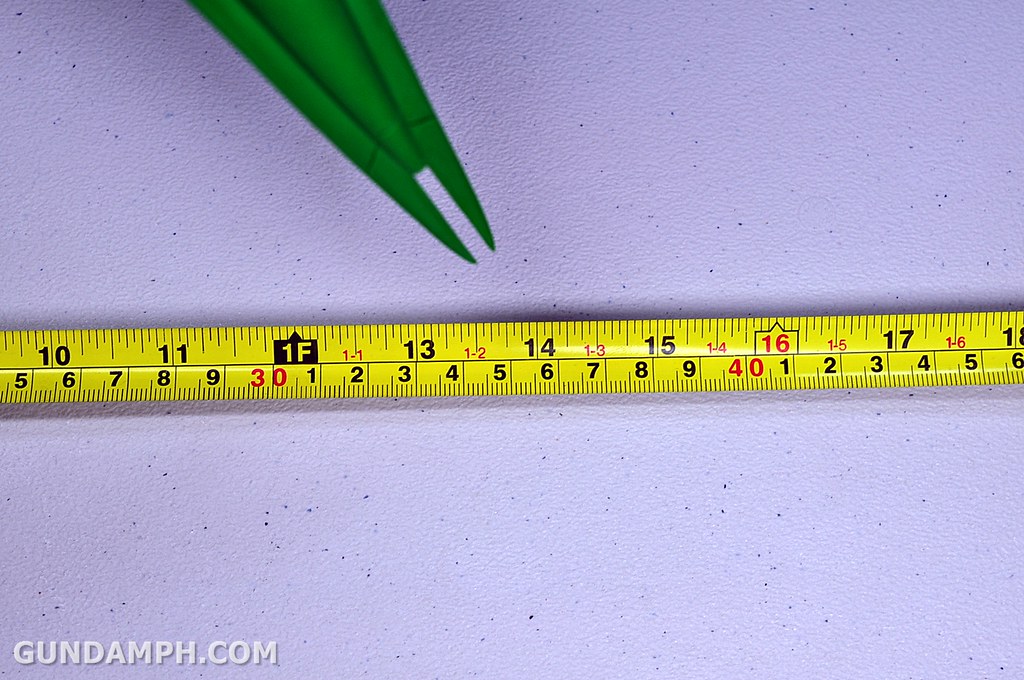
DEPTH
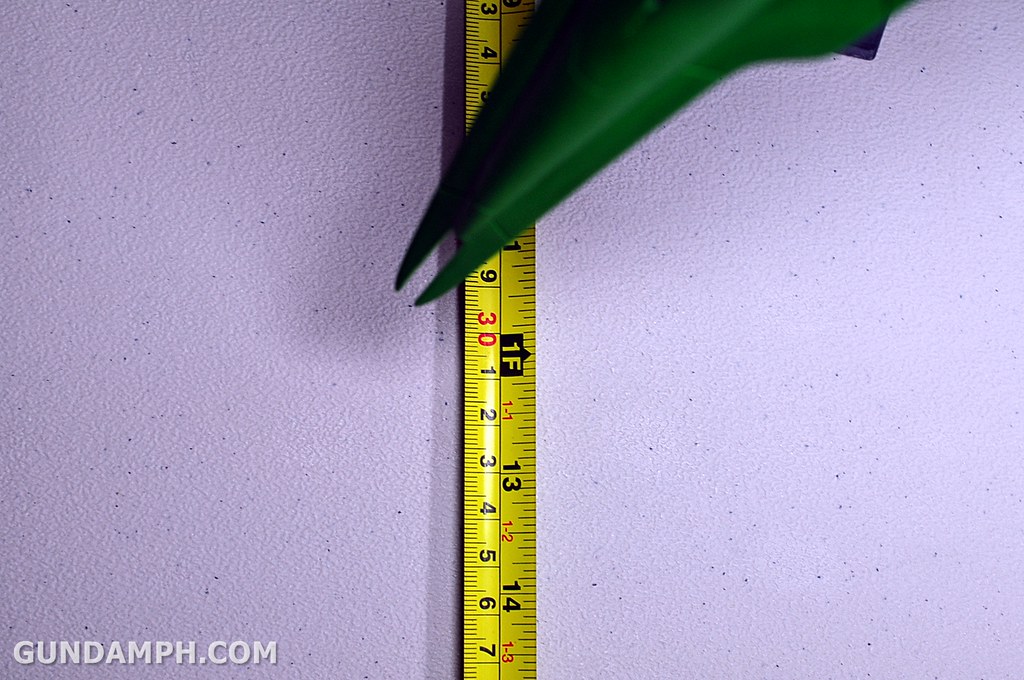
HEIGHT
************************
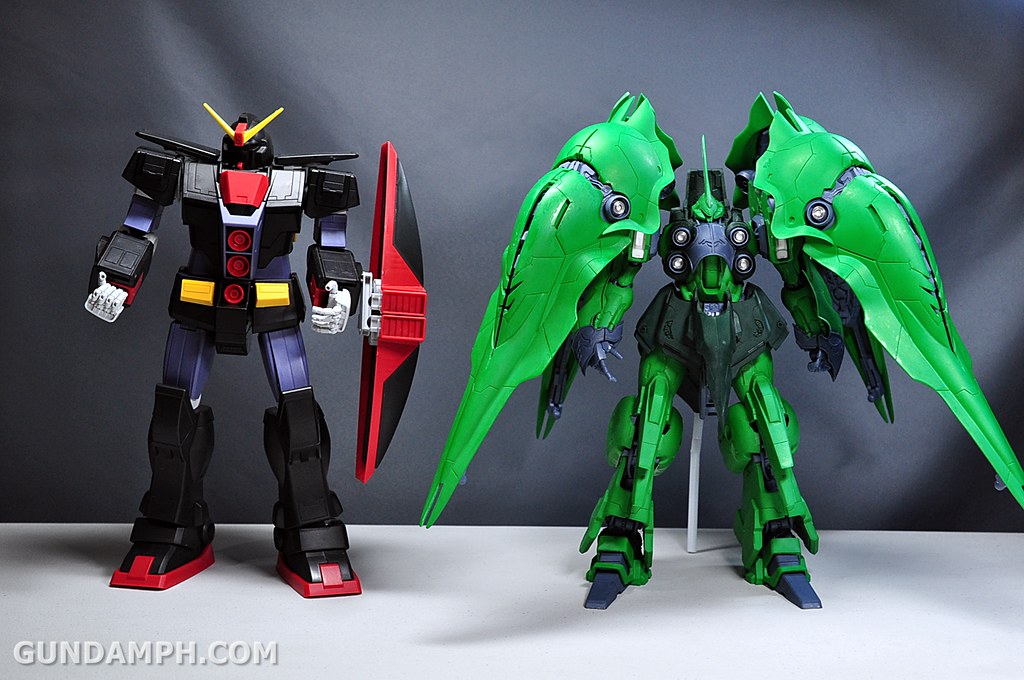
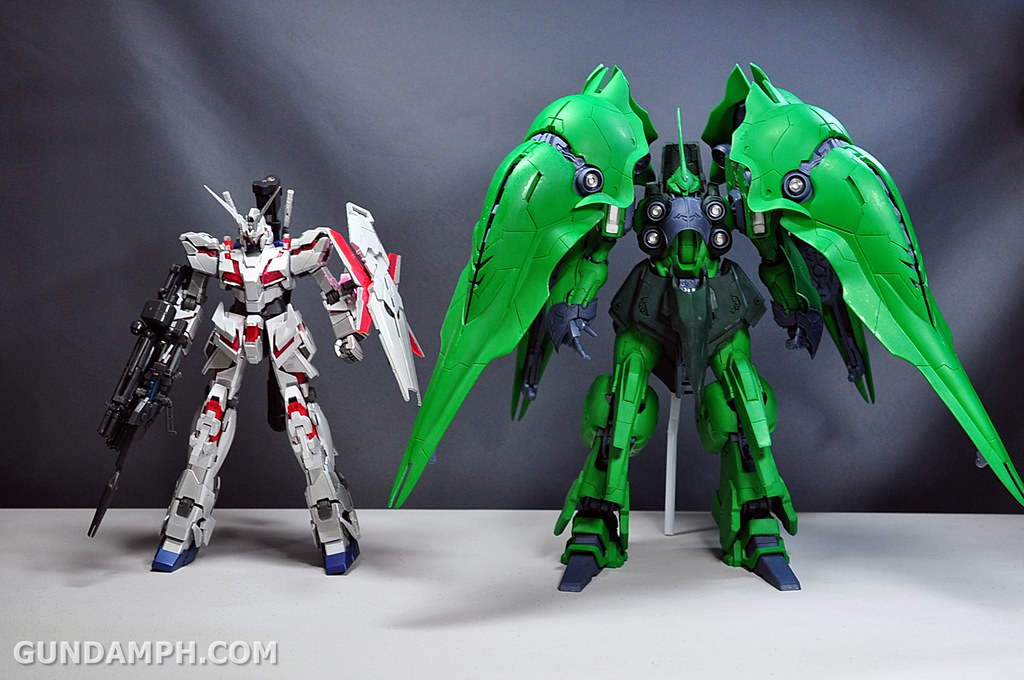
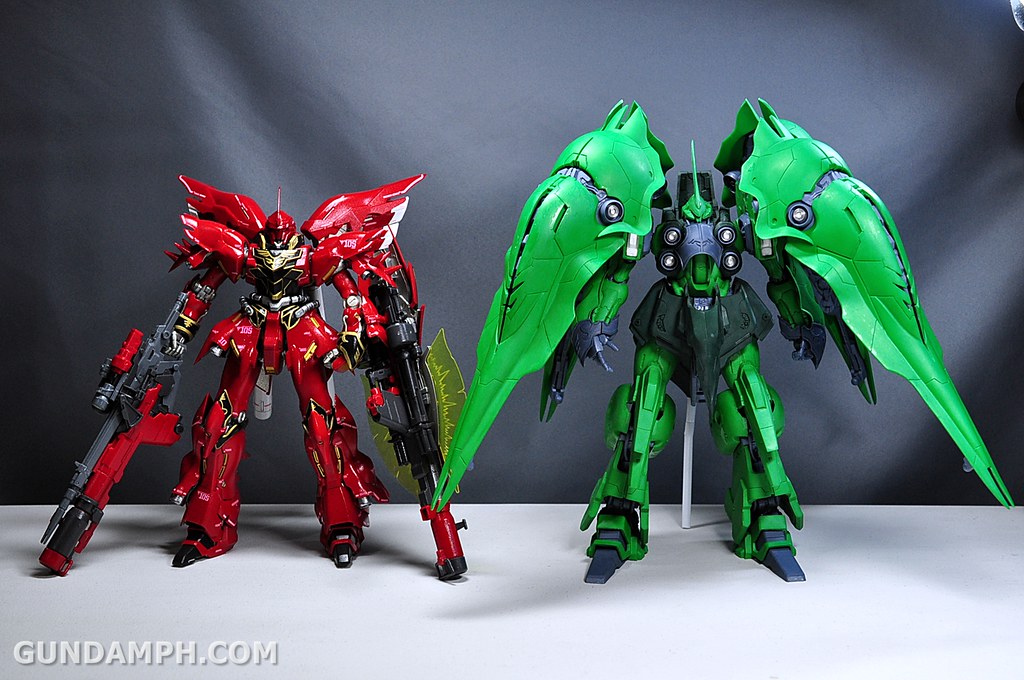
SIZE COMPARISON
as compared to the 1/144 and SD Kshatriya
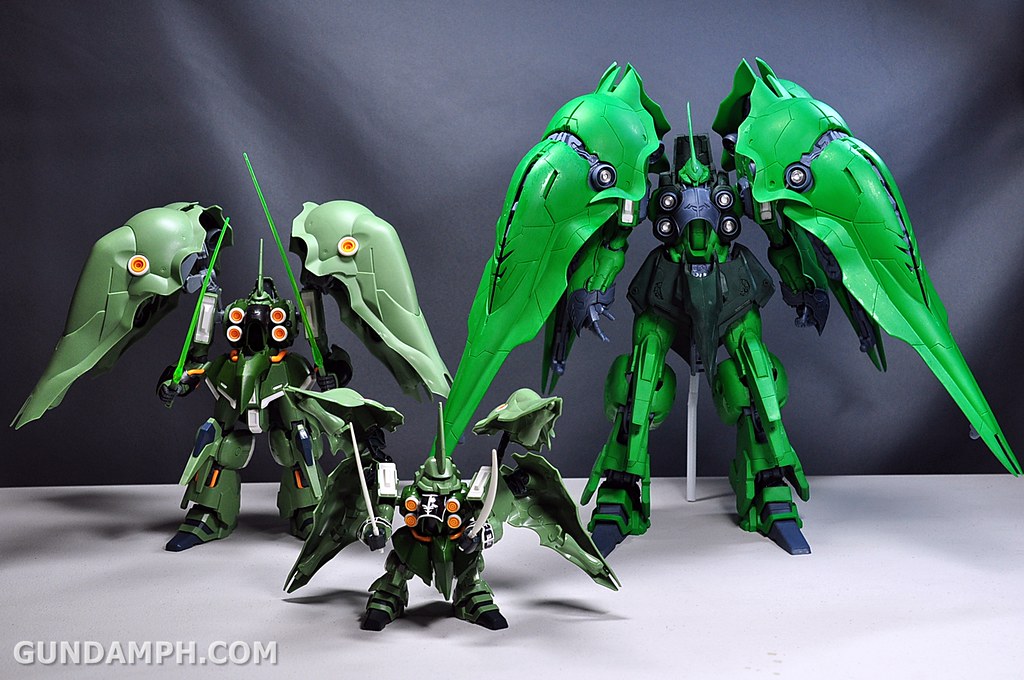
as compared to the HG 1/144 Kshatriya
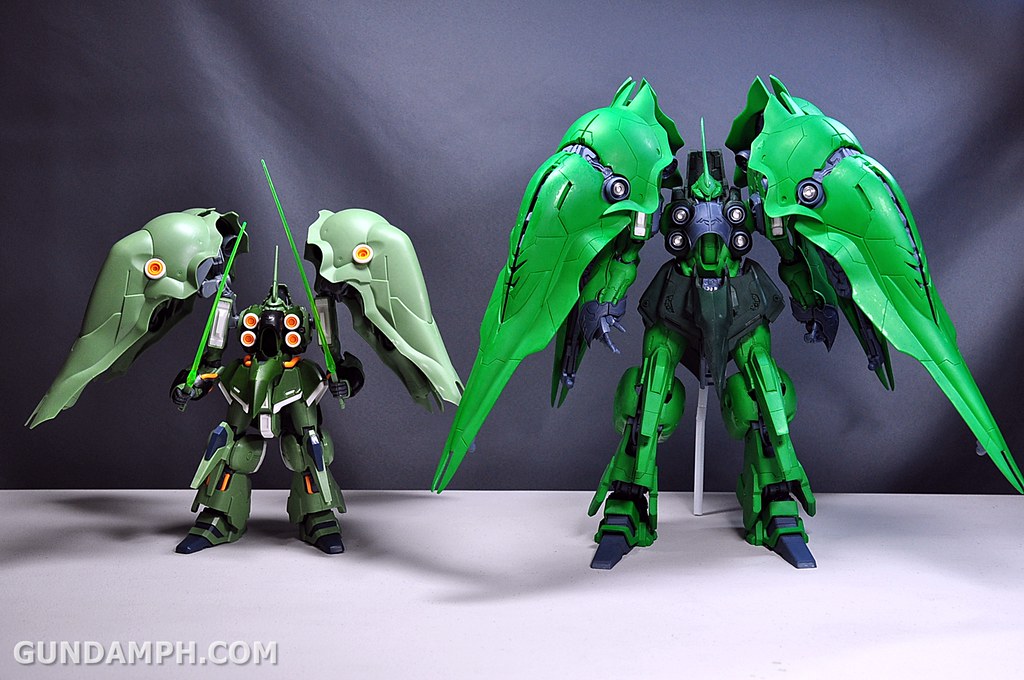
as compared to the SD Kshatriya
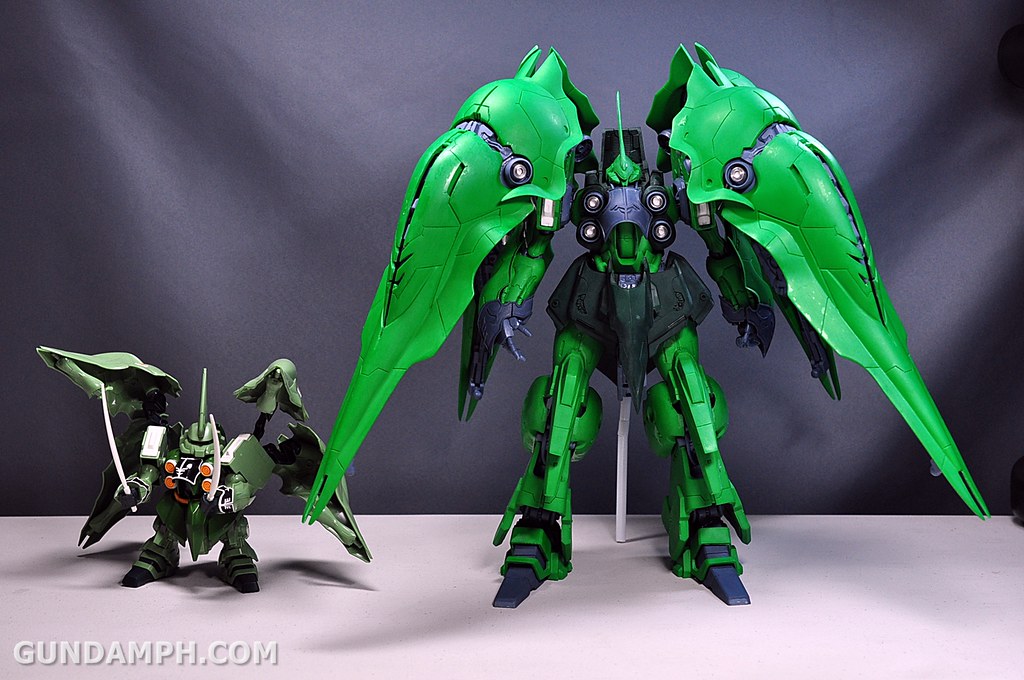
as compared to the HG 1/144 Psyco Gundam
as compared to MG 1/100 Unicorn Gundam
as compare to MG 1/100 Sinanju
********
It took us around 2 weeks to build…
drying or curing time of the PVA glue was the part that took most of our time. It was really fun and an interesting experience.
We were amazed at how big this garage / resin kit is
Details are really nice! loved it all the way
Now we know why bandai is not making an MG of this one yet… It will cost the same price as a PG kit… size of the binders will definitely need metal joints which will make the production cost high.
The final product has some articulation but is very limited… It is meant to stand like that and not do any dynamic poses
A must have for Unicorn series fans ^_^
-END

Impressive kit you got there…and I’m tempted to get one of these. Thanks for sharing bro!
LikeLike
thanks bro! when you start on building resin kits, its kind of addicting… maybe it is the smell haha!
LikeLike
magkano nakuha? at san nabili?
LikeLike
it was kind of pricey because of the metal parts and colored cast… i got it around 17k yen from HongKong
LikeLike
yes how much was this kit and where did you get it? Thanks
LikeLike
it was kind of pricey because of the metal parts and colored cast… i got it around 17k yen from HongKong
LikeLike
Very nice with so much patience to build 🙂 and I love the metal funnels too…. What about the smell? Is it addictive like when you buy new rubber sandals and new school bags when we were kids? LOL!! Well… I never had a resin kit, do they have the same sizes? What’s the smallest size for a resin kit?
LikeLike
yes the smell is addictive haha! we have a 1/144 ELS quan[t] resin which we sold to a few people a while back… we will make a review once we have time
LikeLike
how much is this kit in php ?
LikeLike
Where to buy please
LikeLike
hey man nice work, really nice.. where can we buy this kit? or can you give me a link on where can i online buy this kit? i really want this for so long. id be really glad if you can reply me.. tnx man
LikeLike
it was bought on an auction in japan. but I think you can get one from hobbywave.
LikeLike
where is hobby wave
LikeLike