

First of all, I am NOT a PRO photographer. I just love photography and I love toys. This tutorial is based on what setup we are using to take the pictures of the Toys and Gundams you see on this blog. We are sharing this Basic Toy Photography Setup Guide / Tutorial to prove that even though you are using only a cellphone camera, you can have pictures that are nice to look at. Ever since this blog was established up until last month, all the pictures taken here came from a cellphone camera. Only last month did we acquire a DSLR camera since we think that we had abused the cellphone’s camera too much because it was already having a hard time focusing on subjects haha! ^_^ I hope you learn something from this post.


**********
KEY ELEMENTS
The key elements to achieve a nice shot are not so hard produce. I believe that when you have the following, you are good to go!
- Light source
- Uniform background
- A capable Camera
- A little bit of creativity 🙂
**********
LIGHT SOURCE
The light source is the most important key element in my humble opinion. It helps you (as the one taking the pictures) to convey the message you want to create with the photo. Light source can be your enemy or your friend
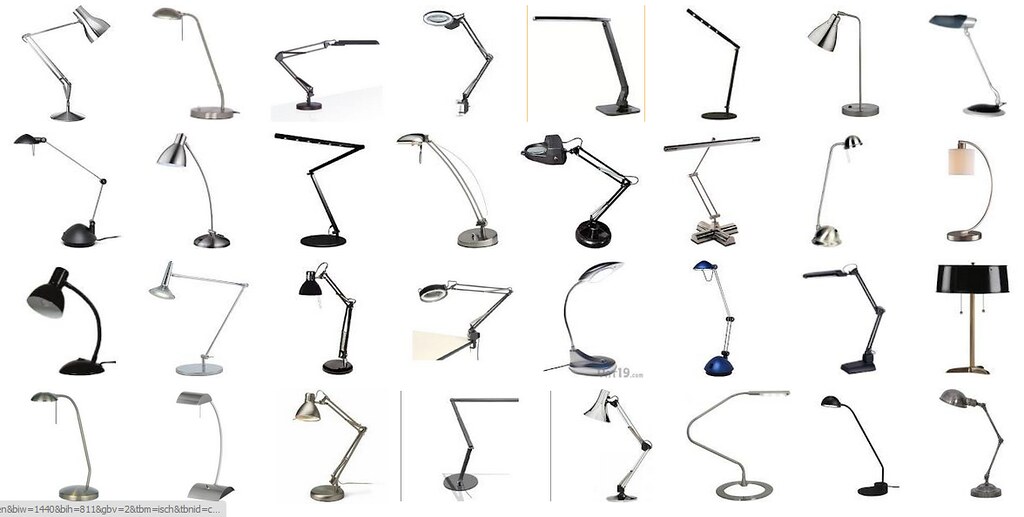
In the case of our poor man’s toy photography or Do It Yourself toy photography, light sources can come from table lamps which can be bought from your local hardware store for around 150 to 1000 pesos.
To help diffuse the intense light, we use something like a tracing paper or a white cloth. Even a diffused acrylic sheet will do.
**********
UNIFORM BACKGROUND
Backgrounds are subjective. You may provide or not provide one. It is actually your choice.
Now, why do we use backgrounds in toy photography?
Well I believe that is to emphasize the toy itself. They help remove what might possibly be a messy background. Also, having a background helps you maximize the available light you have provided.
Some backgrounds you can buy locally are felt paper, cartolina, cardboards, white or colored cloth, some decorative background maybe… the possibilities are endless…
**********
CAPABLE CAMERA
So what do we mean by “capable”
When we say capable, we mean a camera that has enough megapixels to generate a picture that is “sharing-friendly”. You intend to share your photos right? So a picture who originally has a high-resolution is good for sharing, because even though you down size it to a smaller resolution, it will not lose its details. Unlike when you have it small from the start, when you try to enlarge it, the photo will become “pixelated” (has jagged edges, square-ish)
Megapixels defines the size of pictures your camera can produce. Regarding picture quality, the megapixel = quality theory is only valid till 6 megapixels. Beyond 6 megapixels is just a matter of resolution or how big the final picture will be. I used to think before that MP = Quality… but research tells me that the quality of your photo depends mainly on the type of sensor, lens and post-processing used by your camera (both cellphone, point & shoot and dslr).
A (6) Six Megapixel camera is already good for this case. Going higher than 6 is a bonus but not really needed.
When doing taking pictures of your toys, it doesn’t necessarily mean that you need to have a DSLR… having a DSLR is a bonus but not mandatory. A lot of (P&S) point and shoot cameras today are very capable.
**********
CREATIVITY
Well, let us face it, some were born to take good pictures, while others need to learn through practice. I must say in my case, I learned through practice. I do not know how to take good pictures before. But because I was always fascinated with good photos, that I ended up learning the stuff myself.
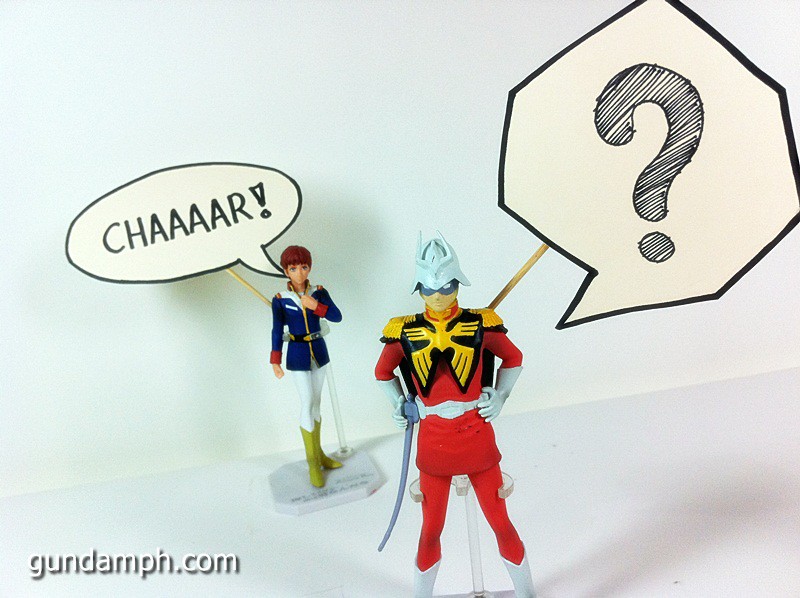
As I have said before, the pictures you create defines the message you want to send.
Regarding what message to send, have you noticed that here in the site, the review photos are always grouped into two? First part is the more serious/plain/boring review type of photos. While the second one is the dynamic/dramatic/selected angle shots.
**********
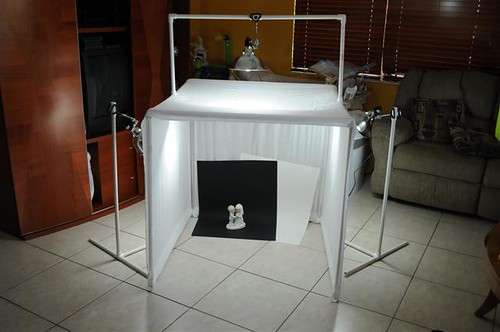
THE OLD SET UP
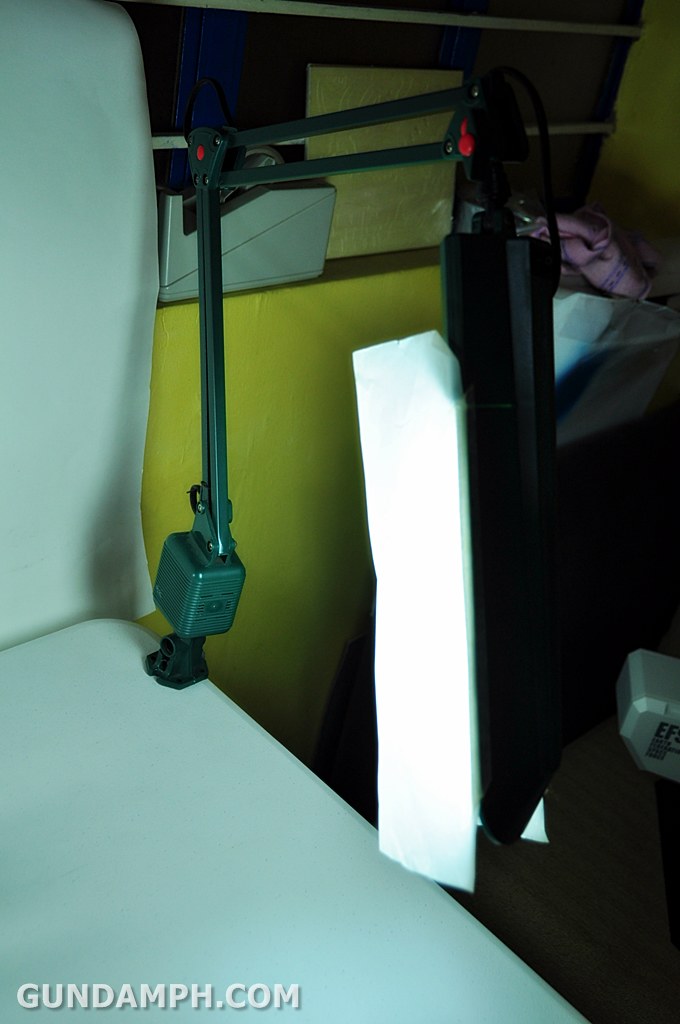
This is the old setup I was talking about. We have been using the setup below for almost a year.
We did not use a light box, only lights covered with tracing paper. There are two of those lights. They are AKARI brand which can be found on ACE HARDWARE for 800 pesos each. I think they are 20 watts each. Can move at 3 points and is very flexible…


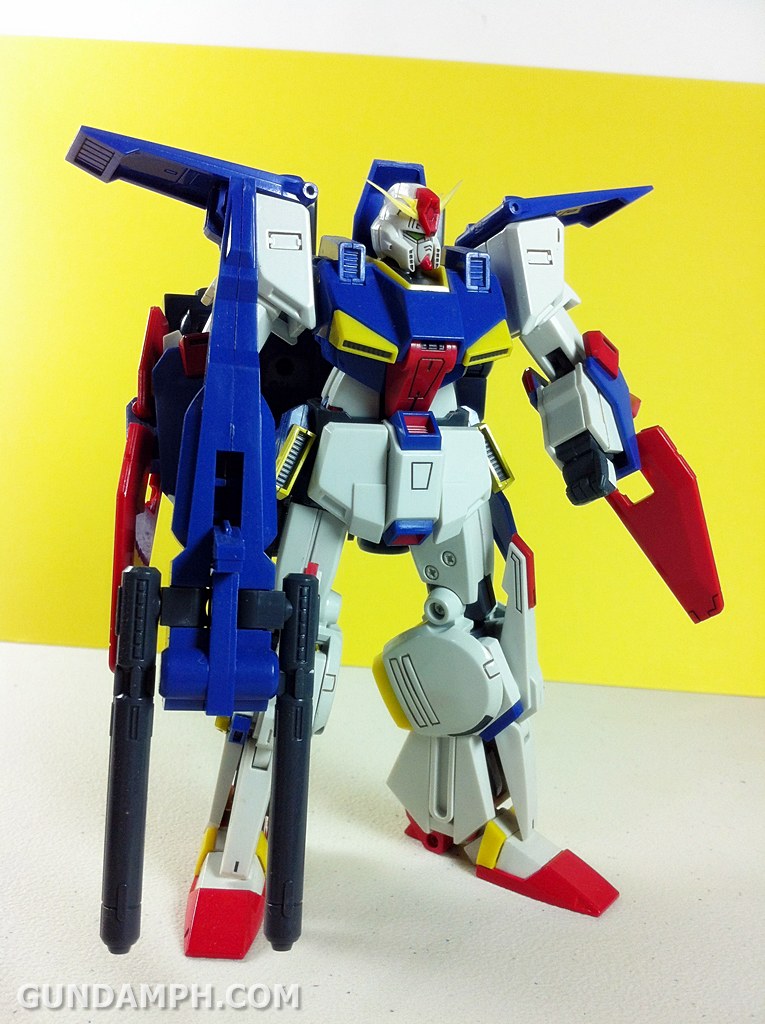
Taken only using a cellphone camera, it was able to produce these pictures which you have been viewing for quite some time.

Since it was a cellphone camera, you can notice a little bit of noise in the photo.

not as good as a DSLR, but enough to send the message we want.

You will also notice how the white background help in utilizing the 2 lamps
**********
THE NEW SETUP
We did this a couple of days ago. From the small crappy table, we decided to buy a new table which you can read here.
Now there is enough space to take pictures of the toys and work on them at the same time. Also the white table top was a big help.
Notice the position of the lights. One is in the front (key light) while the other one is slightly position on the rear which serves as a fill light/back light. We have more info about lighting positions below (check the video)
We are still using the two lights. Quite an investment huh, it has been with us for almost a year now.

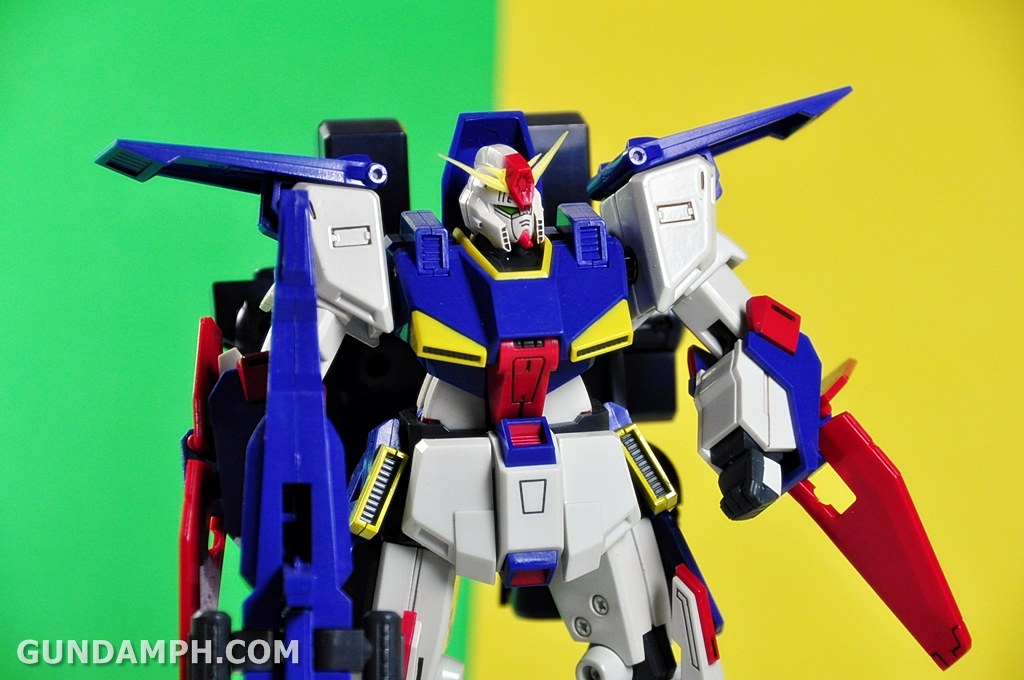
Here are the sample shots using the setup above. Taken using a Nikon D5000 with an 18-200mm lens.


I also have some colored backgrounds available. Colored cards we found on National Bookstore.

So let us try them on….


Can also mix colors ^_^
I also took shots using my cellphone camera… You judge the difference…

**********
VIDEO about light positions
Video is about portrait lighting for photography, but I believe that the ideas are the same for toys…
In the following video Jay P. Margan demonstrates 5 different types of lighting:
- Rembrant Light
- Split Light
- Broad Light
- Butterfly Light
- Loop Light
**********
DIY SET UP BY OTHERS
Many people use the lightbox / mini studio approach. But I personally find it restricting unless you take pictures of objects that have the same size most of the time.


but maybe if you have it really big the first time then you wont have problems.
The picture below used cloth instead of tracing paper
Hmmm… that is all for now… hope you learned something from this post.
Feel free to comment and ask questions if there are any
-END

Walang gaanong difference sa DSLR at sa cellphone camera. Naka dagdag na naman ng technique sa photography. Thanks to you Sir. Sana di ka magsawa mag review ng mga toys at mag post ng talents…lalo na sa hobby natin LOL!
LikeLike
exactly, kung may difference man eh maremedyuhan na lng ng tamang lighting at kaunting diskarte haha… salamat sir. thanks sa patuloy na pagsuporta sa GPH! ^_^
LikeLike
salamat sa tips!! sana more to come!! 🙂
LikeLike
you are welcome
LikeLike
wow! that’s what I call creativity! galing!
LikeLike
Please see our Toy Photography as well.
http://xyzmelbourne.com.au/toy-photography/
LikeLike
hi! thanks for the tips. ask ko lang if you still use flash pa with the set up. Thanks!
LikeLike