Finally! I have here a review of a snap-fitted MG 1/100 Sazabi Metallic Coating Version. This version is the first Titanium-like finish I have ever seen. MG Sazabi Metallic Coating Version should have been called Titanium as well because they are really the same as the Sinanju Titanium finish. I used to have this box opened at the hobby store just to take a look inside and compare it to the sinanju. Maybe Bandai decided to change name to Titanium to properly distinguish the finish. Its unfair for this model because most metallic finished kits are sparkly underneath, hurts eyes and hard to see details — in short very “CHROMY“. While this MG Sazabi is very attractive and looks like a smooth gem. Well you will see later in the pictures what I am talking about. I give this kit 10/10!

**************
Box Art

I was able to buy this for only 4000 pesos at Toy Kingdom. It was during the sale a few months ago. I was really out of cash during that time, but this was such a sweet deal because this costs around 7k even at Greenhills.

Metallic Coating version (booo! should be titanium IMHO)


CONTENTS – like gold, but red (LOL)
Shining

Shimmering

Splendid 🙂

MANUAL

EFFECTS
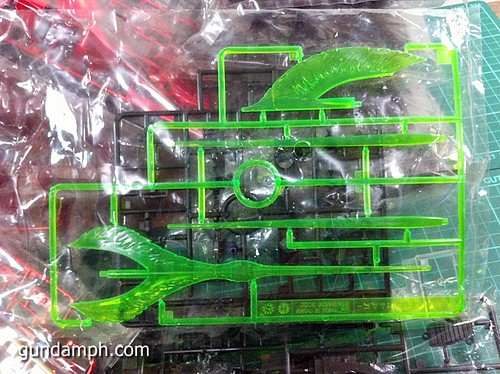
Yellow parts are metallic finished as well…

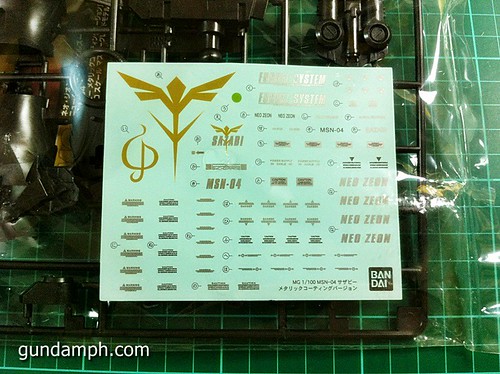
Water slide decals
That is all of the runners

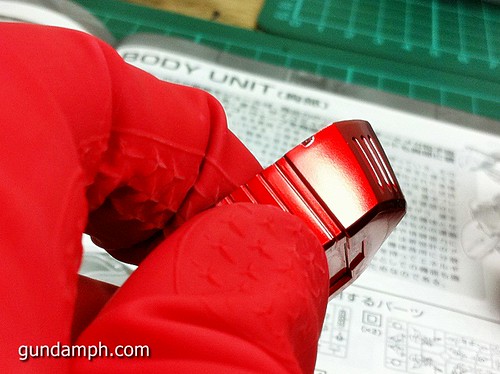
By the way, this is the first time I wore gloves while building a kit. I noticed that many people had problems with special finish kits with paints being removed by handling it with bare hands. I tried it on the runners and it indeed literally dissolved the red paint after a day.

TORSO UNIT
Frame is multi-layered as seen in the picture

Removing the nub marks was the most challenging part of building special coated kits

This is how close I cut the nub.

Then using the hobby knife technique, I come close to this.
A closer look on the yellow/gold parts

torso partially done
FUNNELS


Torso completed

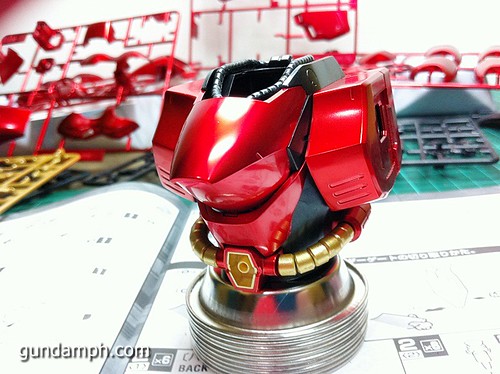
HEAD UNIT

the jaw and the forehead can be opened like below because the Cockpit is located at the head

and this is how it looks like closed

Head attached to torso. Looking good so far 🙂

ARM UNIT
Not so complicated.

Really loved the hands (manipulators)

can bend that much

Arms completed

SHOULDER ARMOR
first part is the should piece itself

then the boosters underneath that shoulder armor

when combined its like this

Arms, Shoulder, Head and Torso together

LEG UNIT

This is indeed Sinanju’s Granpa! hahah Look at how big those feet are!

WAIST UNIT

Boosters! gotta love them all!

This looks bigger in actual

Combined

SHIELD
I did not placed the decals yet… I have plans for them.

RIFLE ( a big one) and Sword Hilts

BEAM EFFECTS
I did not use this, I was only planning to display it with the Rifle from the start.

Now let us put on some lights!!!
*************


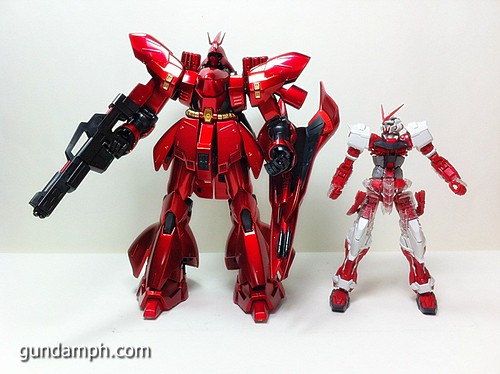
SIZE COMPARISON
against MG Red Frame Astray
Against SD Red Frame Astray

Almost 10 inches 🙂

Against my soon to be painted Sinanju (he is missing many stickers 🙂 )

Against Char Aznable DX Figure 🙂

-END

did you use sand paper to remove the nub? or just leave it after cutting with knife
LikeLike
no sanding was involved. I had no choice but to just clean it with a modeling knife since the special coating will be damaged when sanded down…
LikeLike
how about the decals? should apply topcoat over the decals? just wonder how to deal with titanium finish 🙂
LikeLike